
Victoria Sponge KitchenAid Stand Mixer

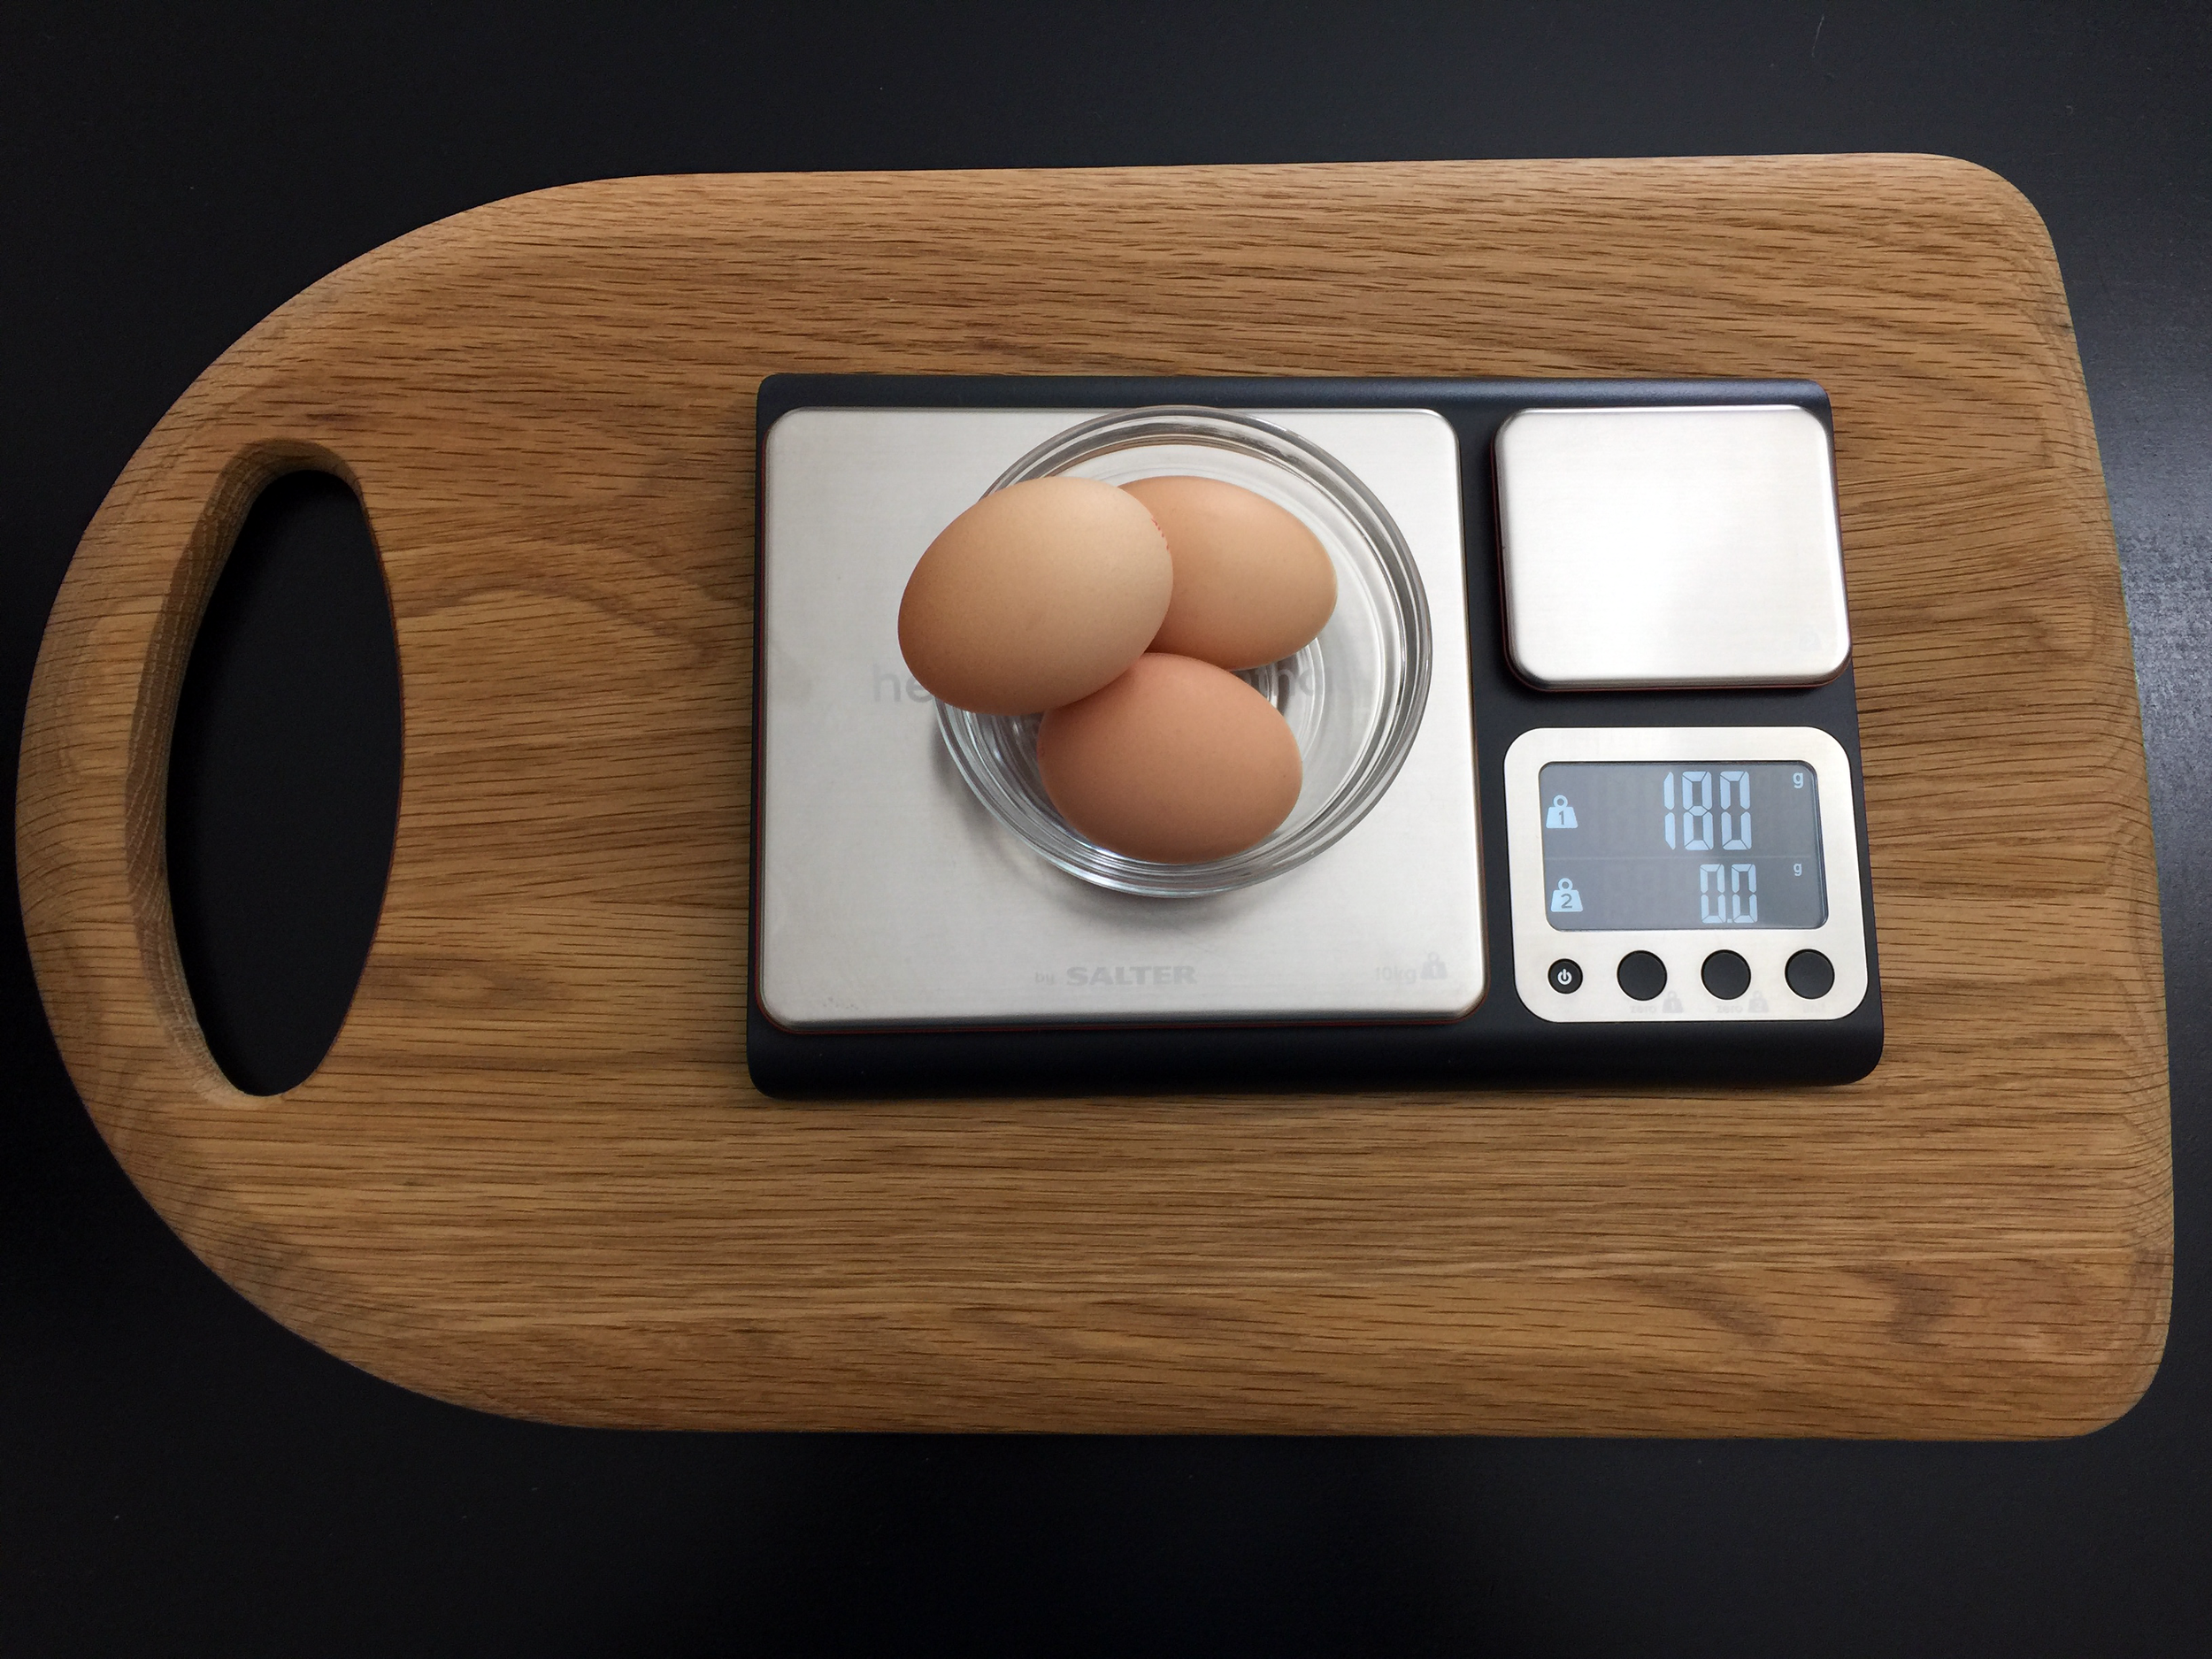
The Victoria Sponge, also known as the Victoria Sandwich is a quintessential English cake. Eggs, caster sugar, butter and self raising flour should be of equal weight of eggs weighed in their shell (the weight of the eggs is very important, scales are essential. Depending on the size of your eggs the weight can be completely out of proportion with the rest of the ingredients).
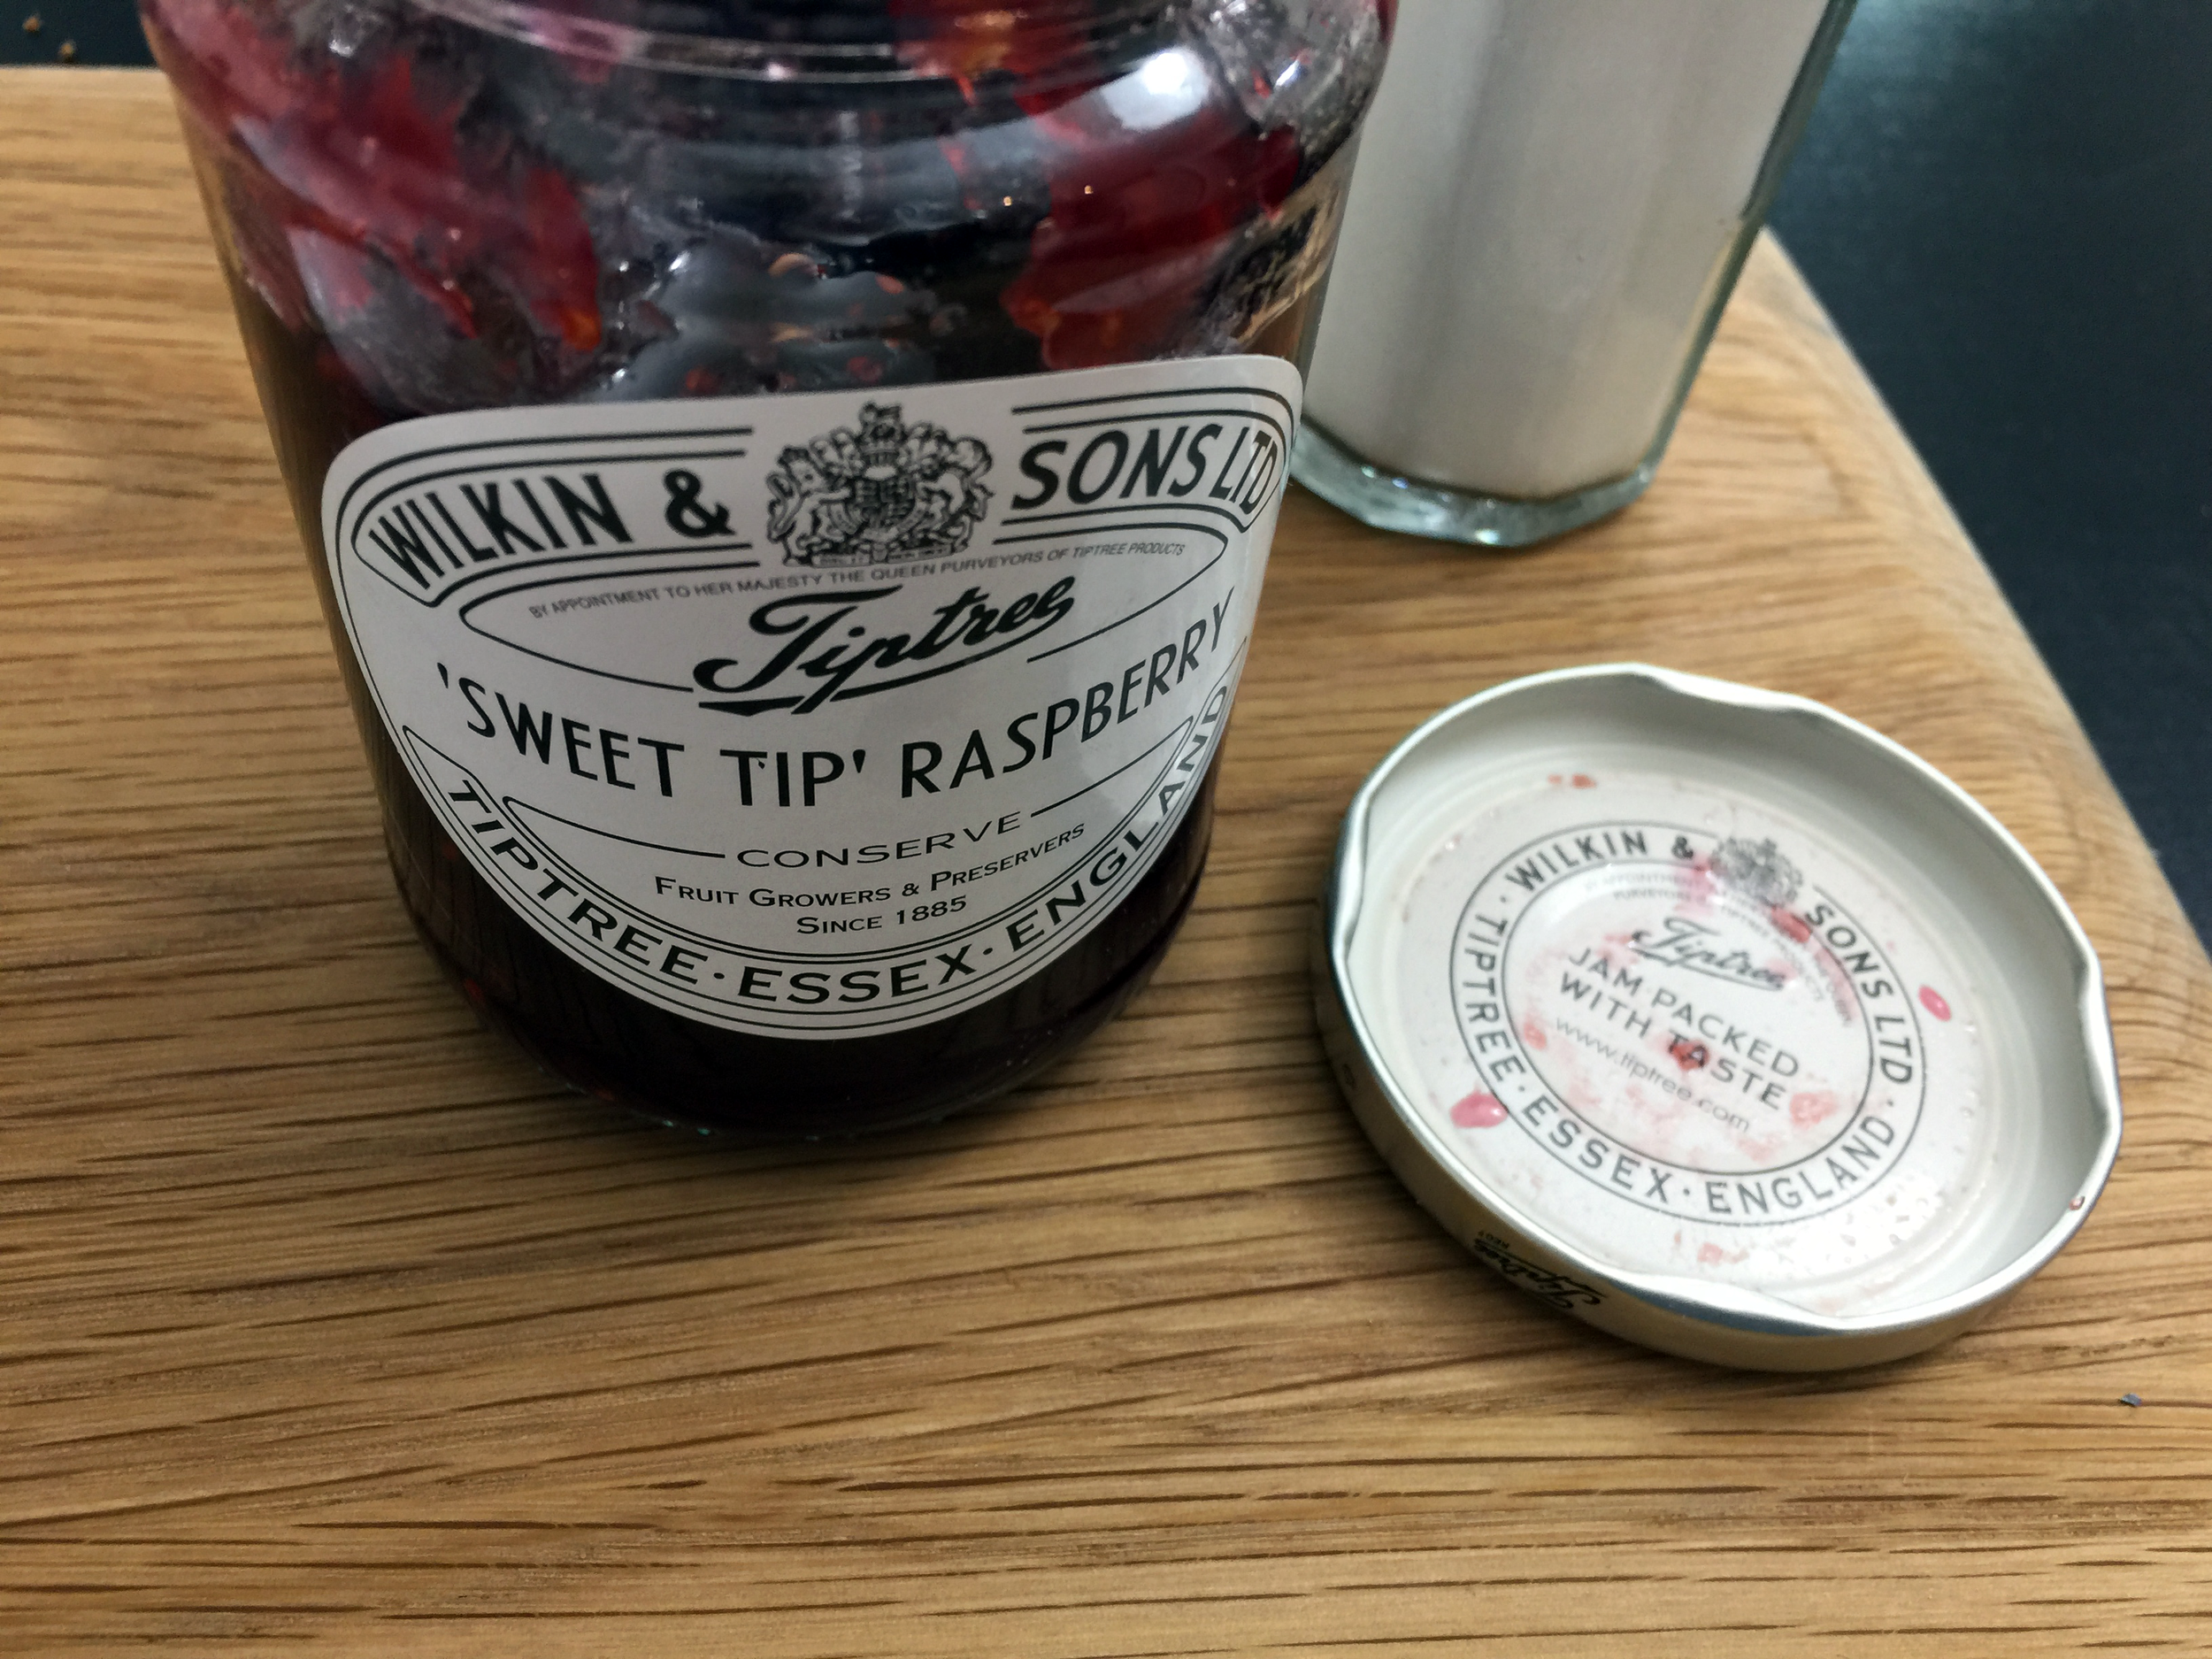
The cake is said to have been created for and aptly named after the late Queen Victoria. The traditional Victoria Sponge is a layer cake sandwiched together with Raspberry jam ( I use Tiptree ‘Sweet Tip’ Raspberry conserve as my choice of raspberry jam, it’s exceptional). I use very good quality butter, free range British black tail hen eggs, caster sugar and Organic Self Raising Flour. Some recipes add milk, some add vanilla extract and some add additional baking powder that can leave an after taste. I have found if you use quality ingredients, the flavour is delicious in it’s own right. You can experiment and decide for yourself…
You can make a Victoria Sponge with your stand mixer, hand mixer or with a wooden spoon and bowl. The cake is a wonderful vessel for so many different flavours and adaptions, its also amazing Gluten Free. Its very similar to a Pound Cake and the French Quatre-Quarts in that the cake is made up of 4 ingredients of equal quantities. However, the creaming method combined with the leavening agent in the flour give this cake a beautiful light buttery crumb texture, sheer elegance – a cake fit for a Queen.
It would have to be one of my all-time favorites, the cake I bake the most.
Preparation time 15 minutes Cooking Time 22-25 minutes Serves 6-8 slices.
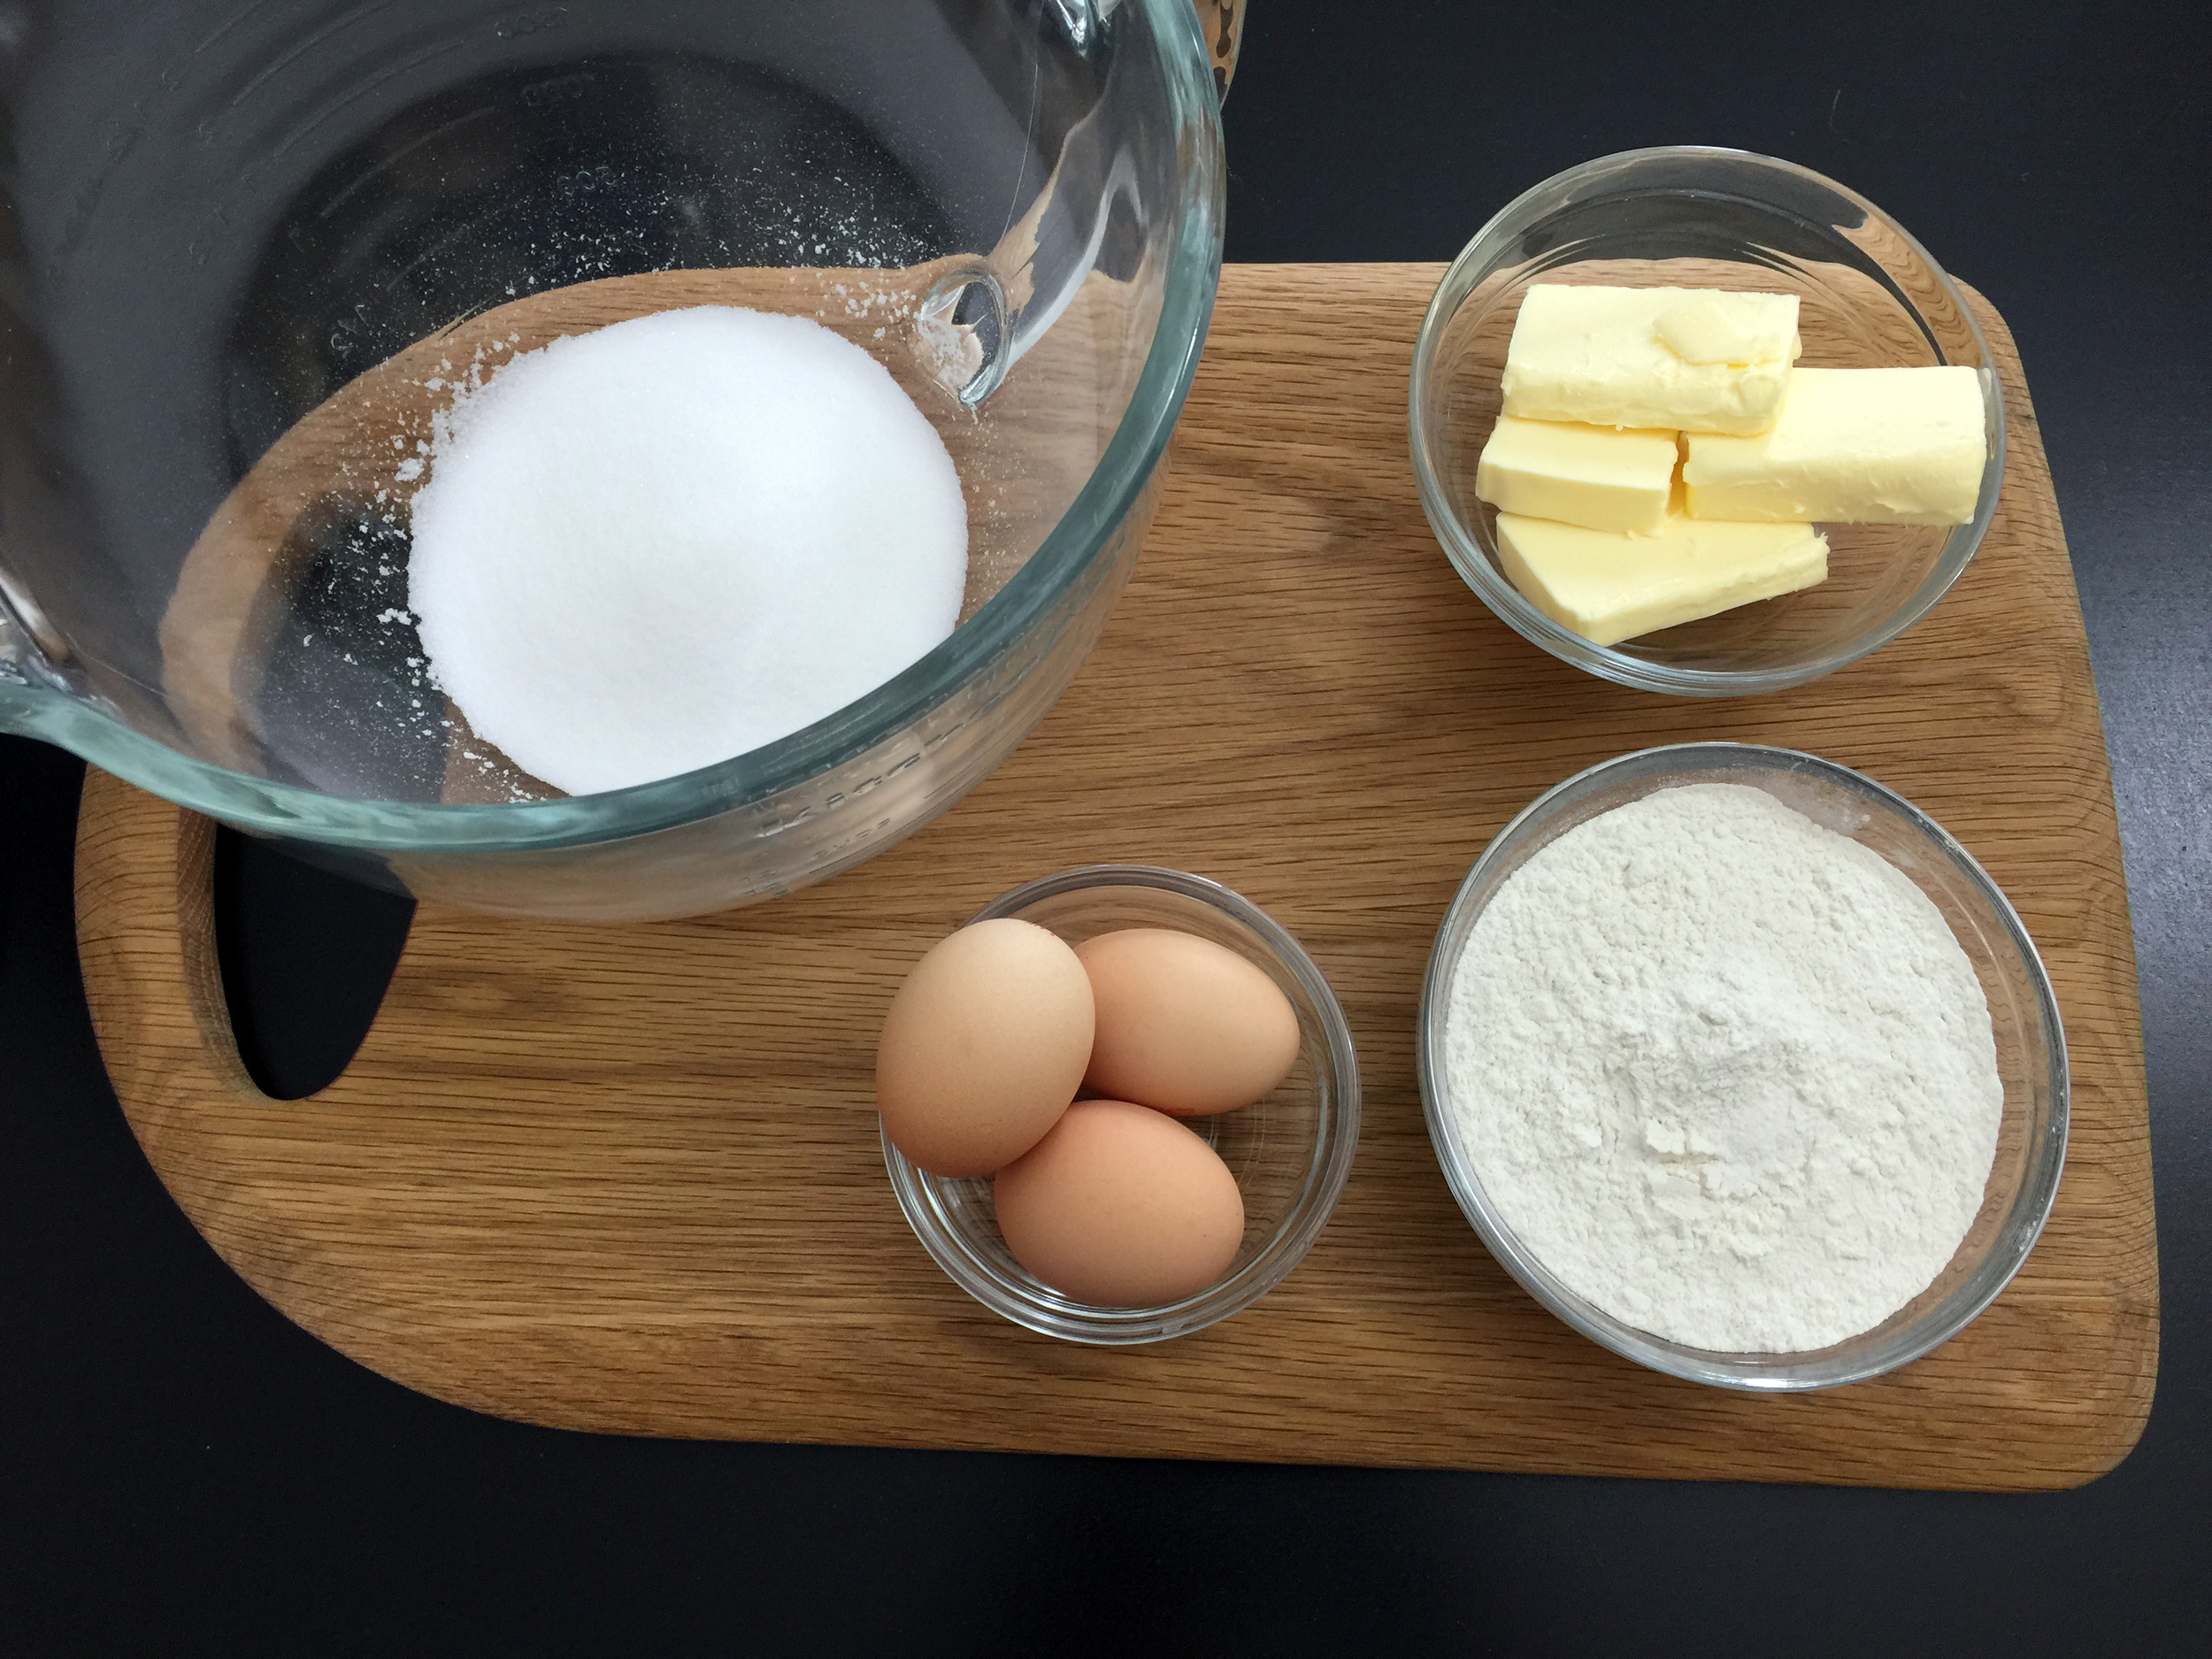
Ingredients
My 3 free range eggs weighed 180g (so my caster sugar, unsalted butter and self raising flour are each weighed at 180g)
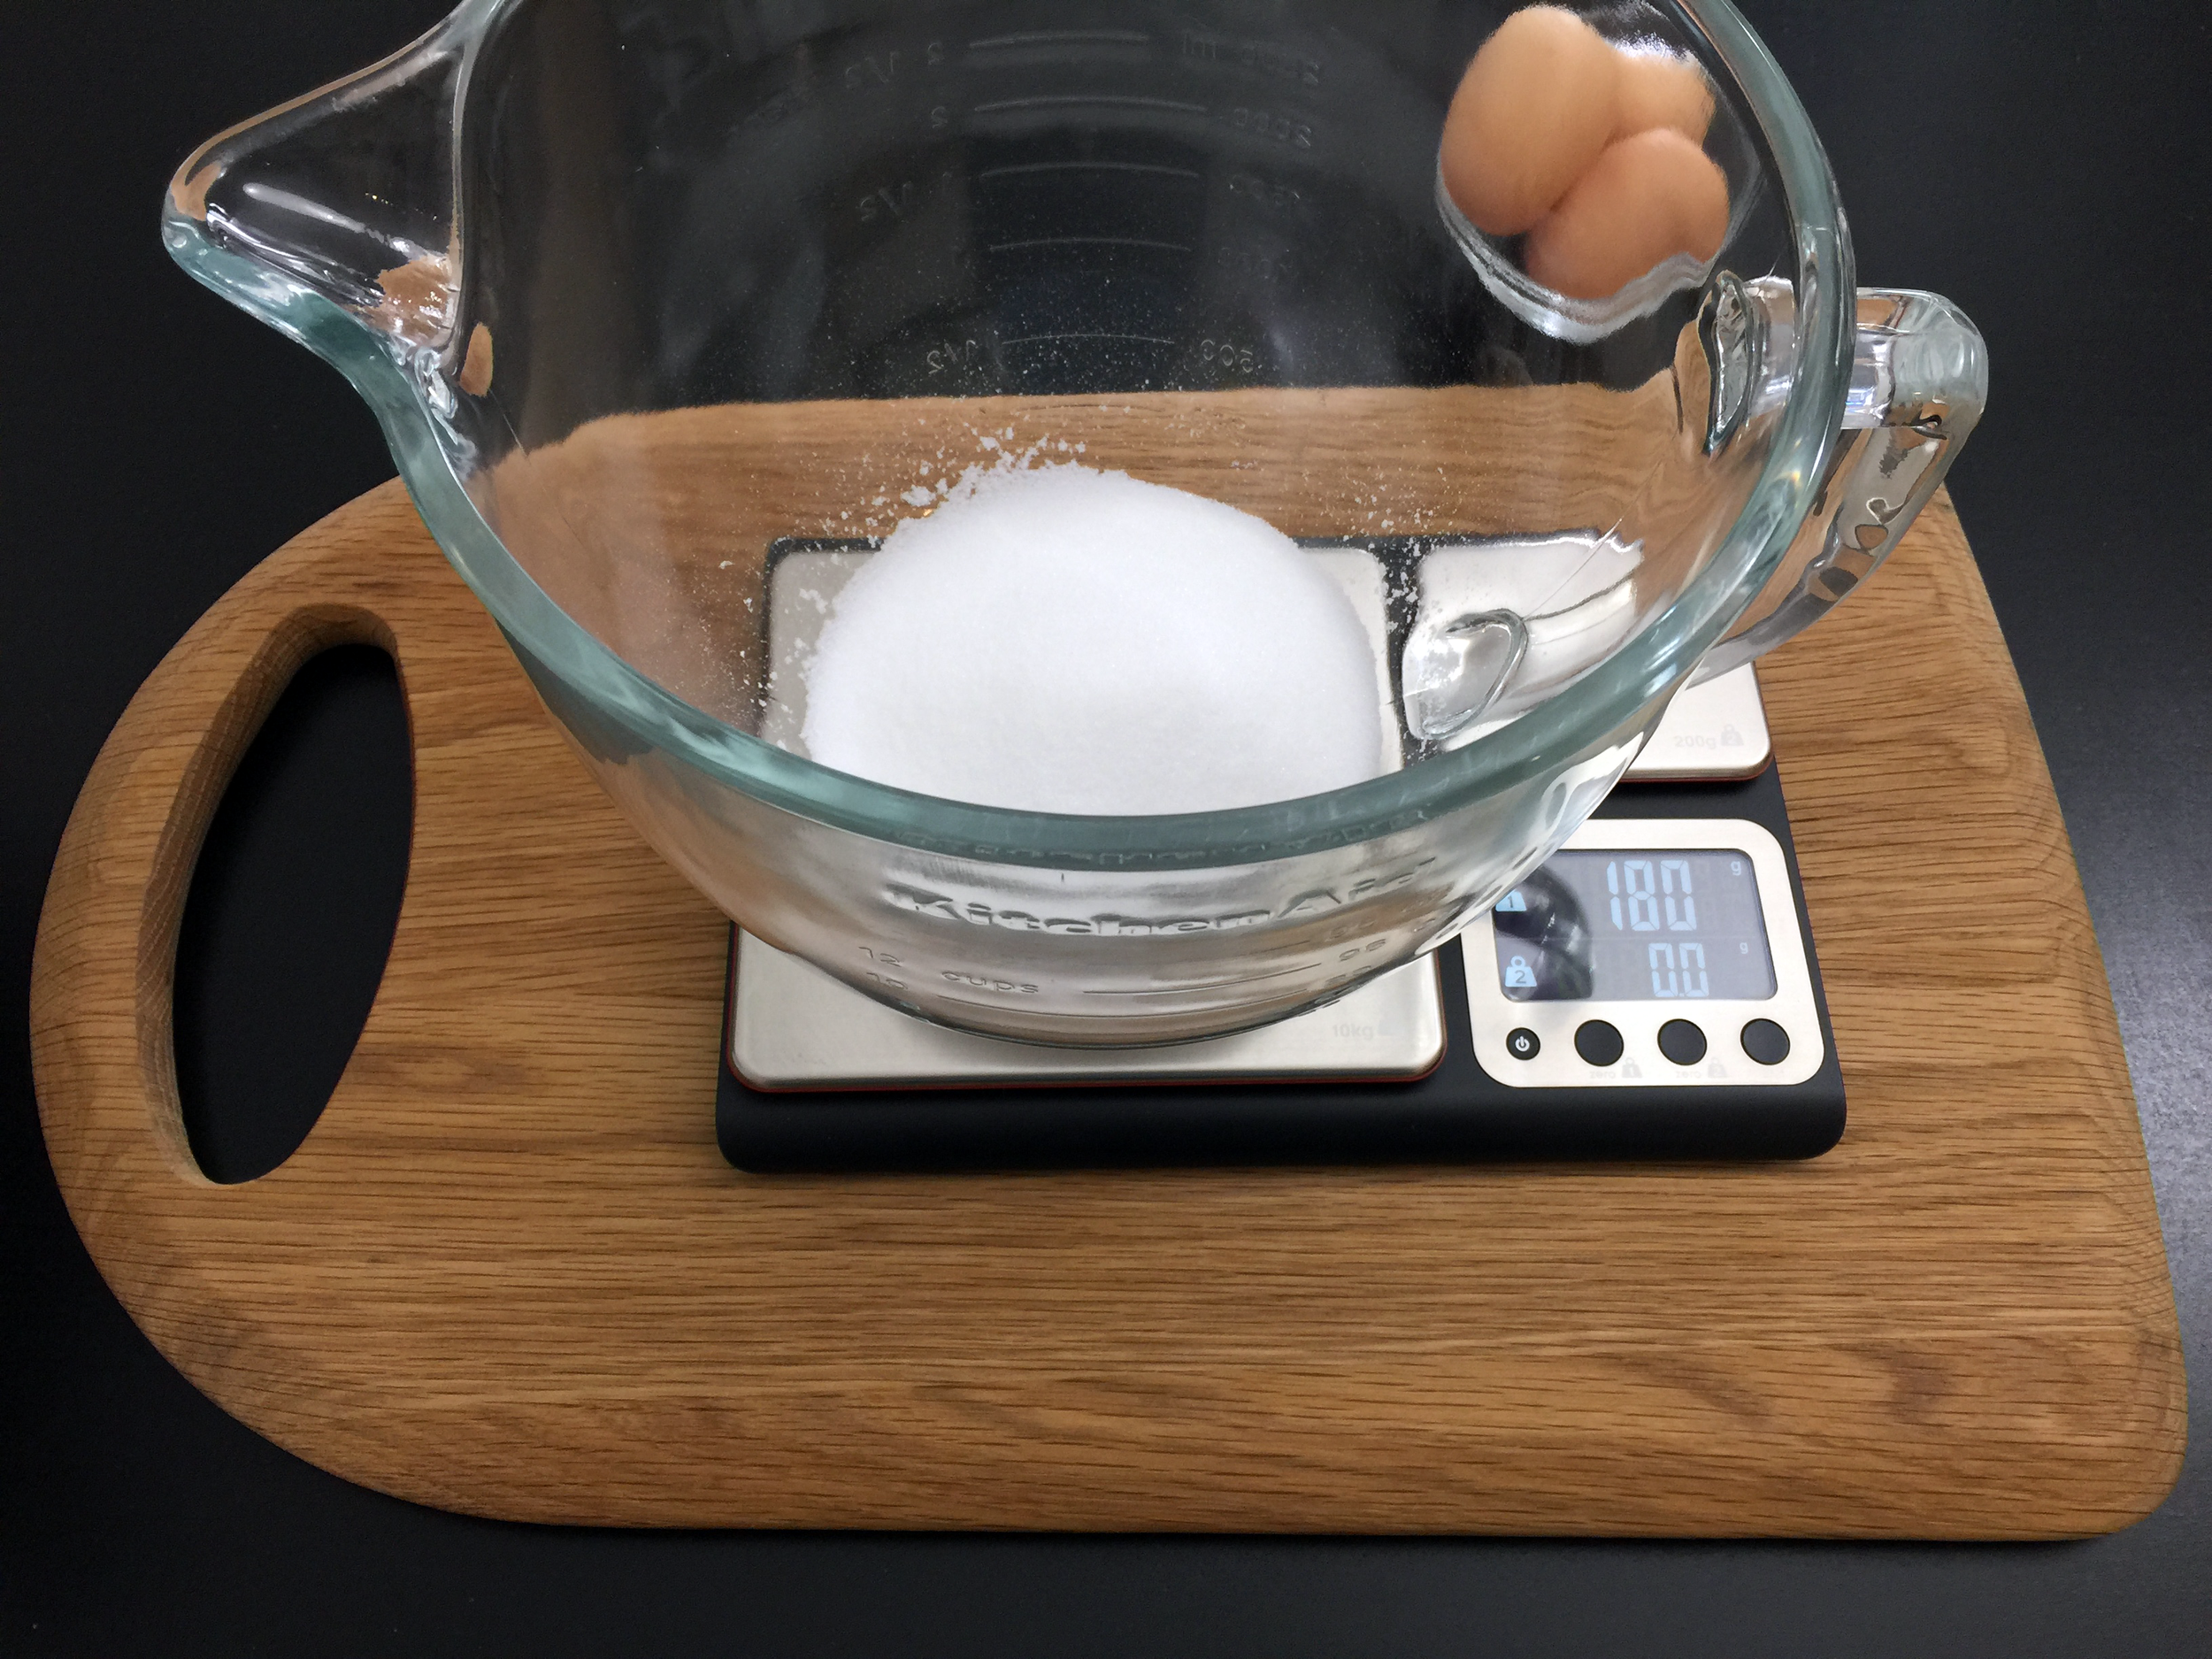
180g caster sugar
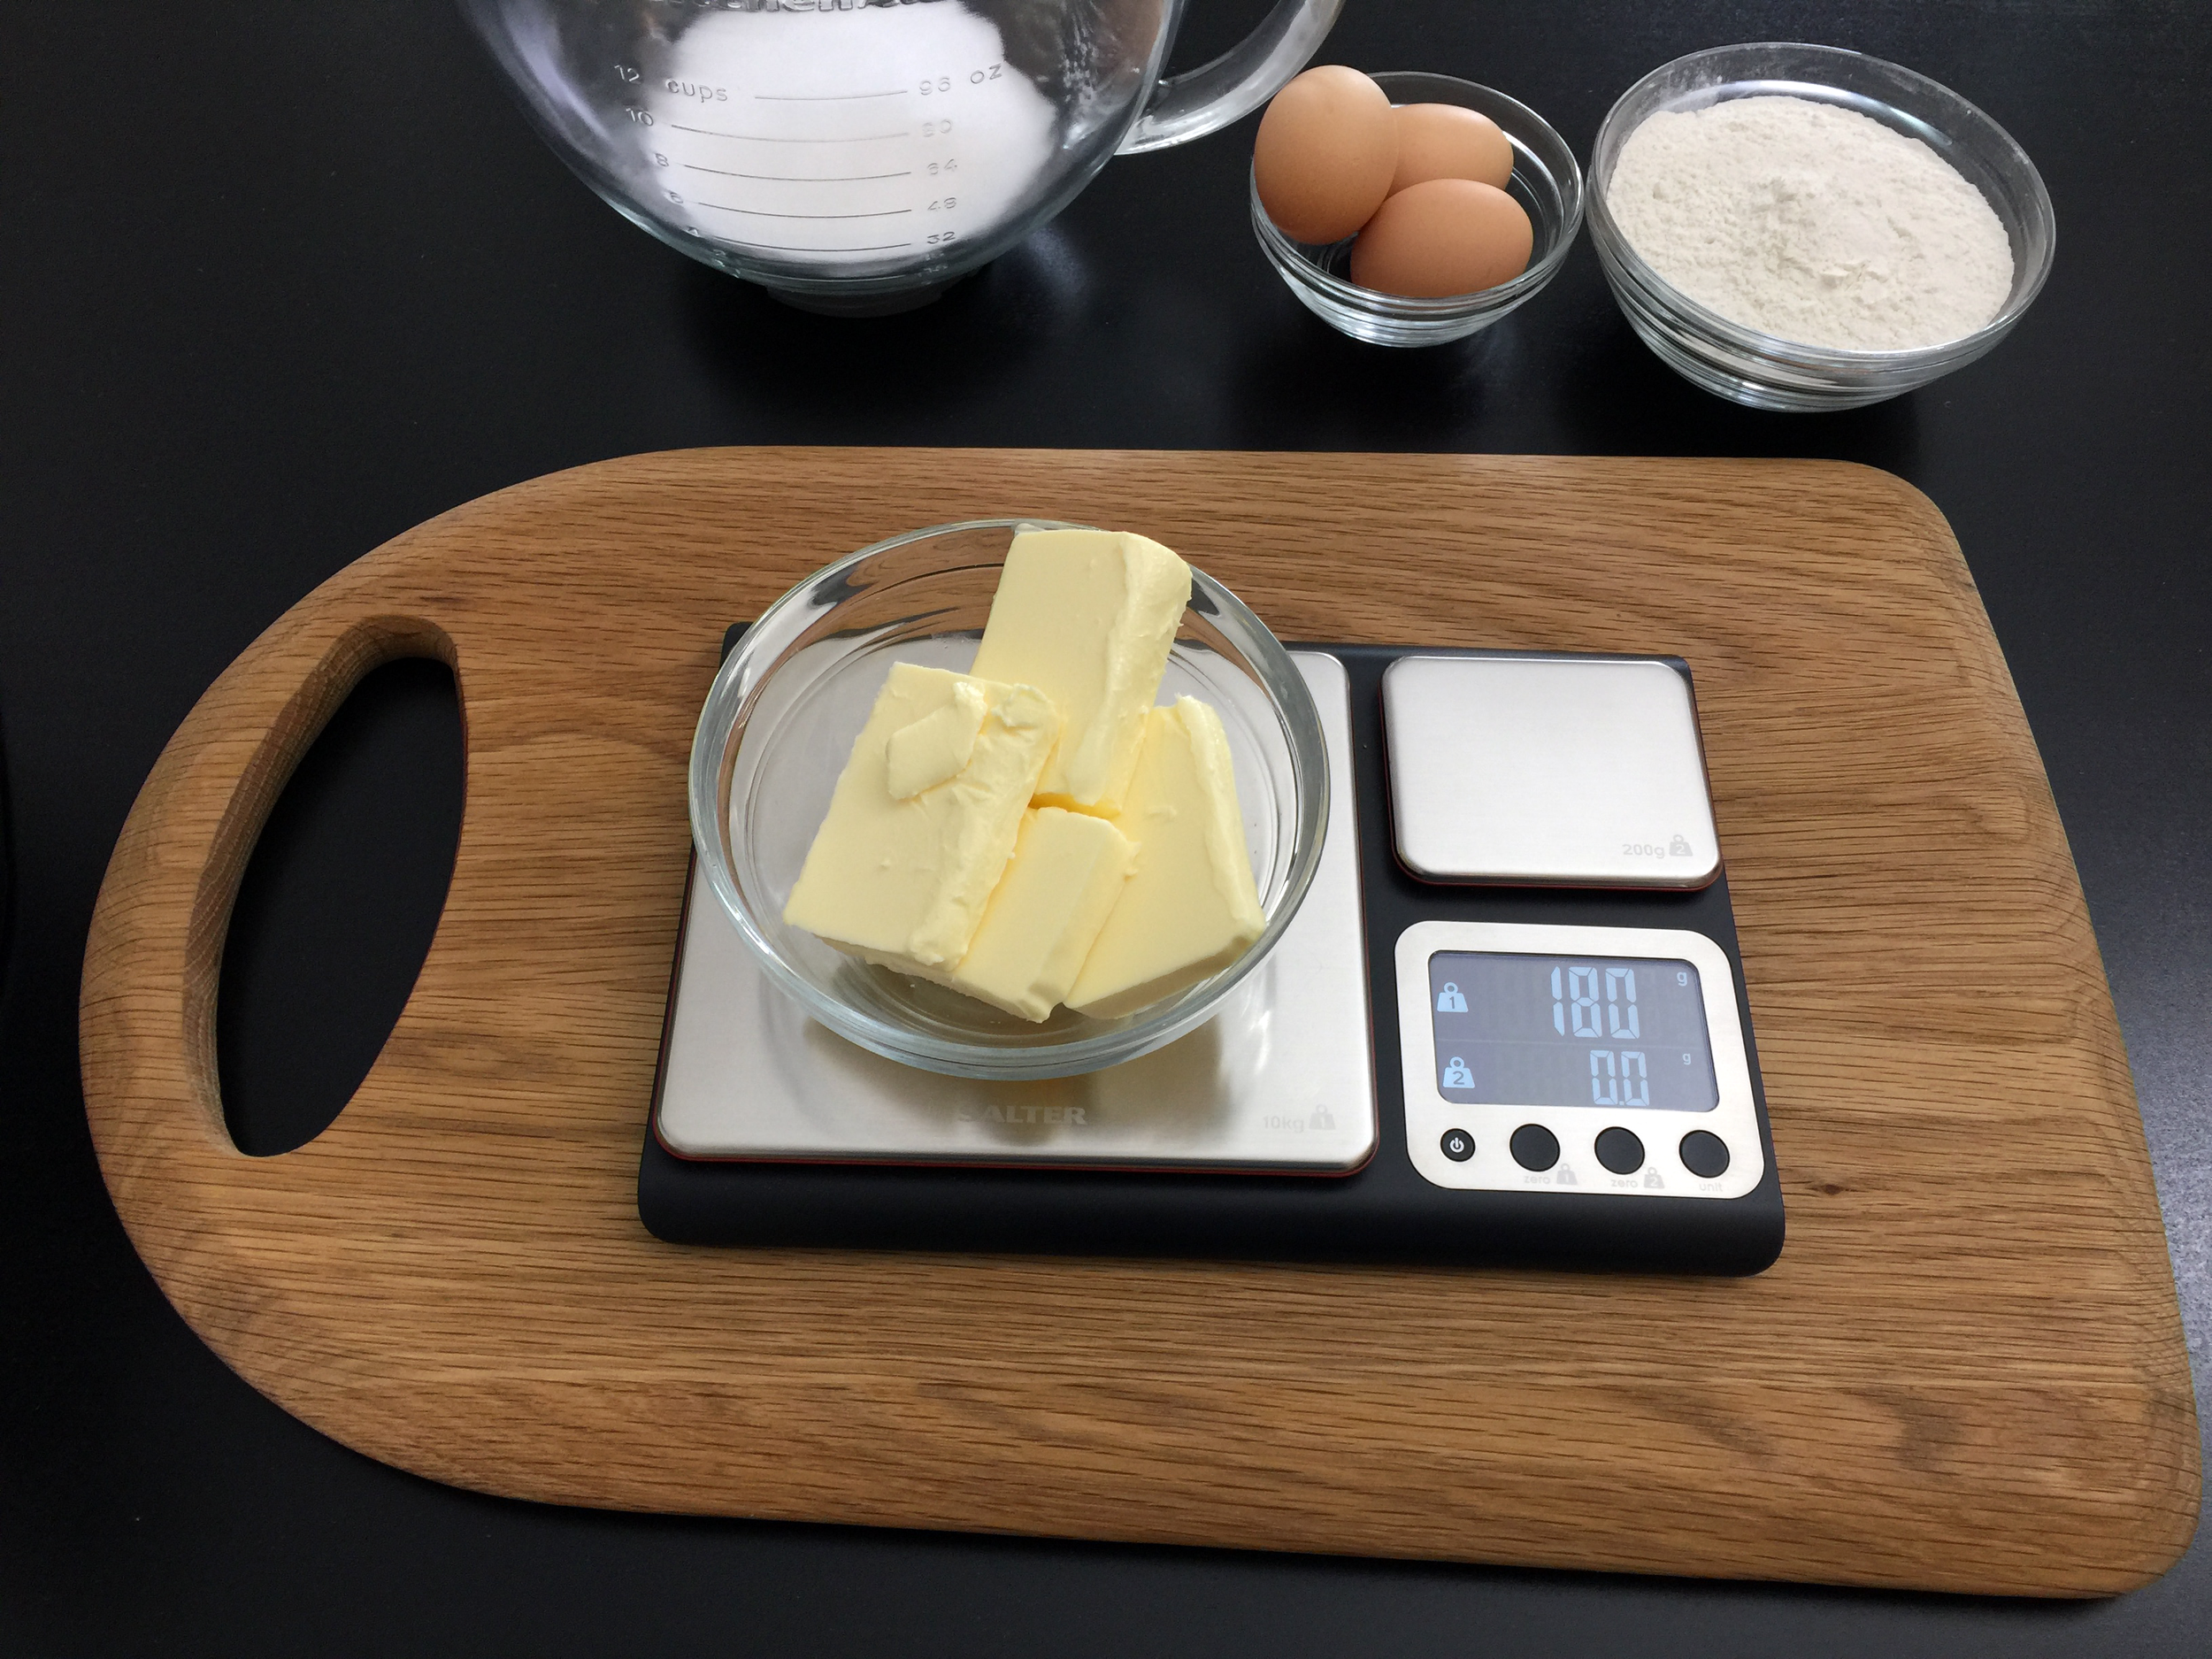
180g unsalted butter at room temperature
180g self raising flour
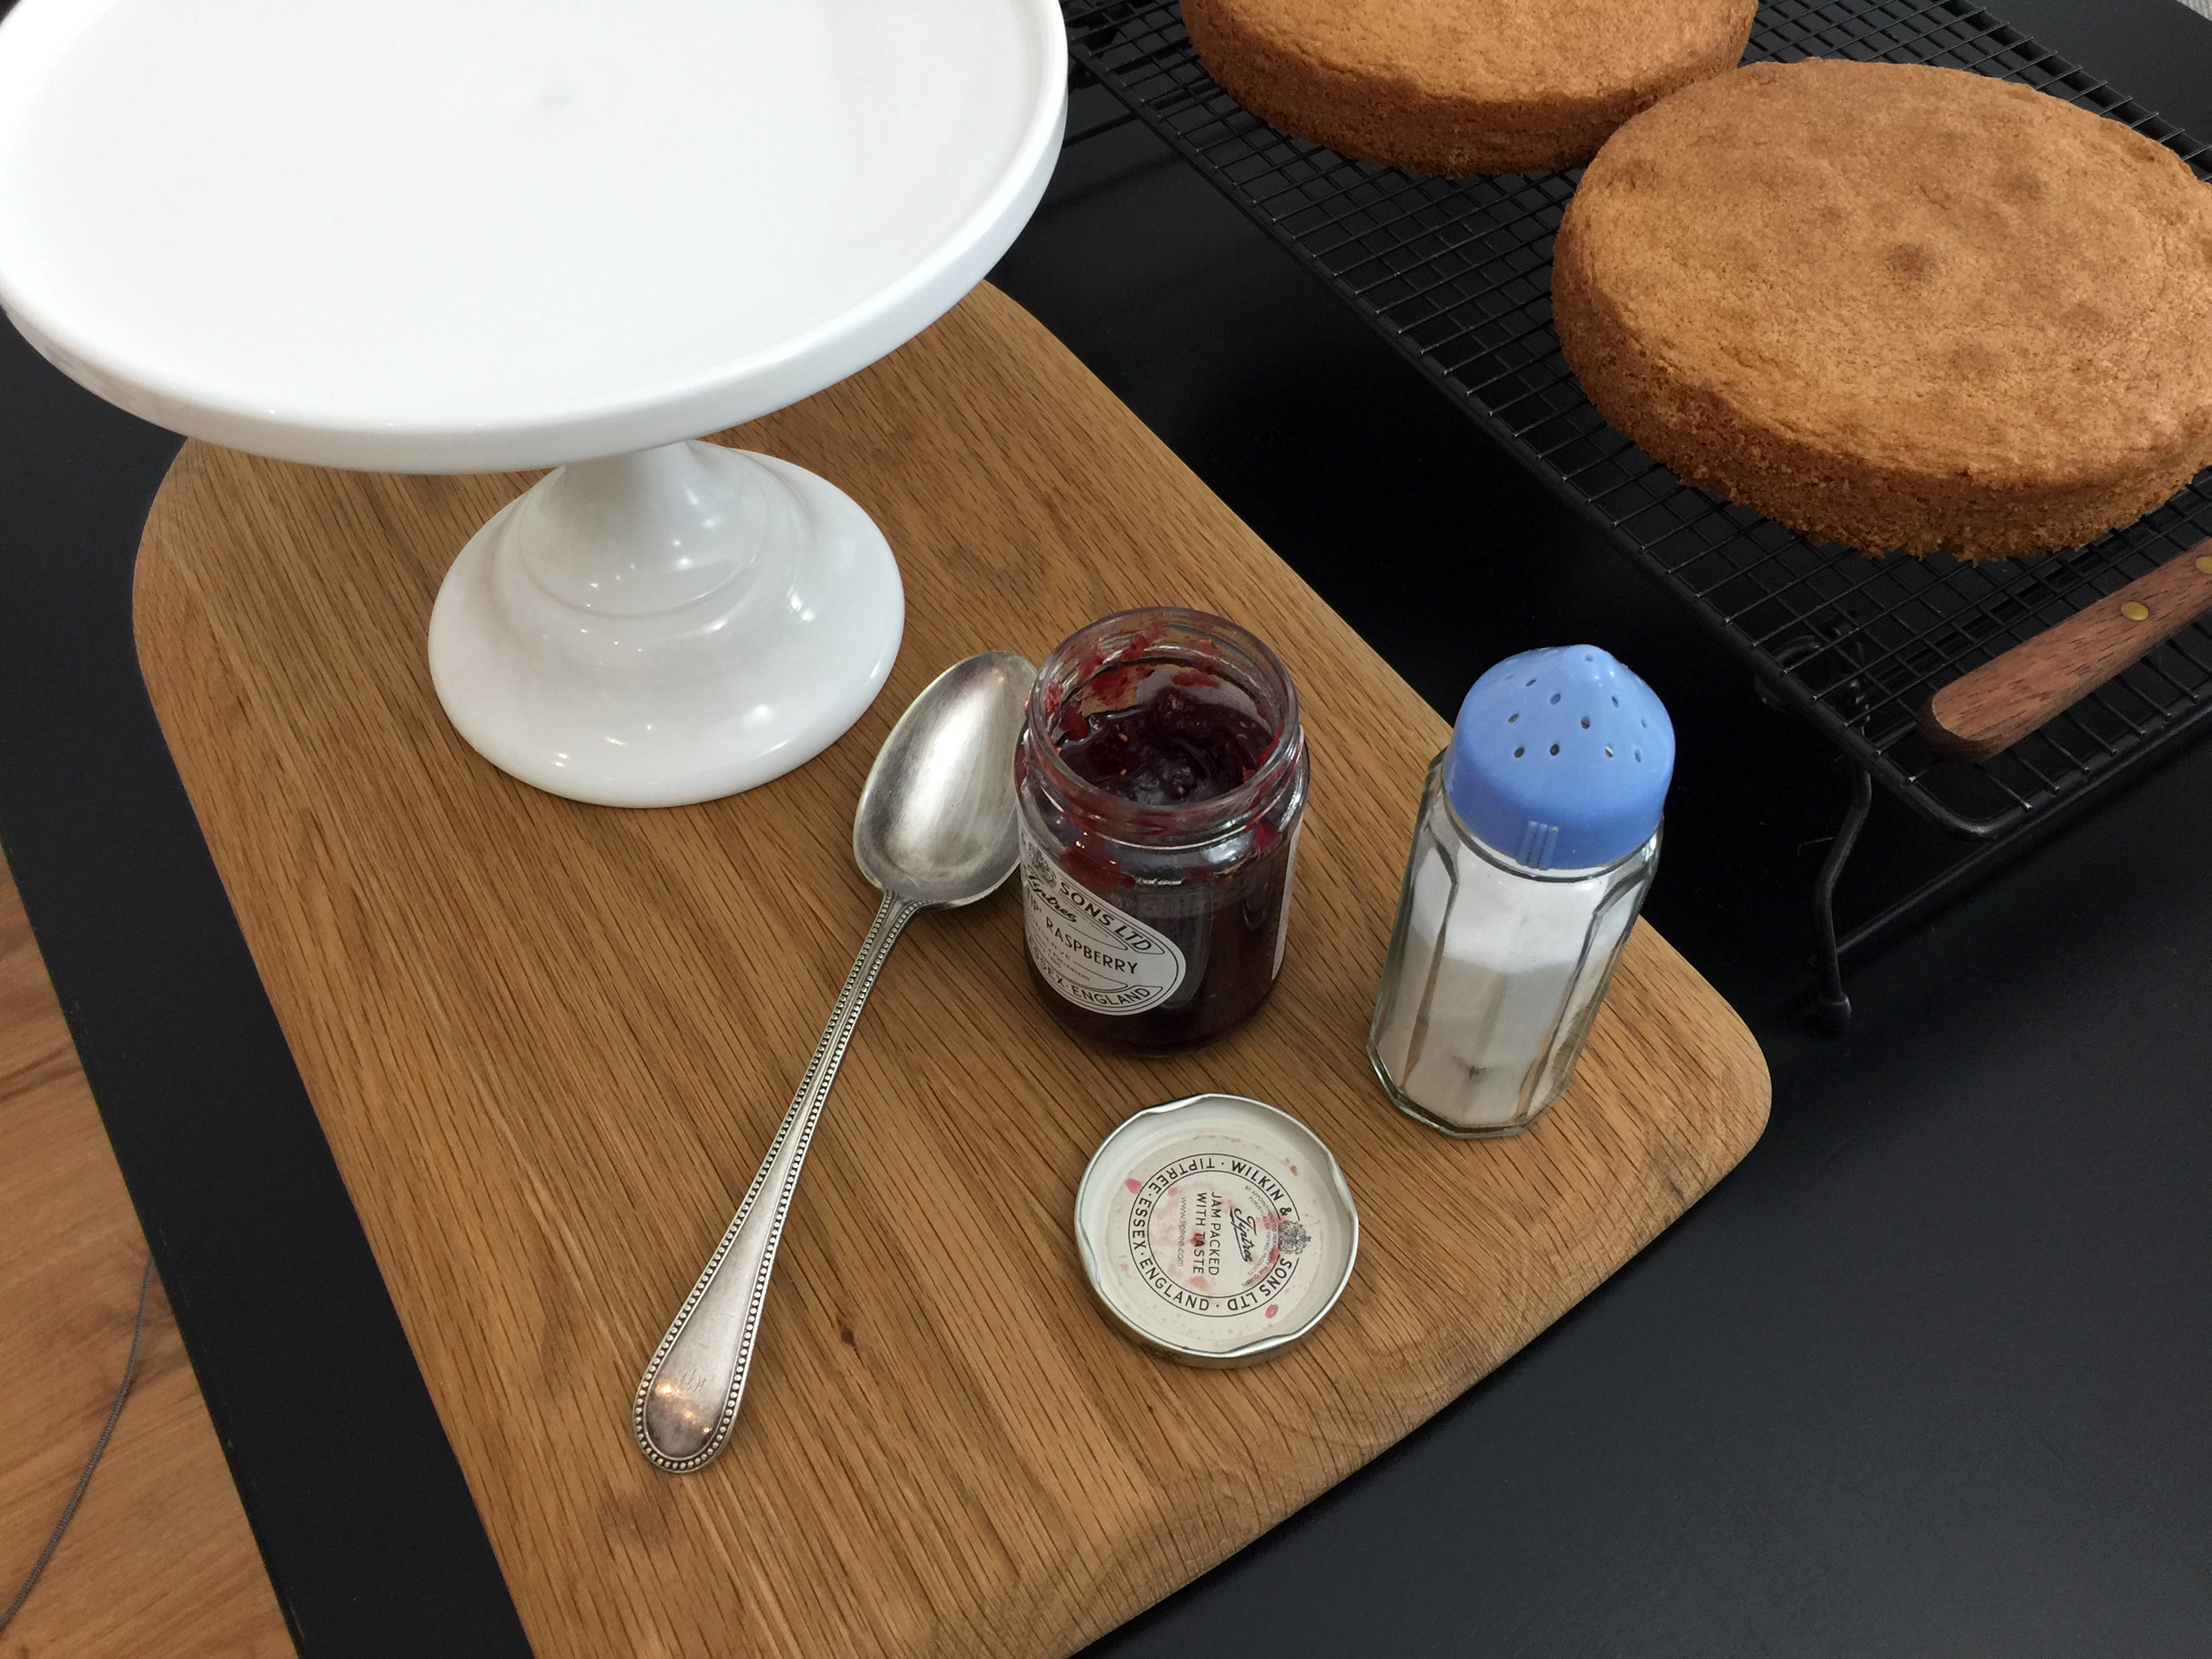
1/3 jar of good quality raspberry jam (I use Tiptree Sweet Tip Raspberry jam)
1/2 tbsp Caster sugar for dusting
extra butter for greasing the pan
greaseproof paper for lining the two pans


Method
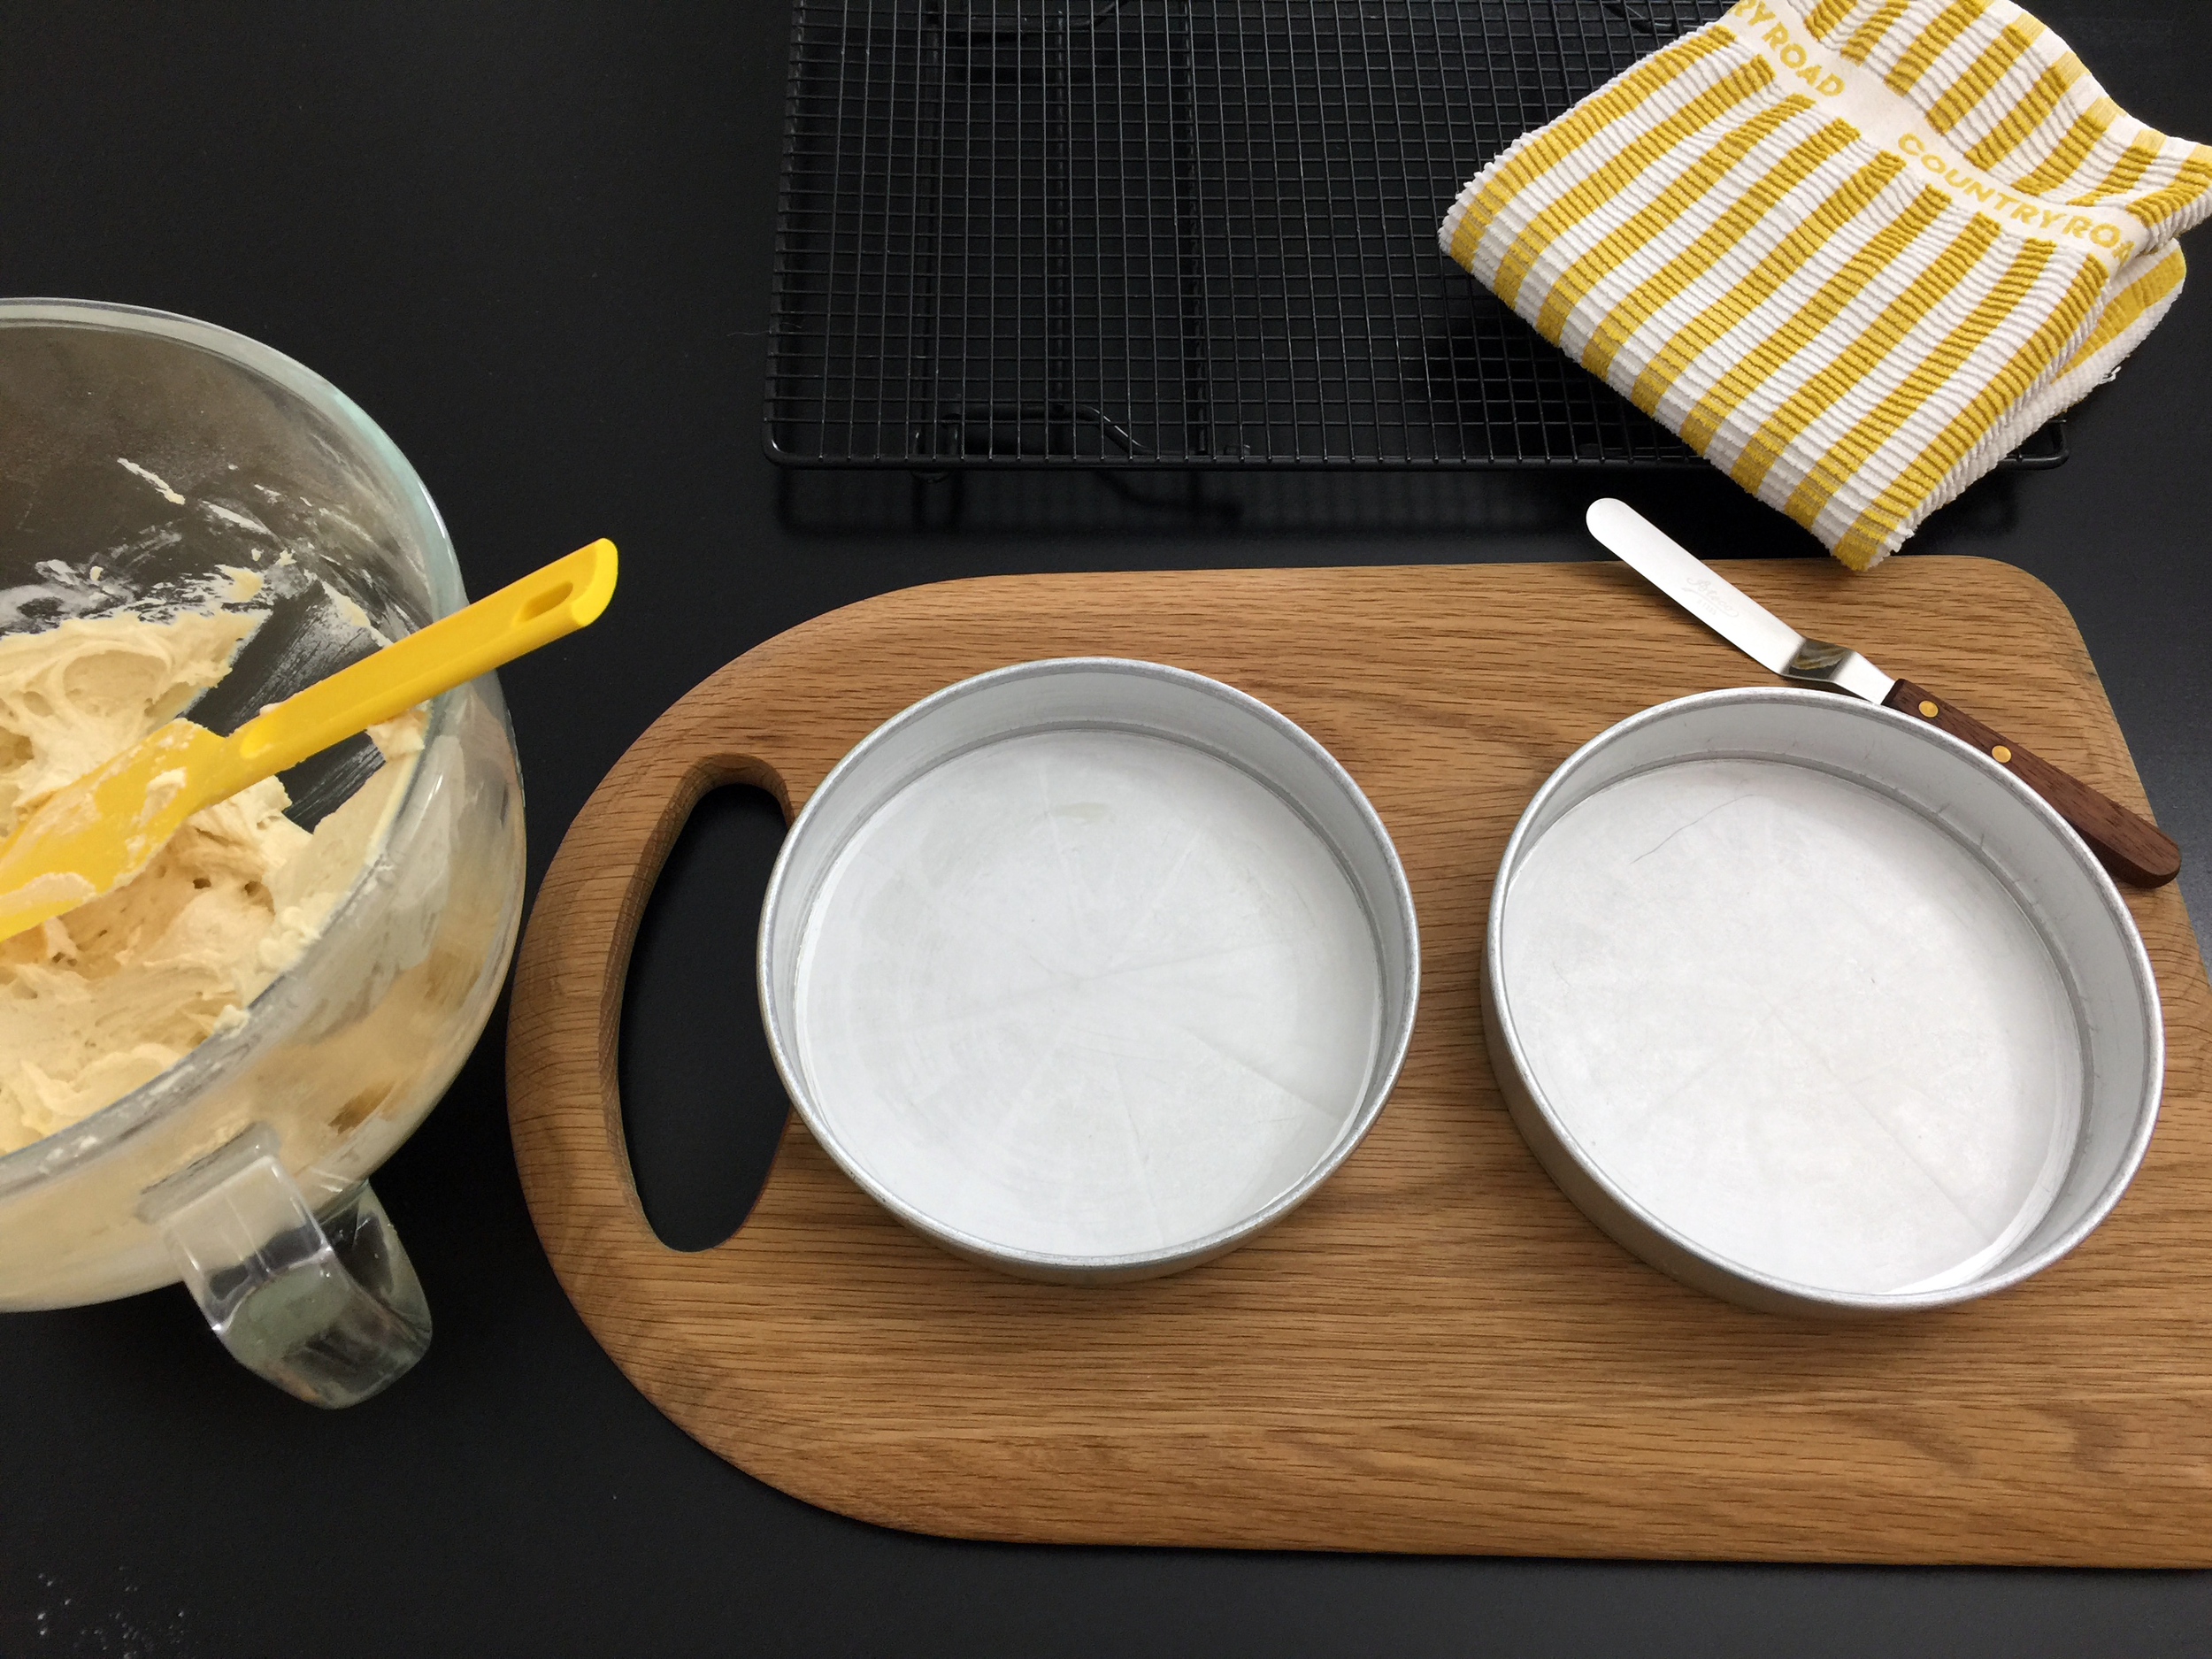
1. Preheat oven to 180°C/350F. Grease and line 2 x 7” tins with greaseproof paper, click here for a demonstration.
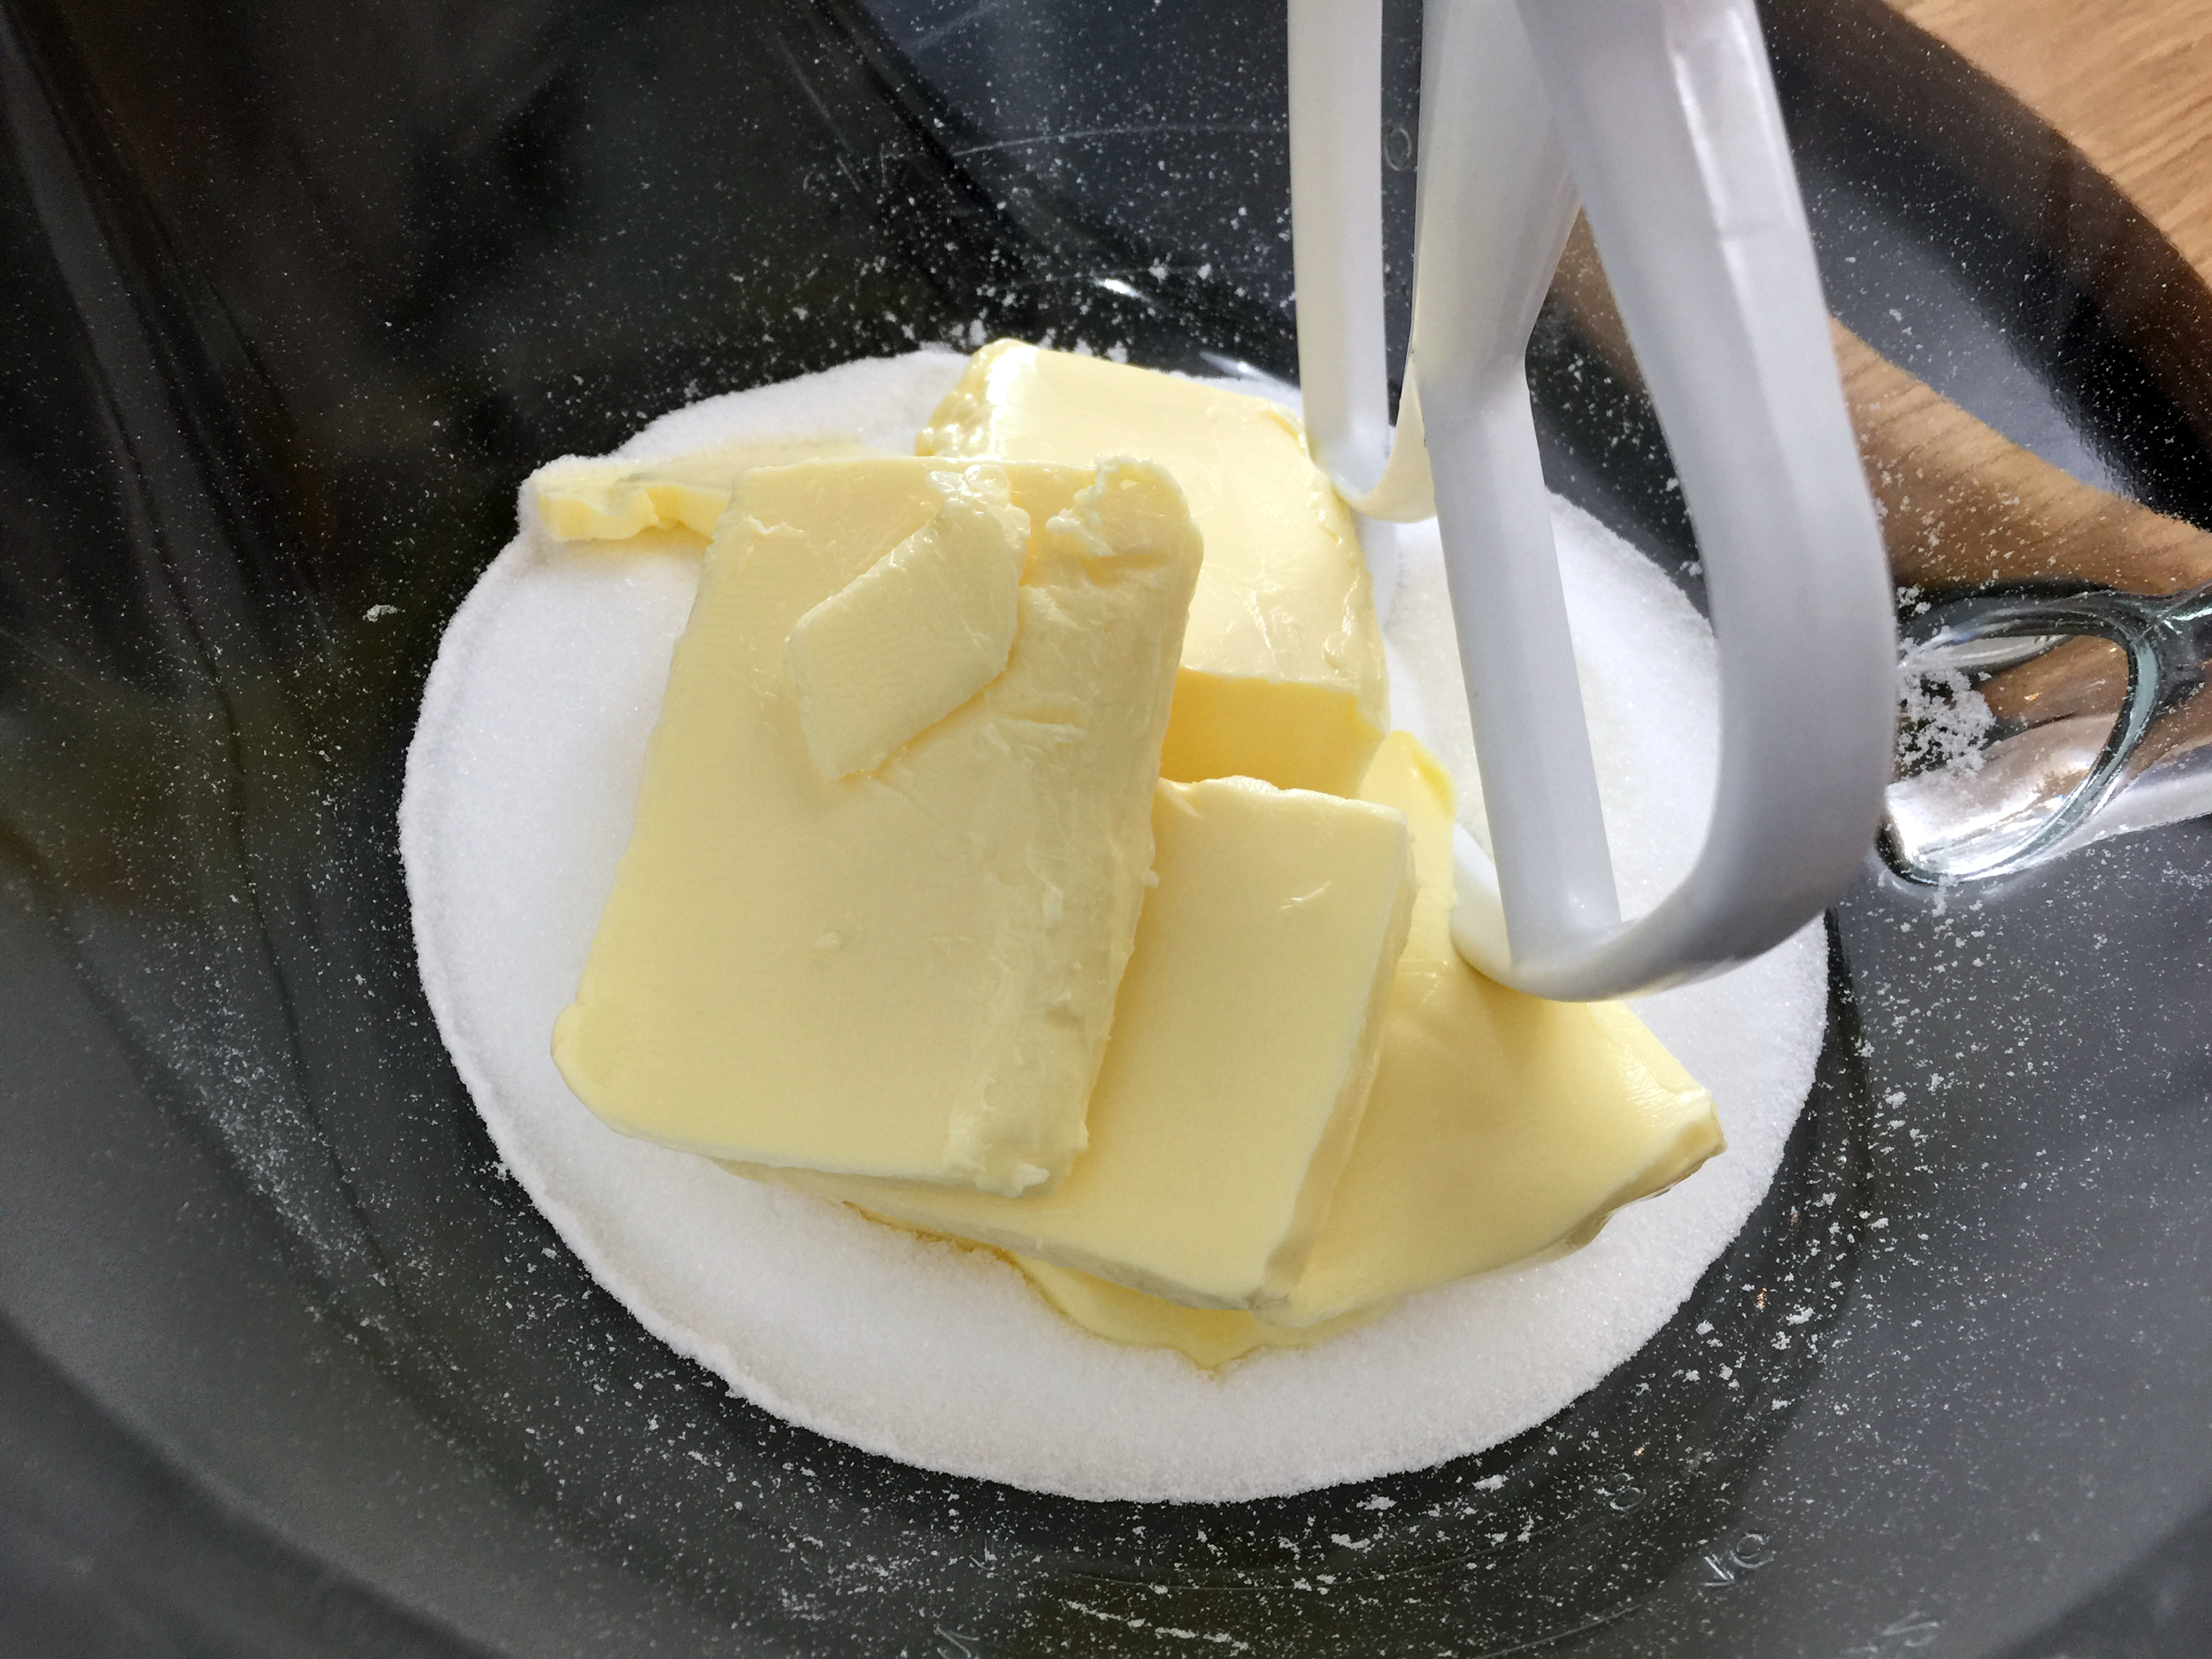
2. Weigh your 3 eggs in their shell, then weigh out caster sugar, unsalted butter and self raising flour the same weight as the eggs (I weigh my caster sugar and unsalted butter directly into a high sided mixing bowl).
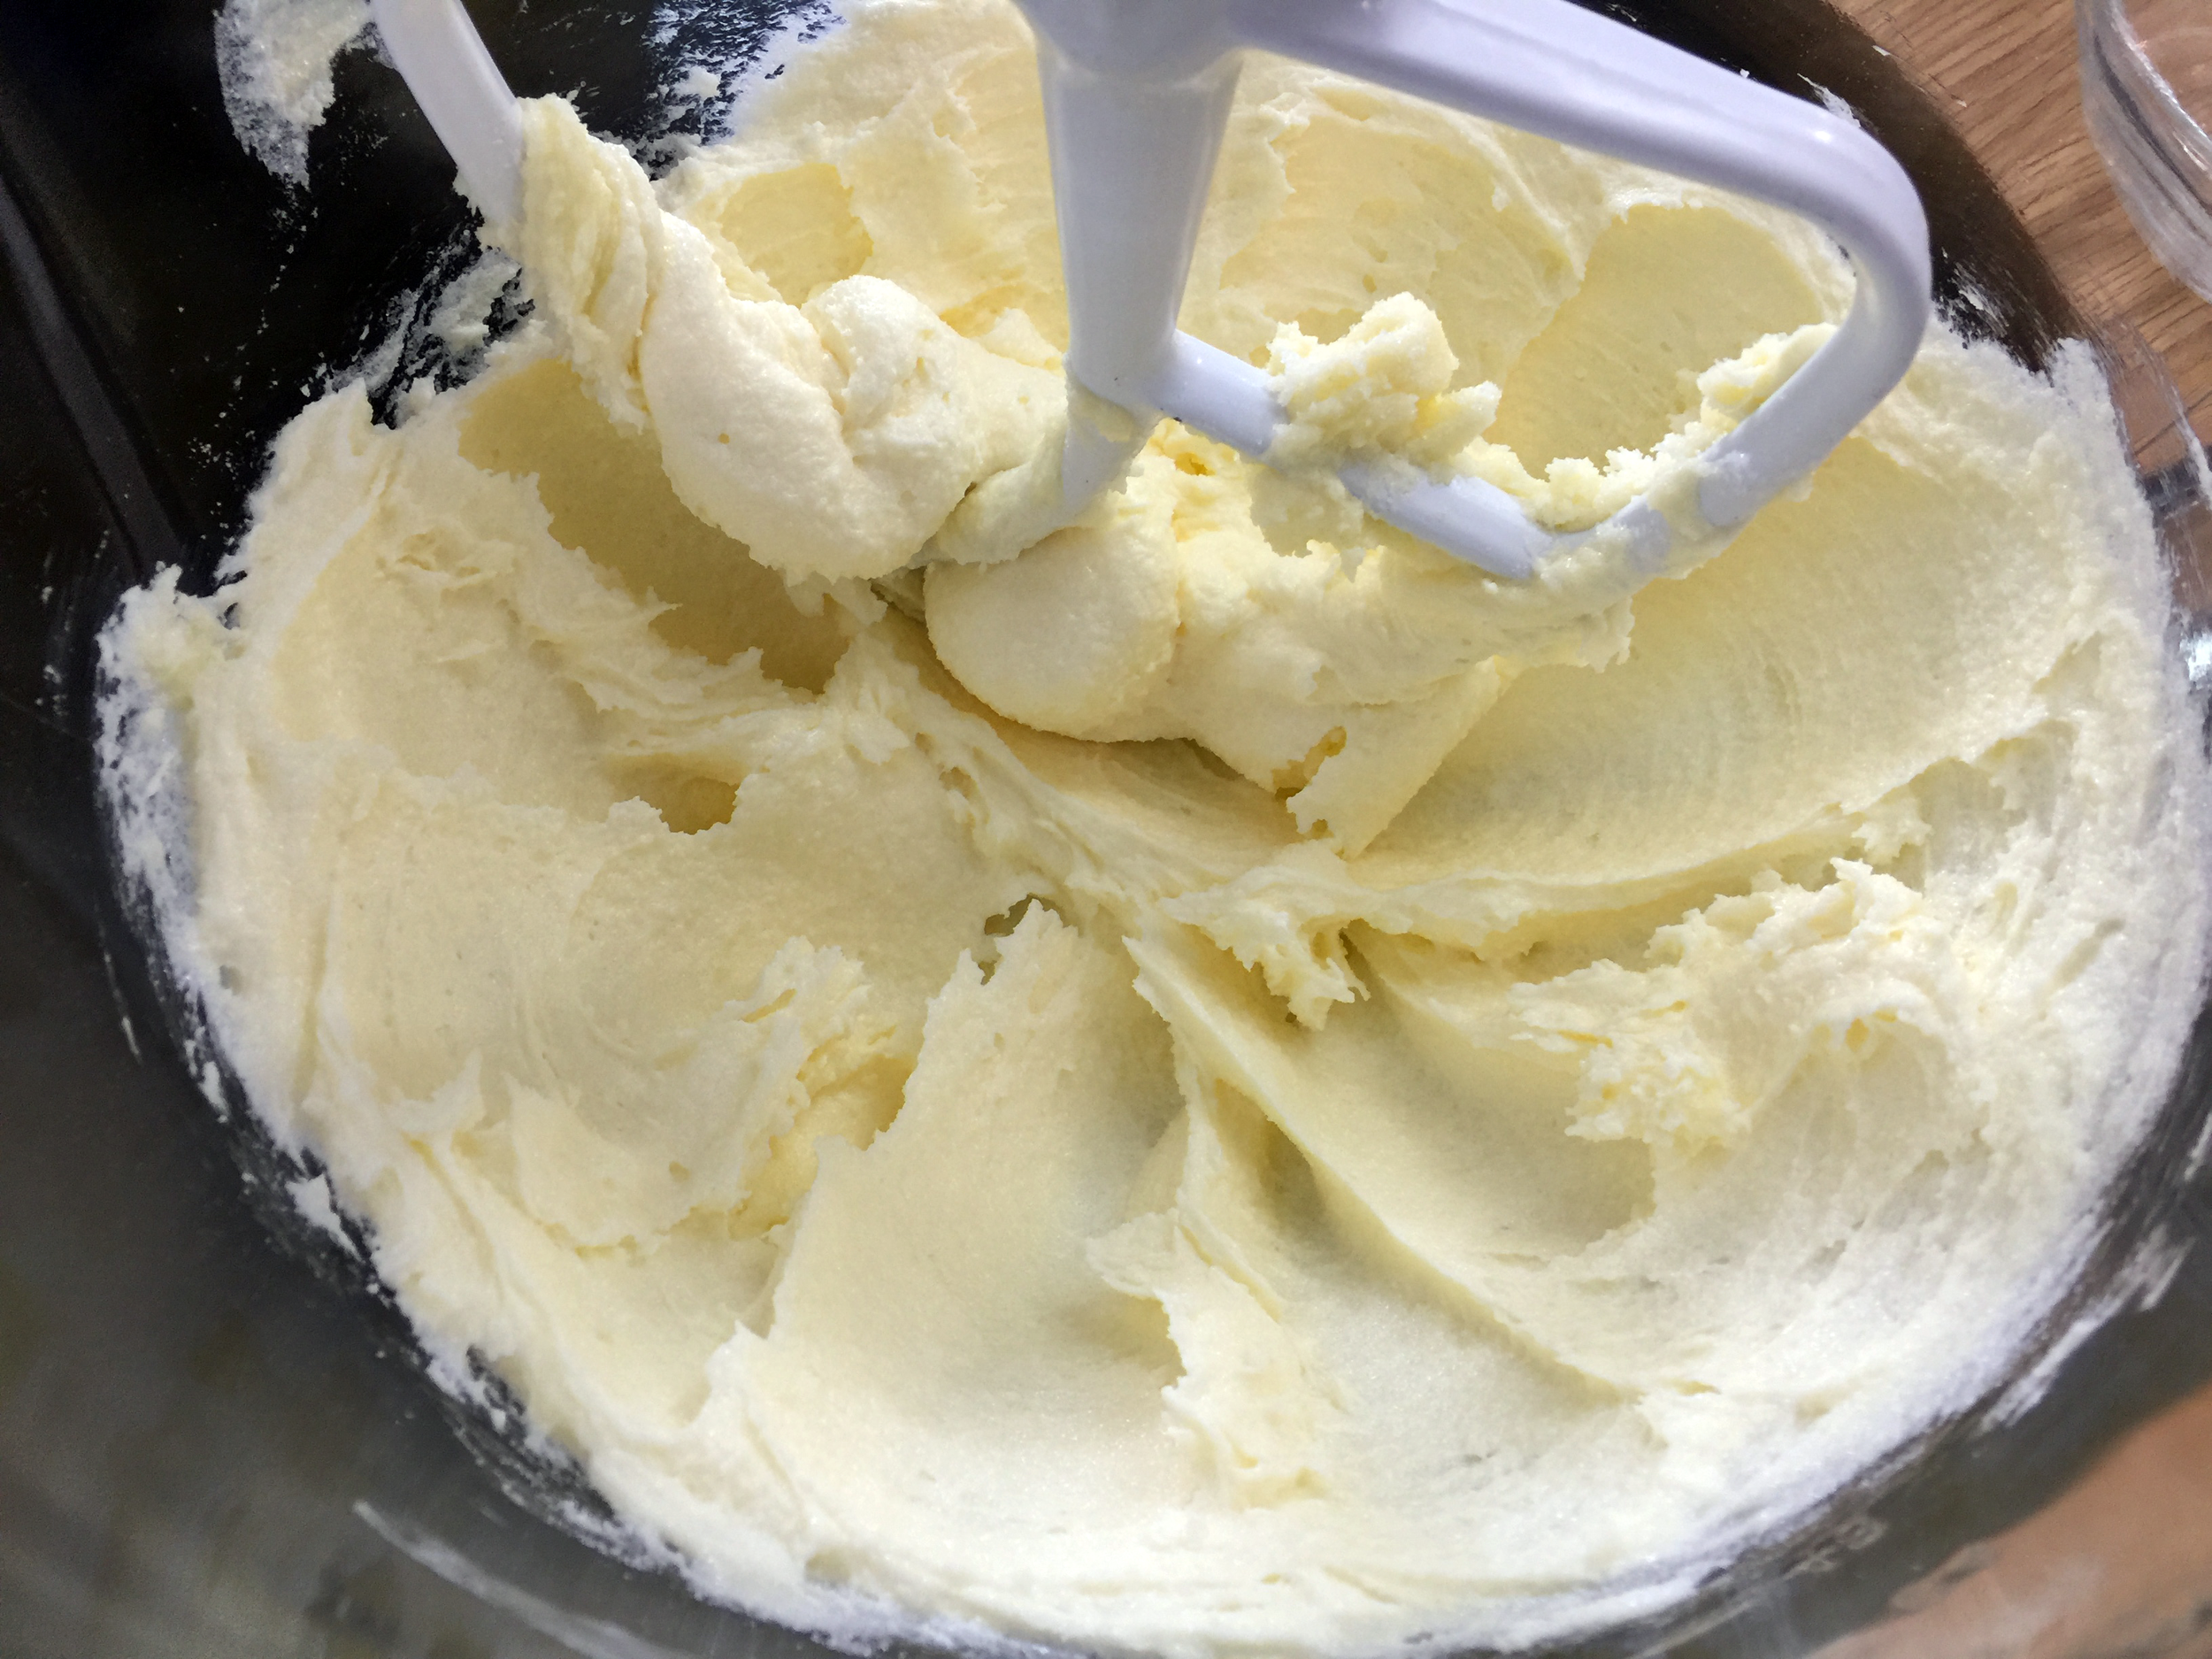
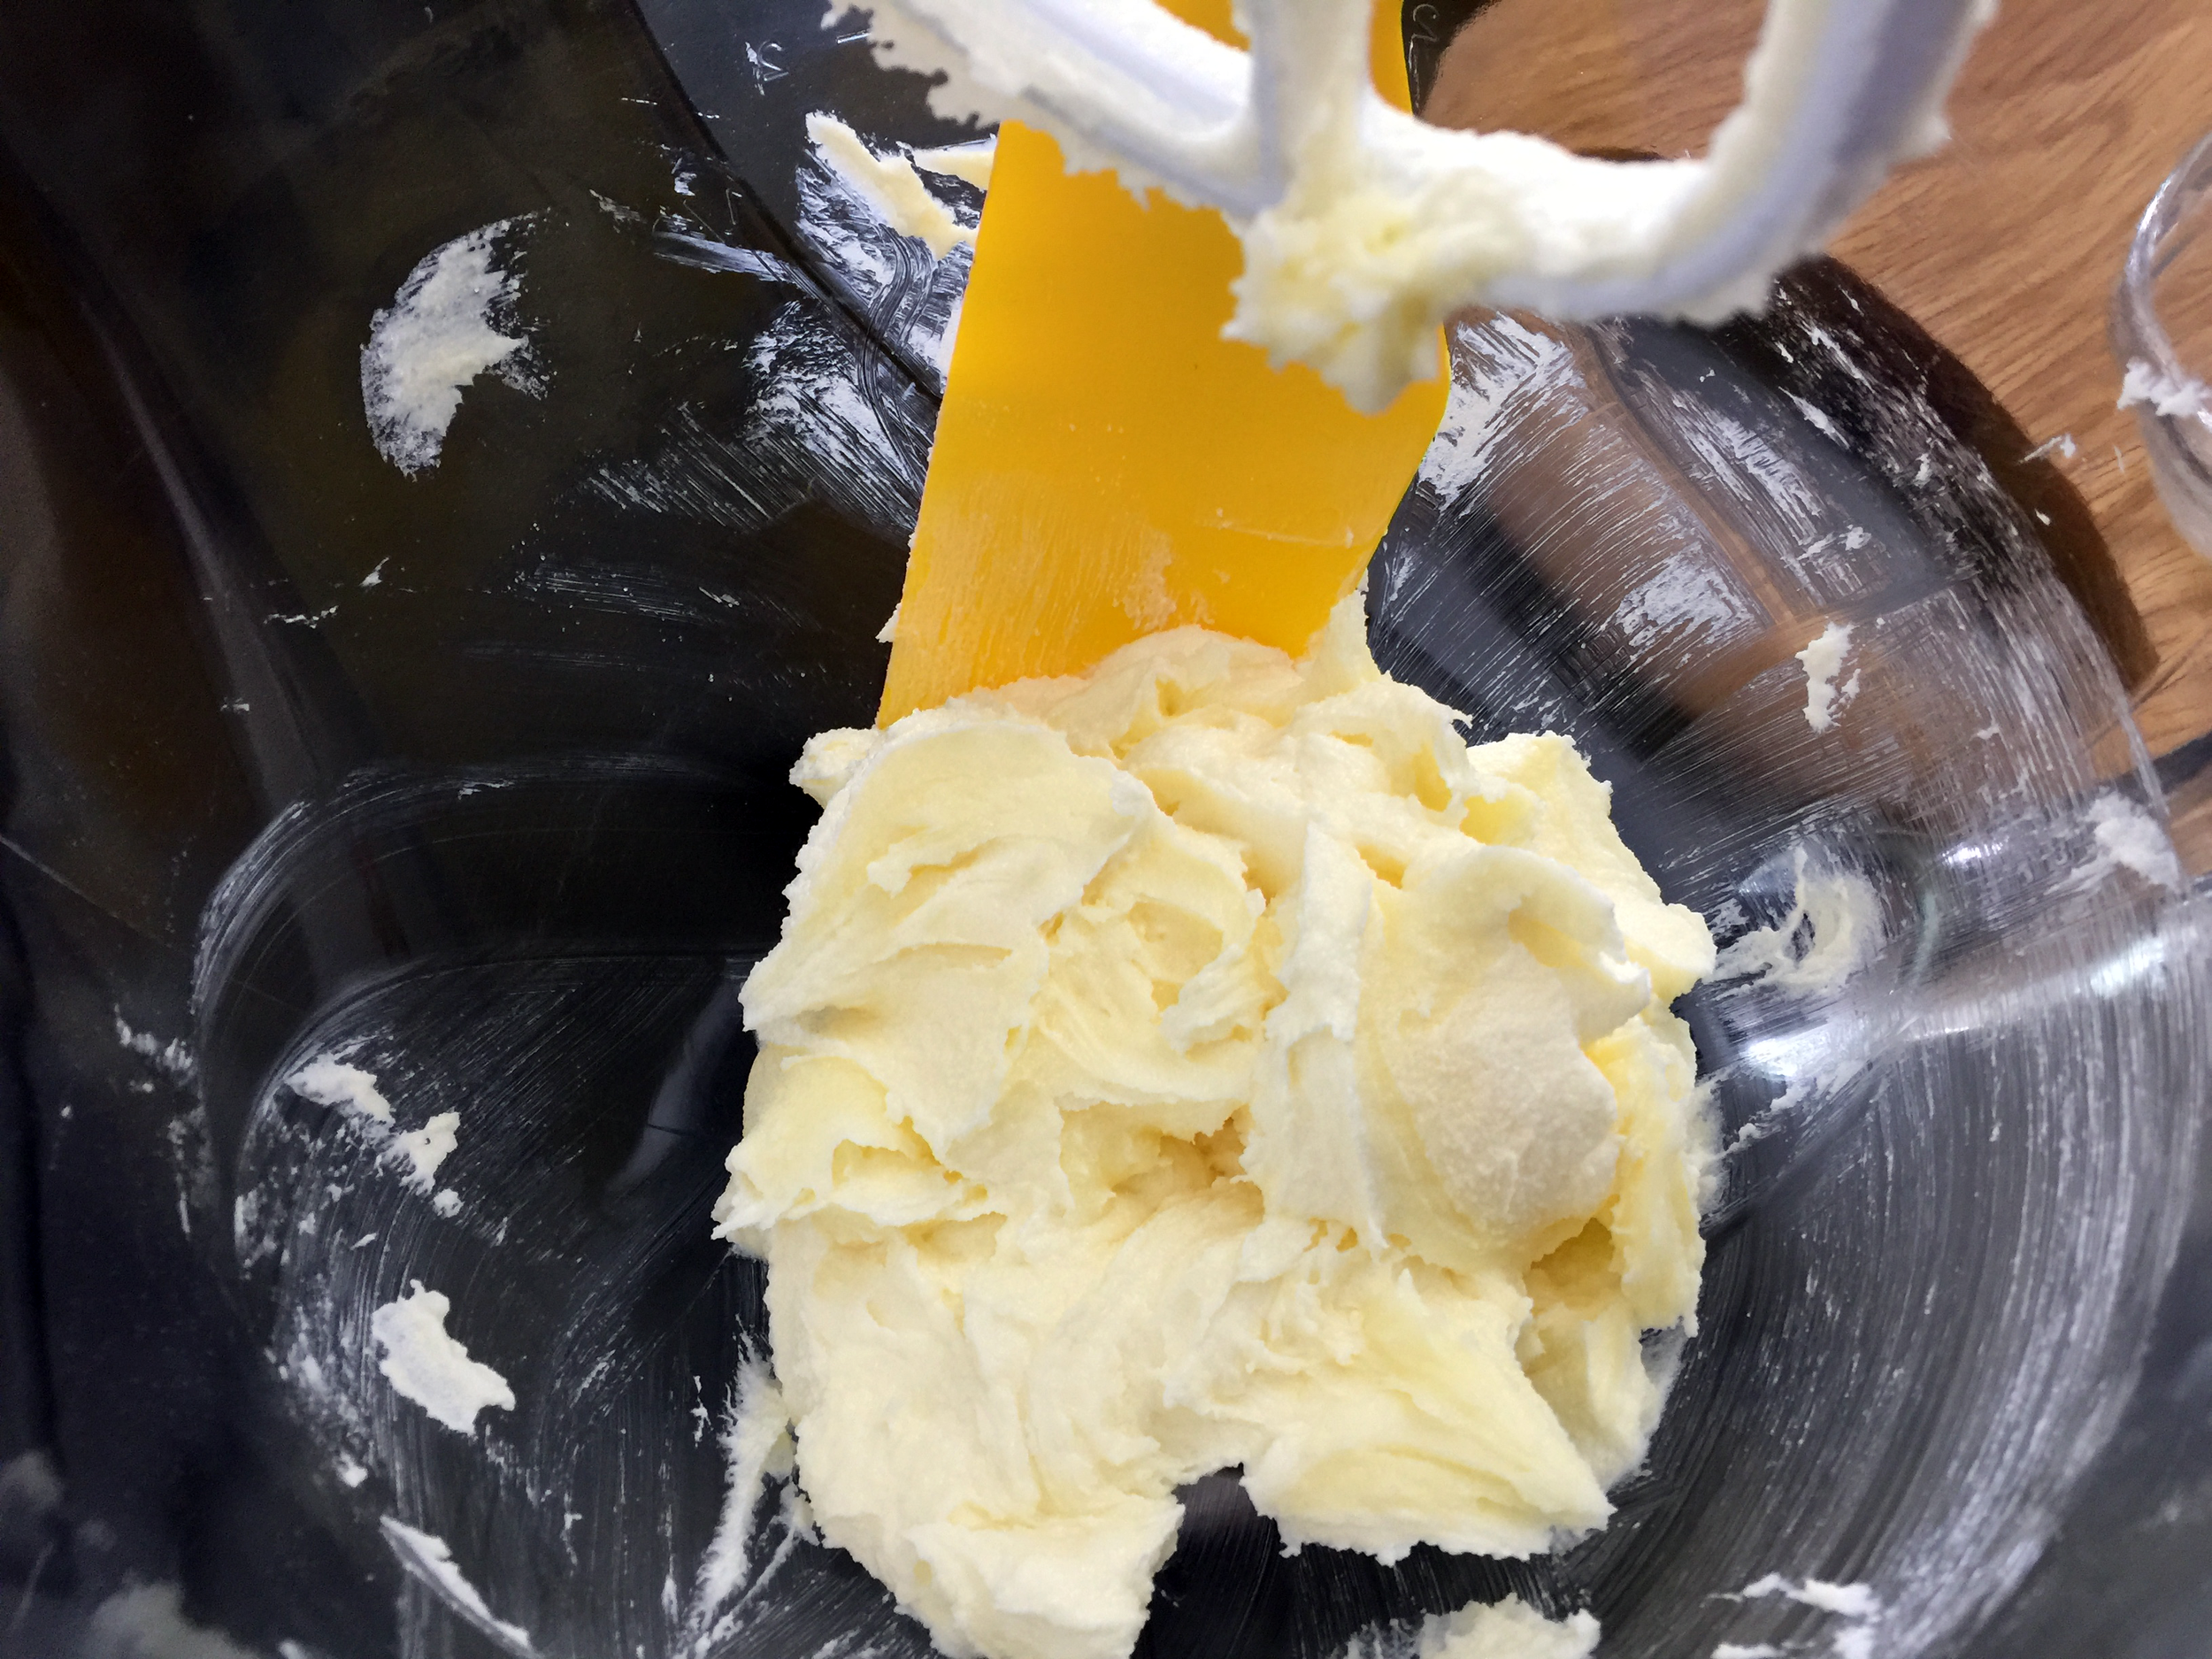
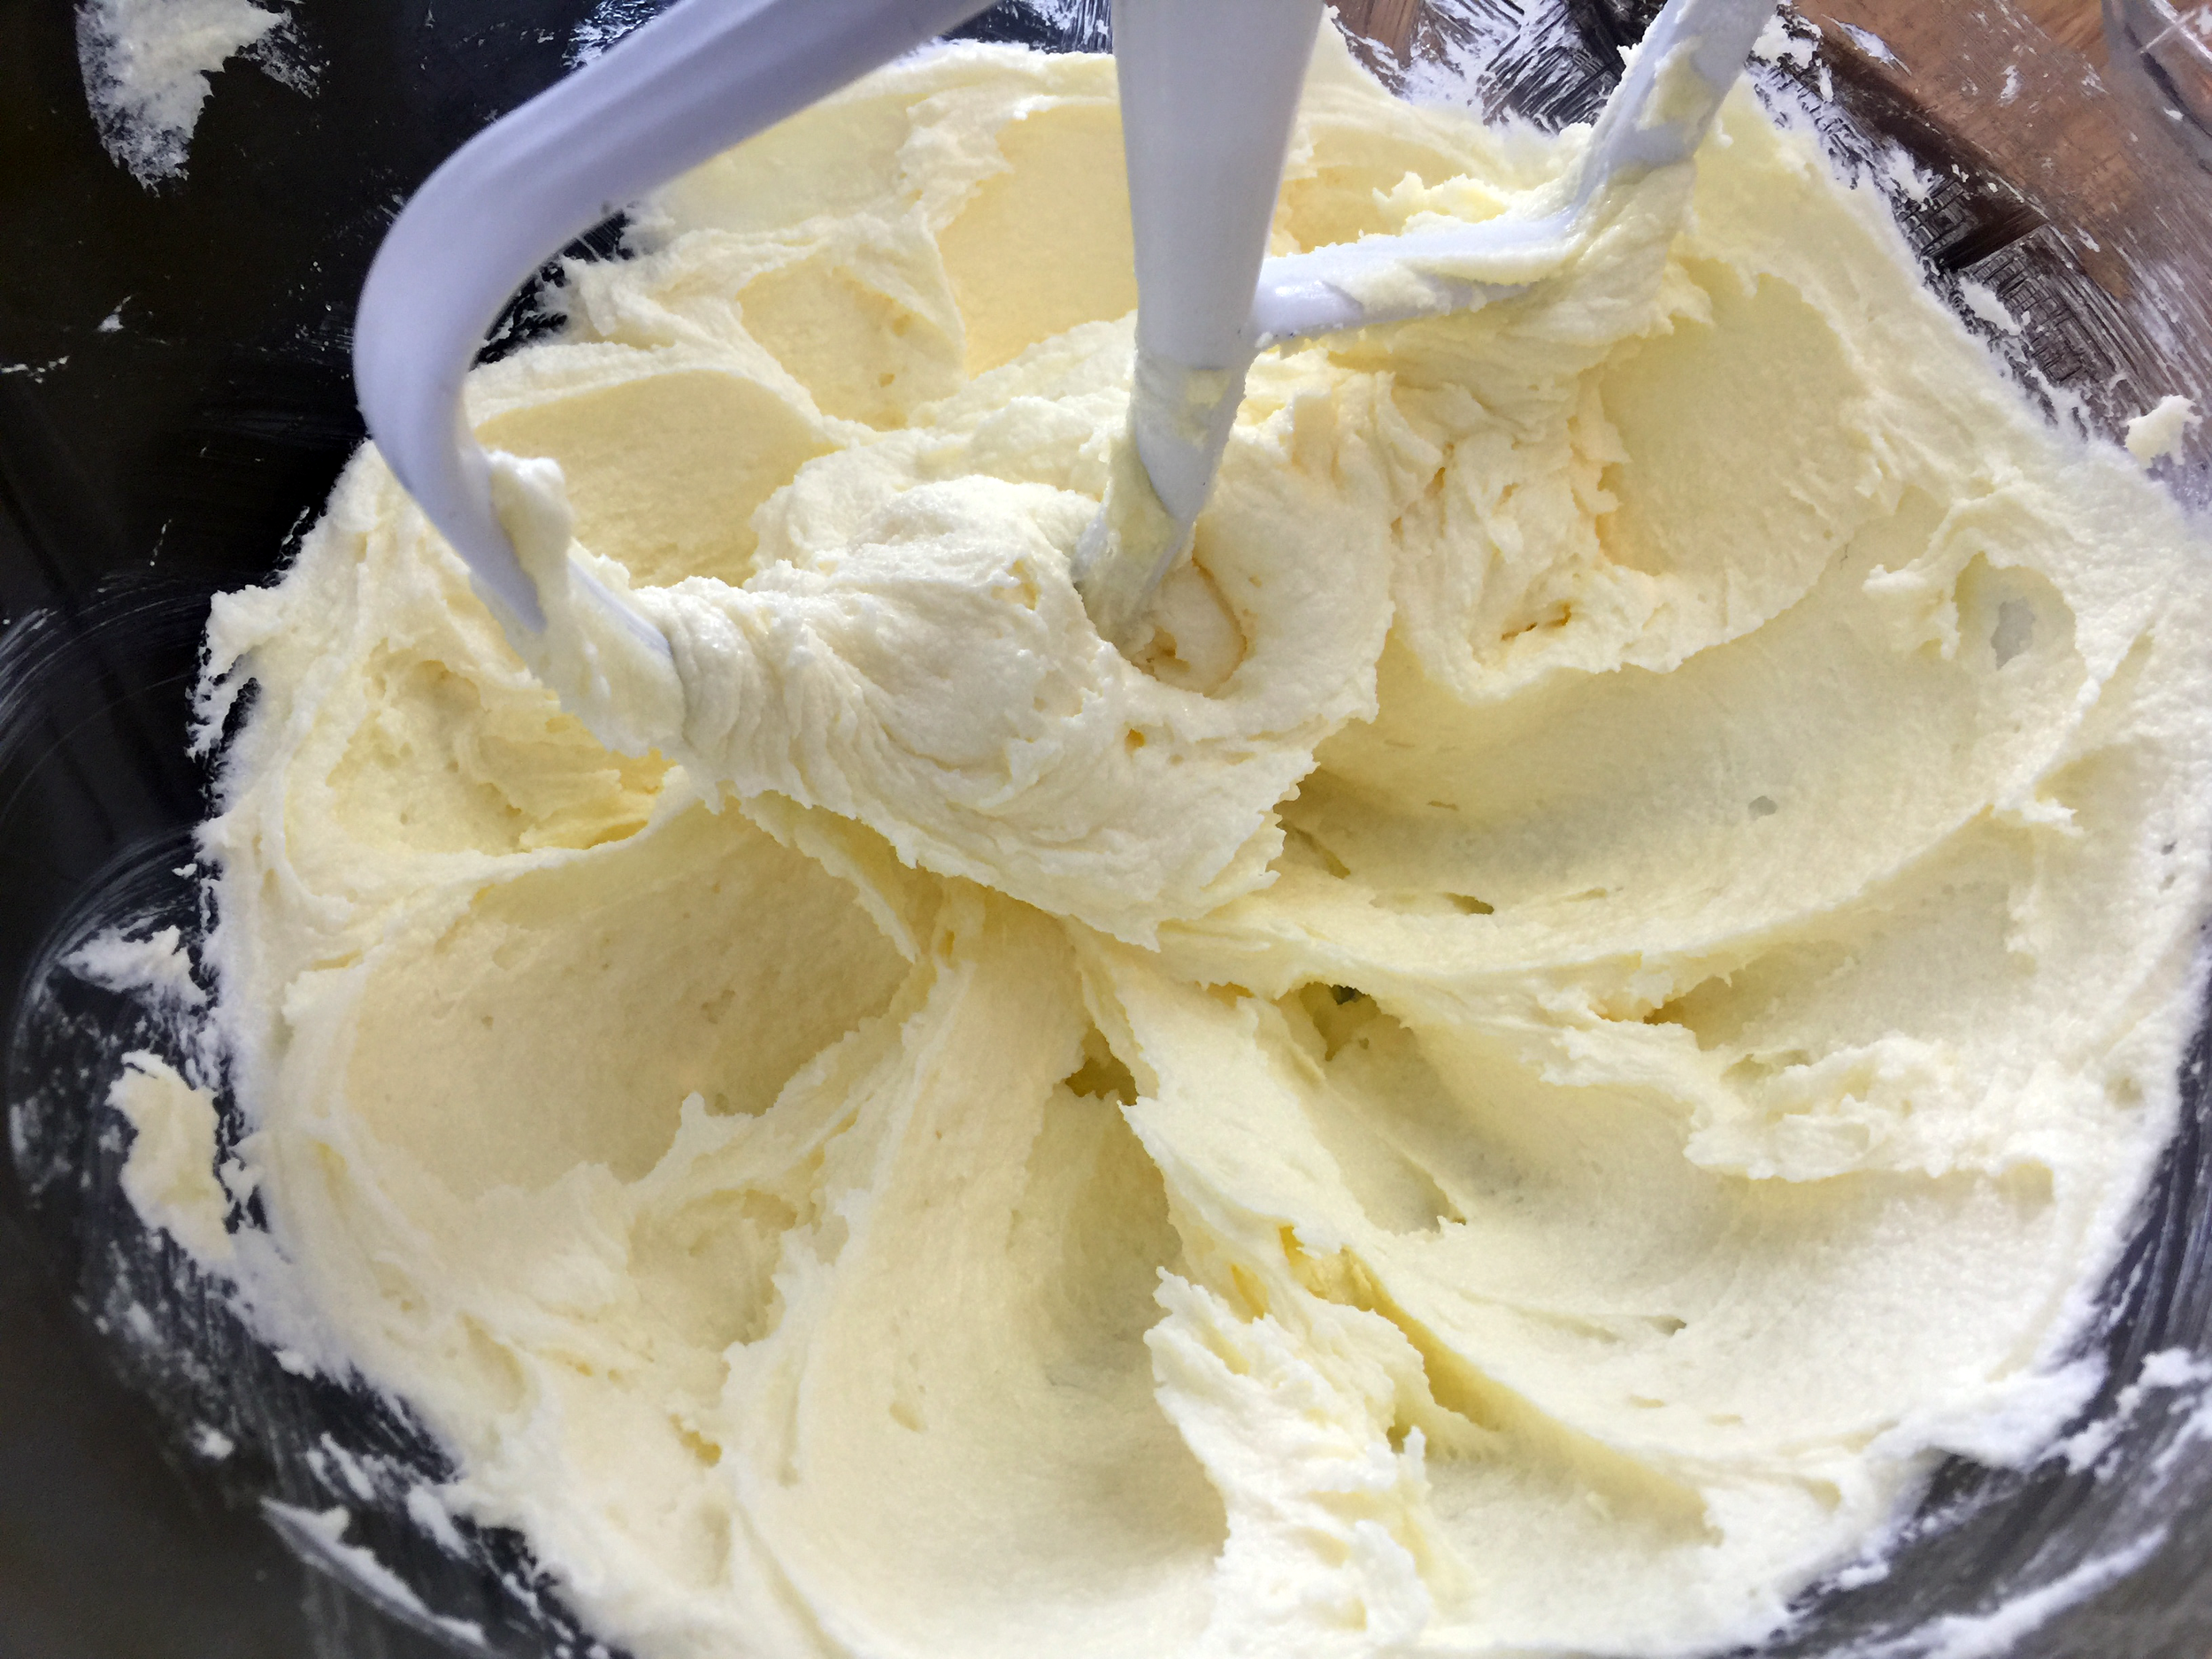
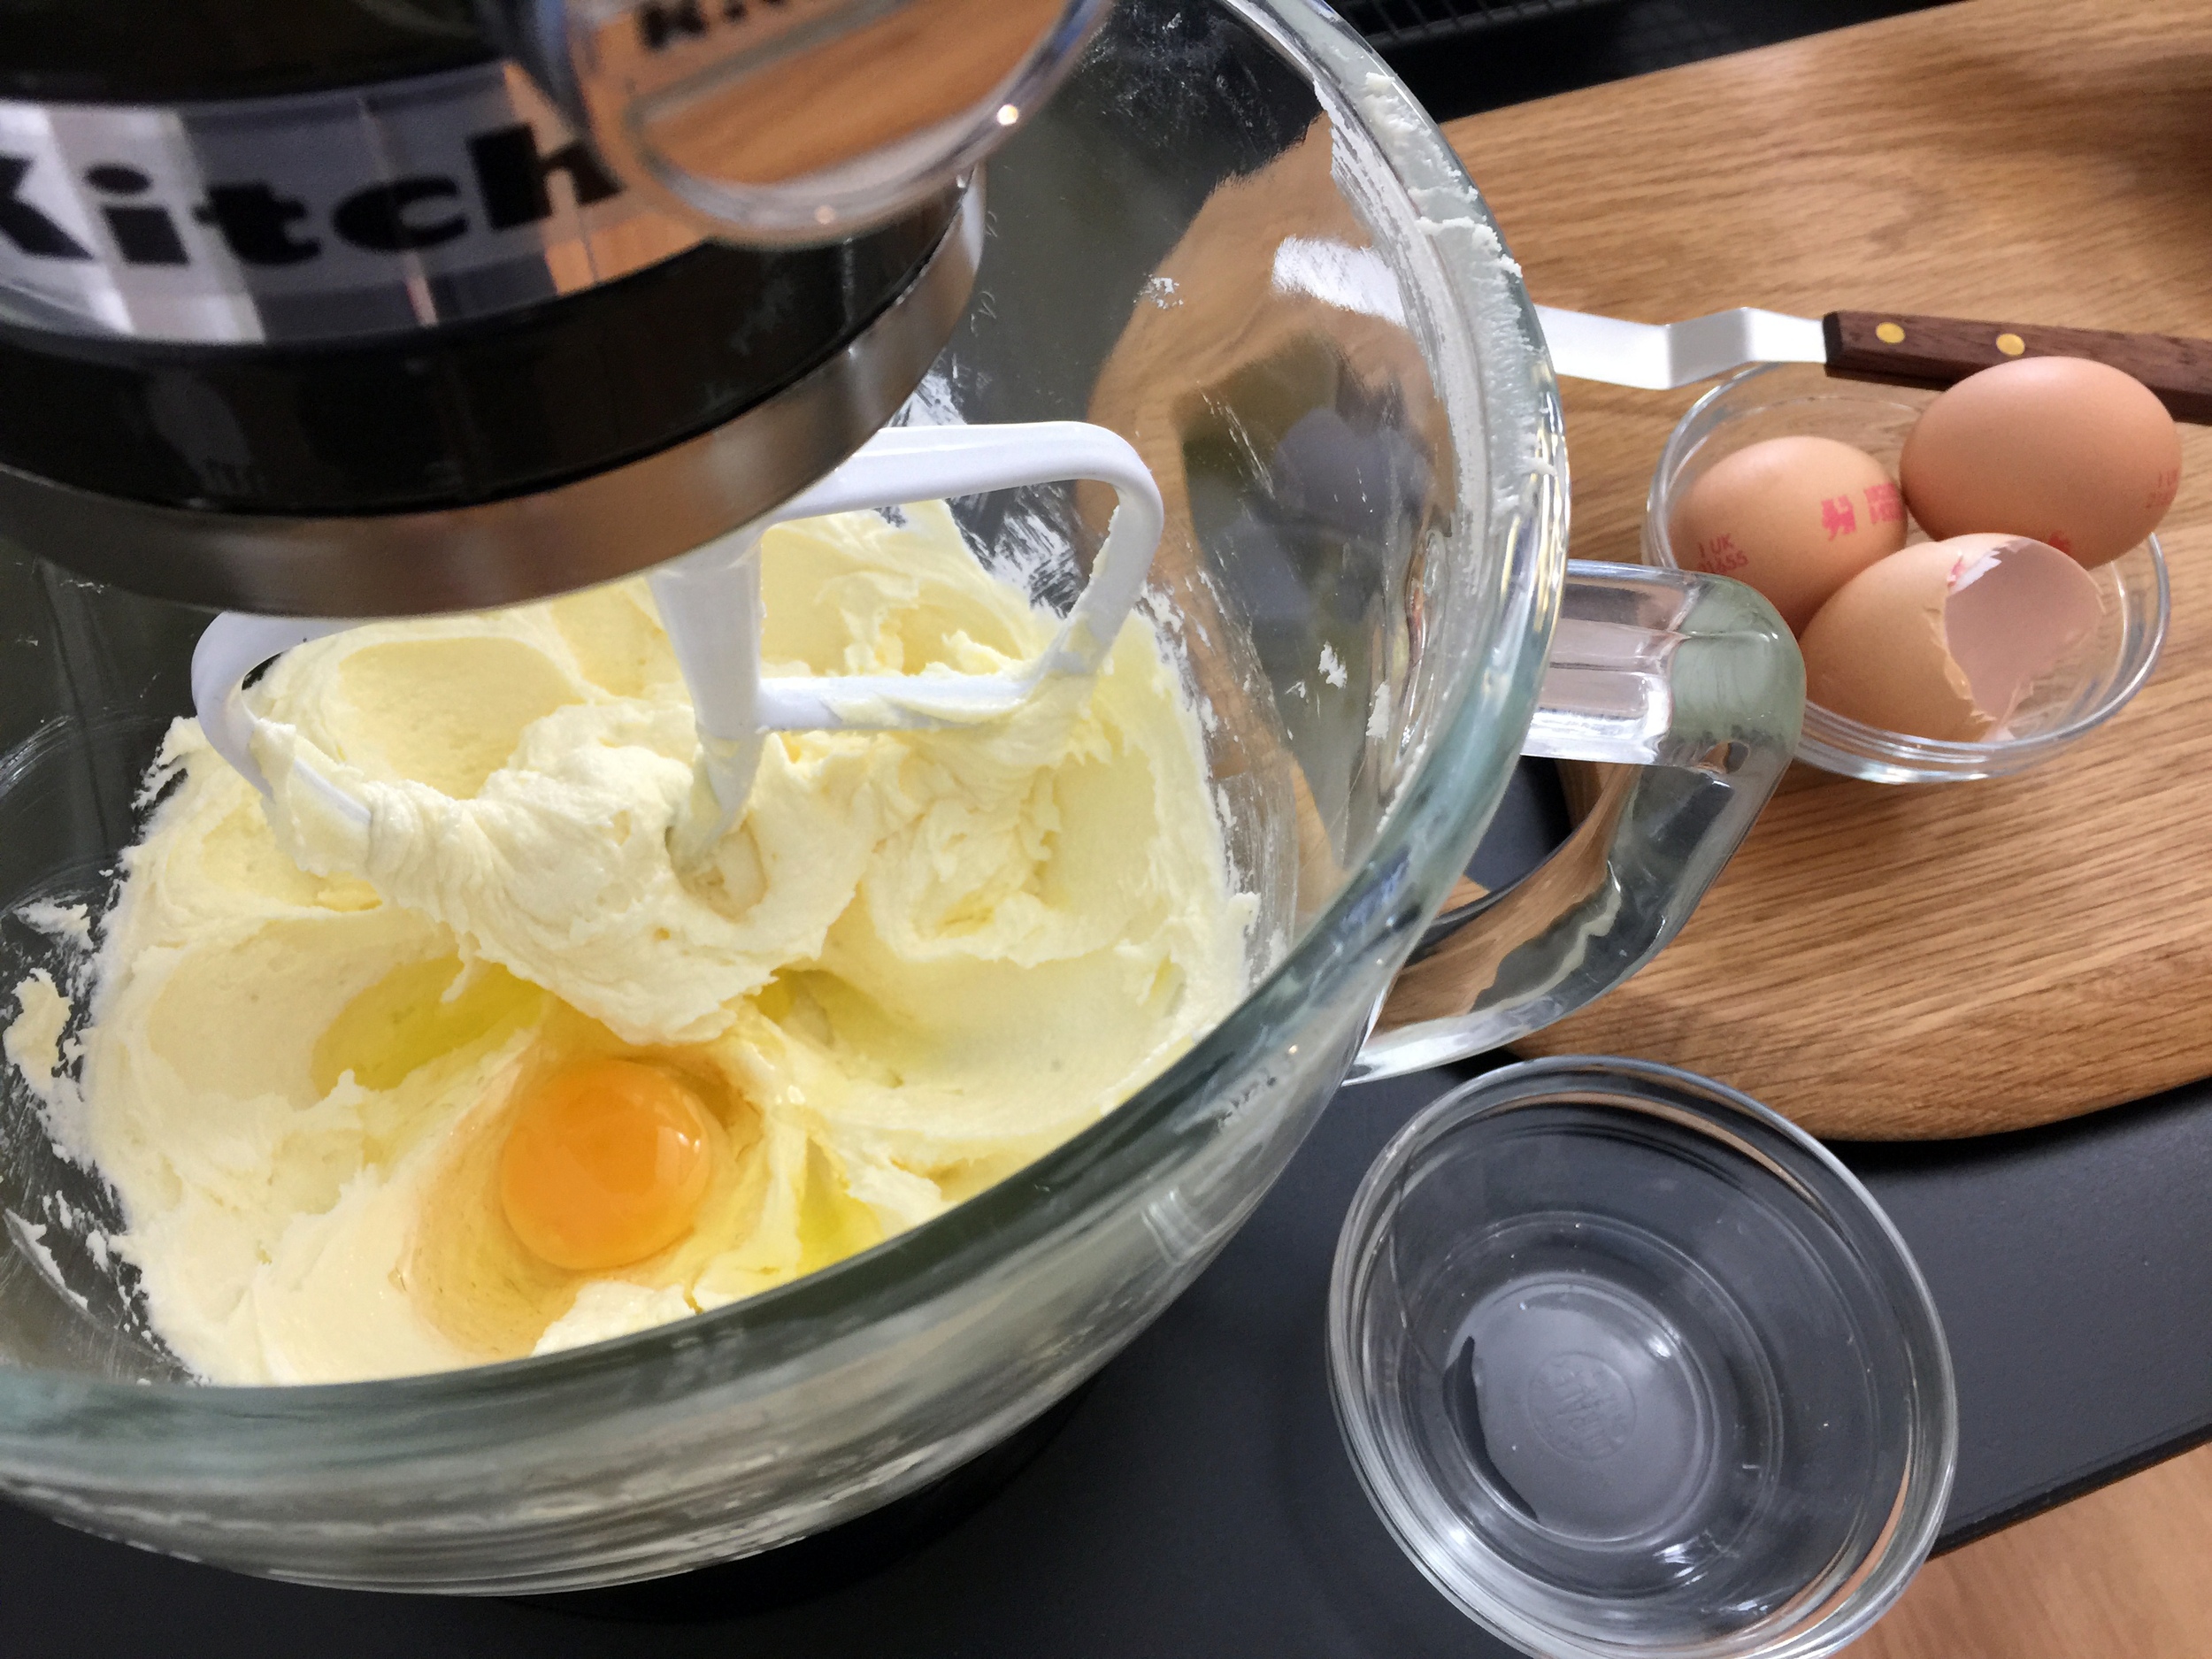
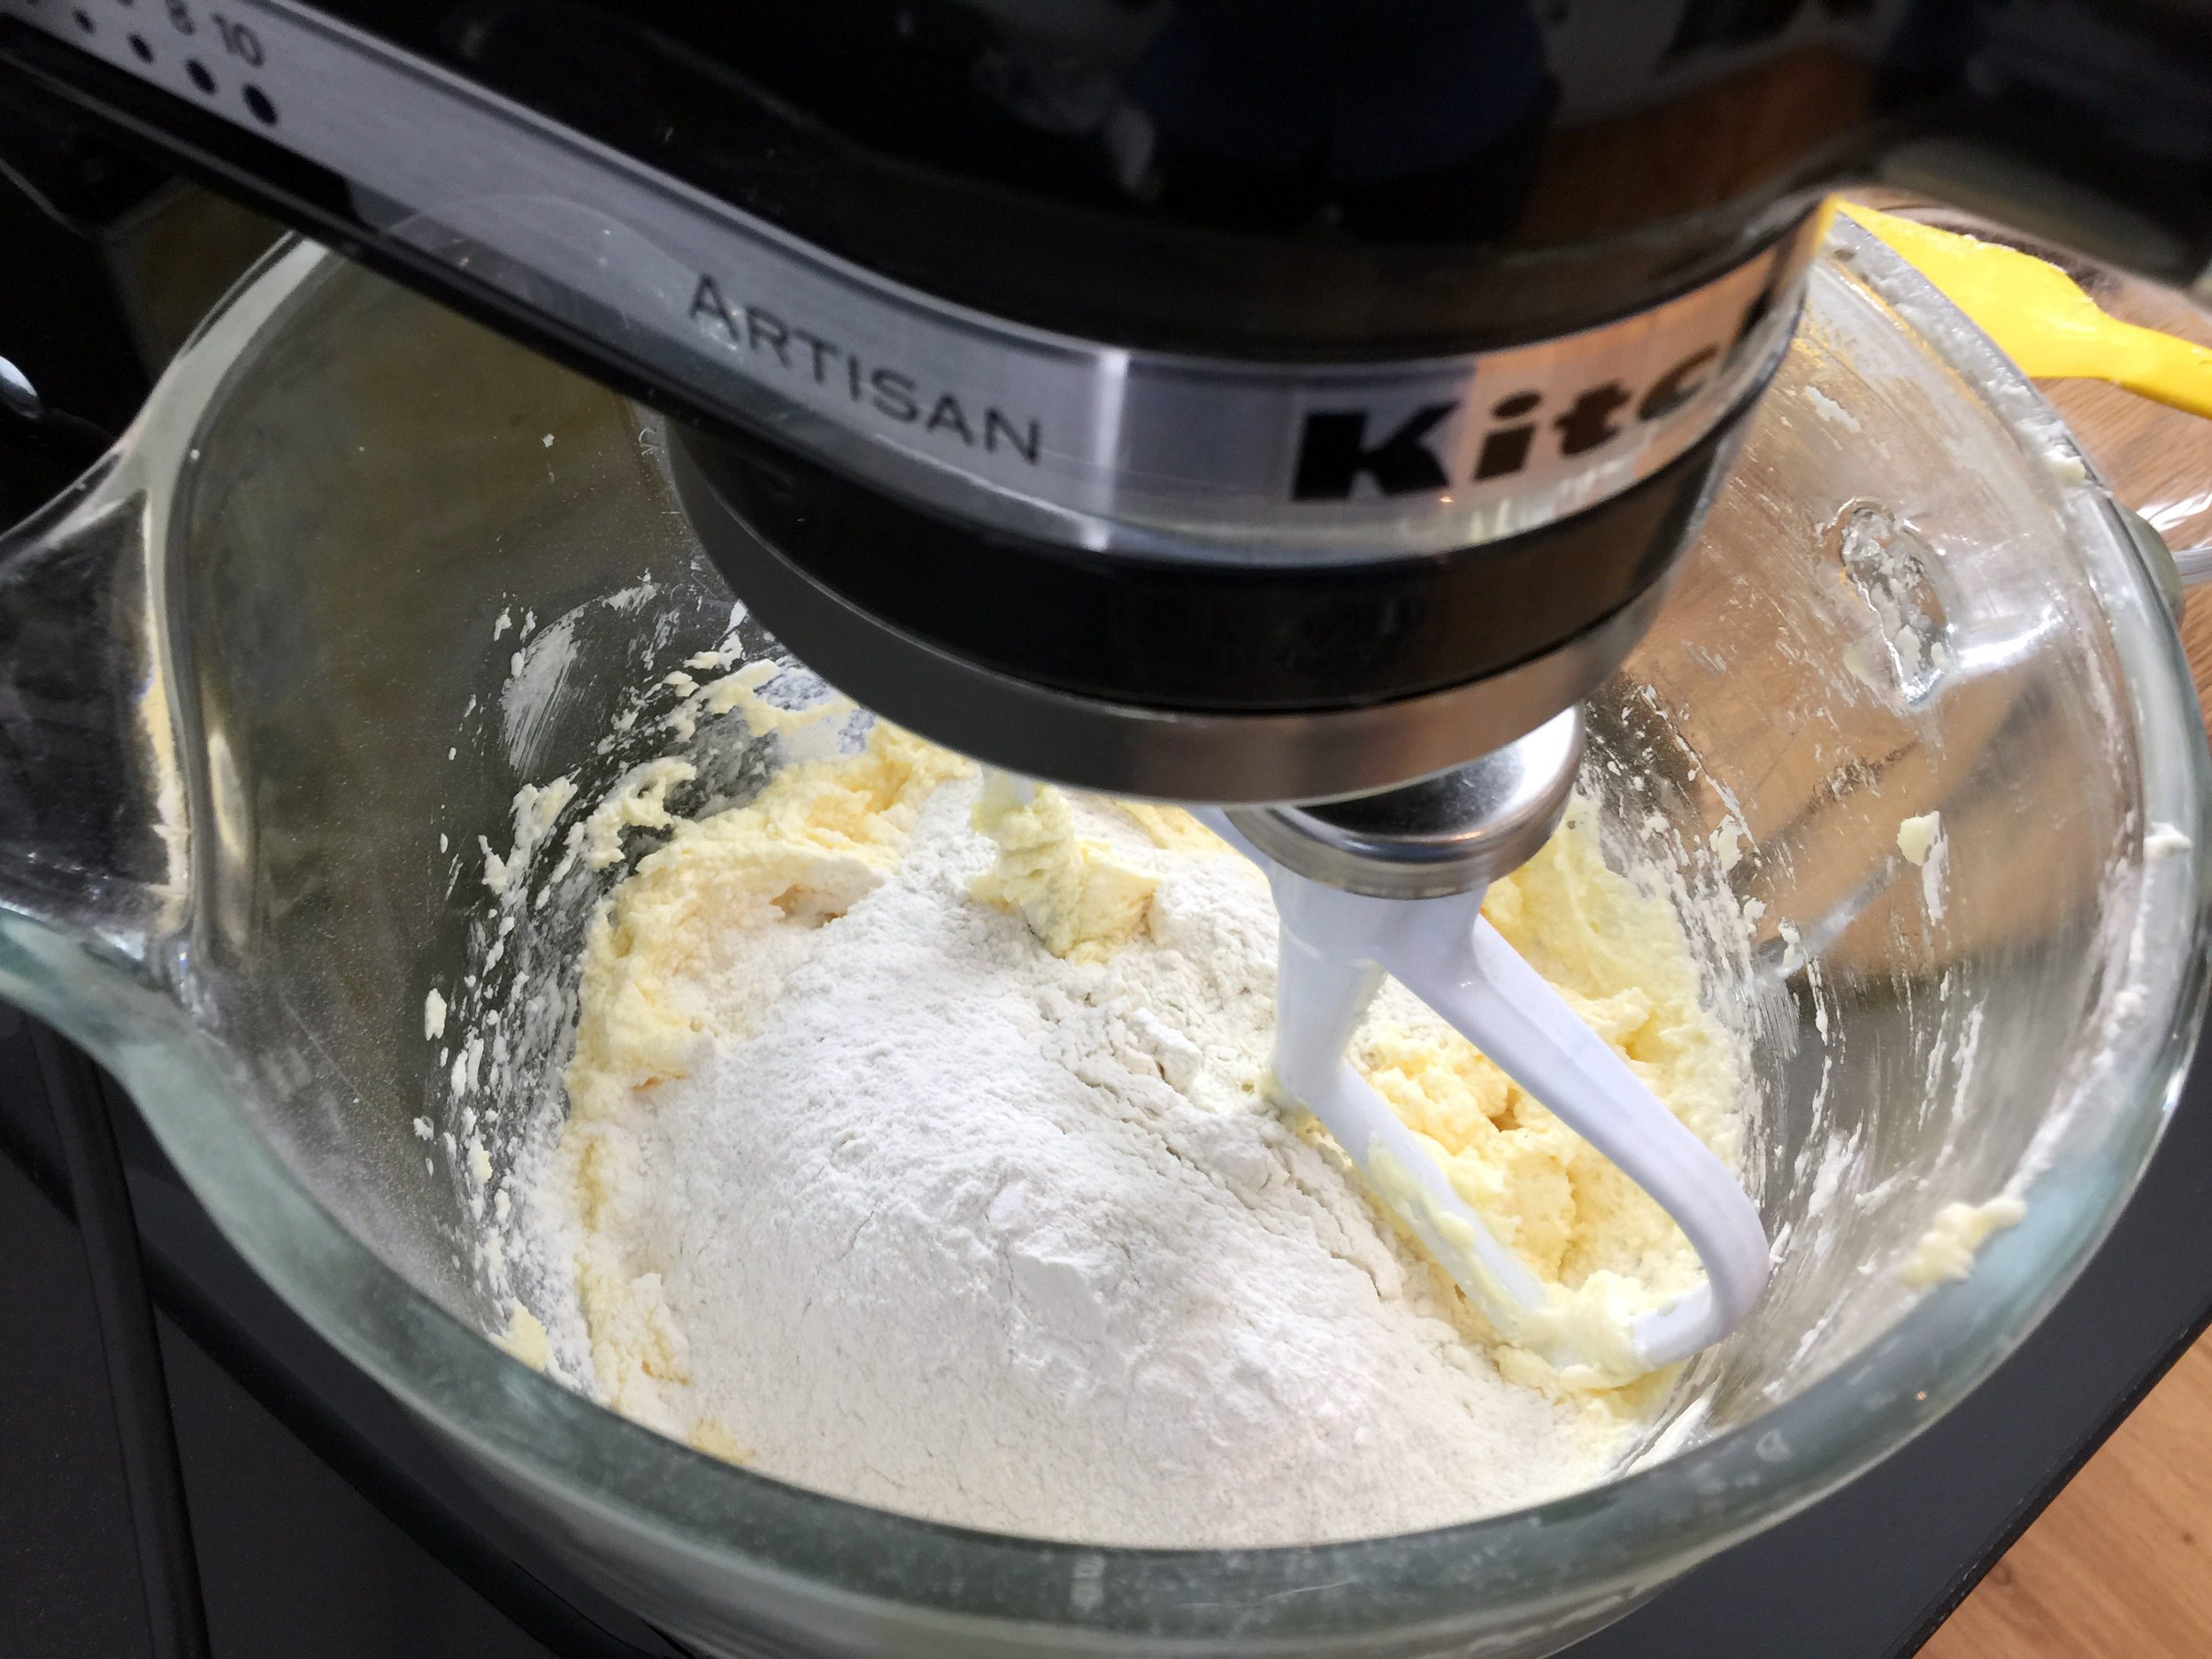
3. Using the flat beater attachment, cream the caster sugar and butter until pale in colour, increased in volume and mousse like in texture. Start on a medium speed, using a spatula intermittently scrape down the bowl and beater, you can increase the speed (if the speed is too high it will spread the butter all over the bowl so do not have it on high speed).
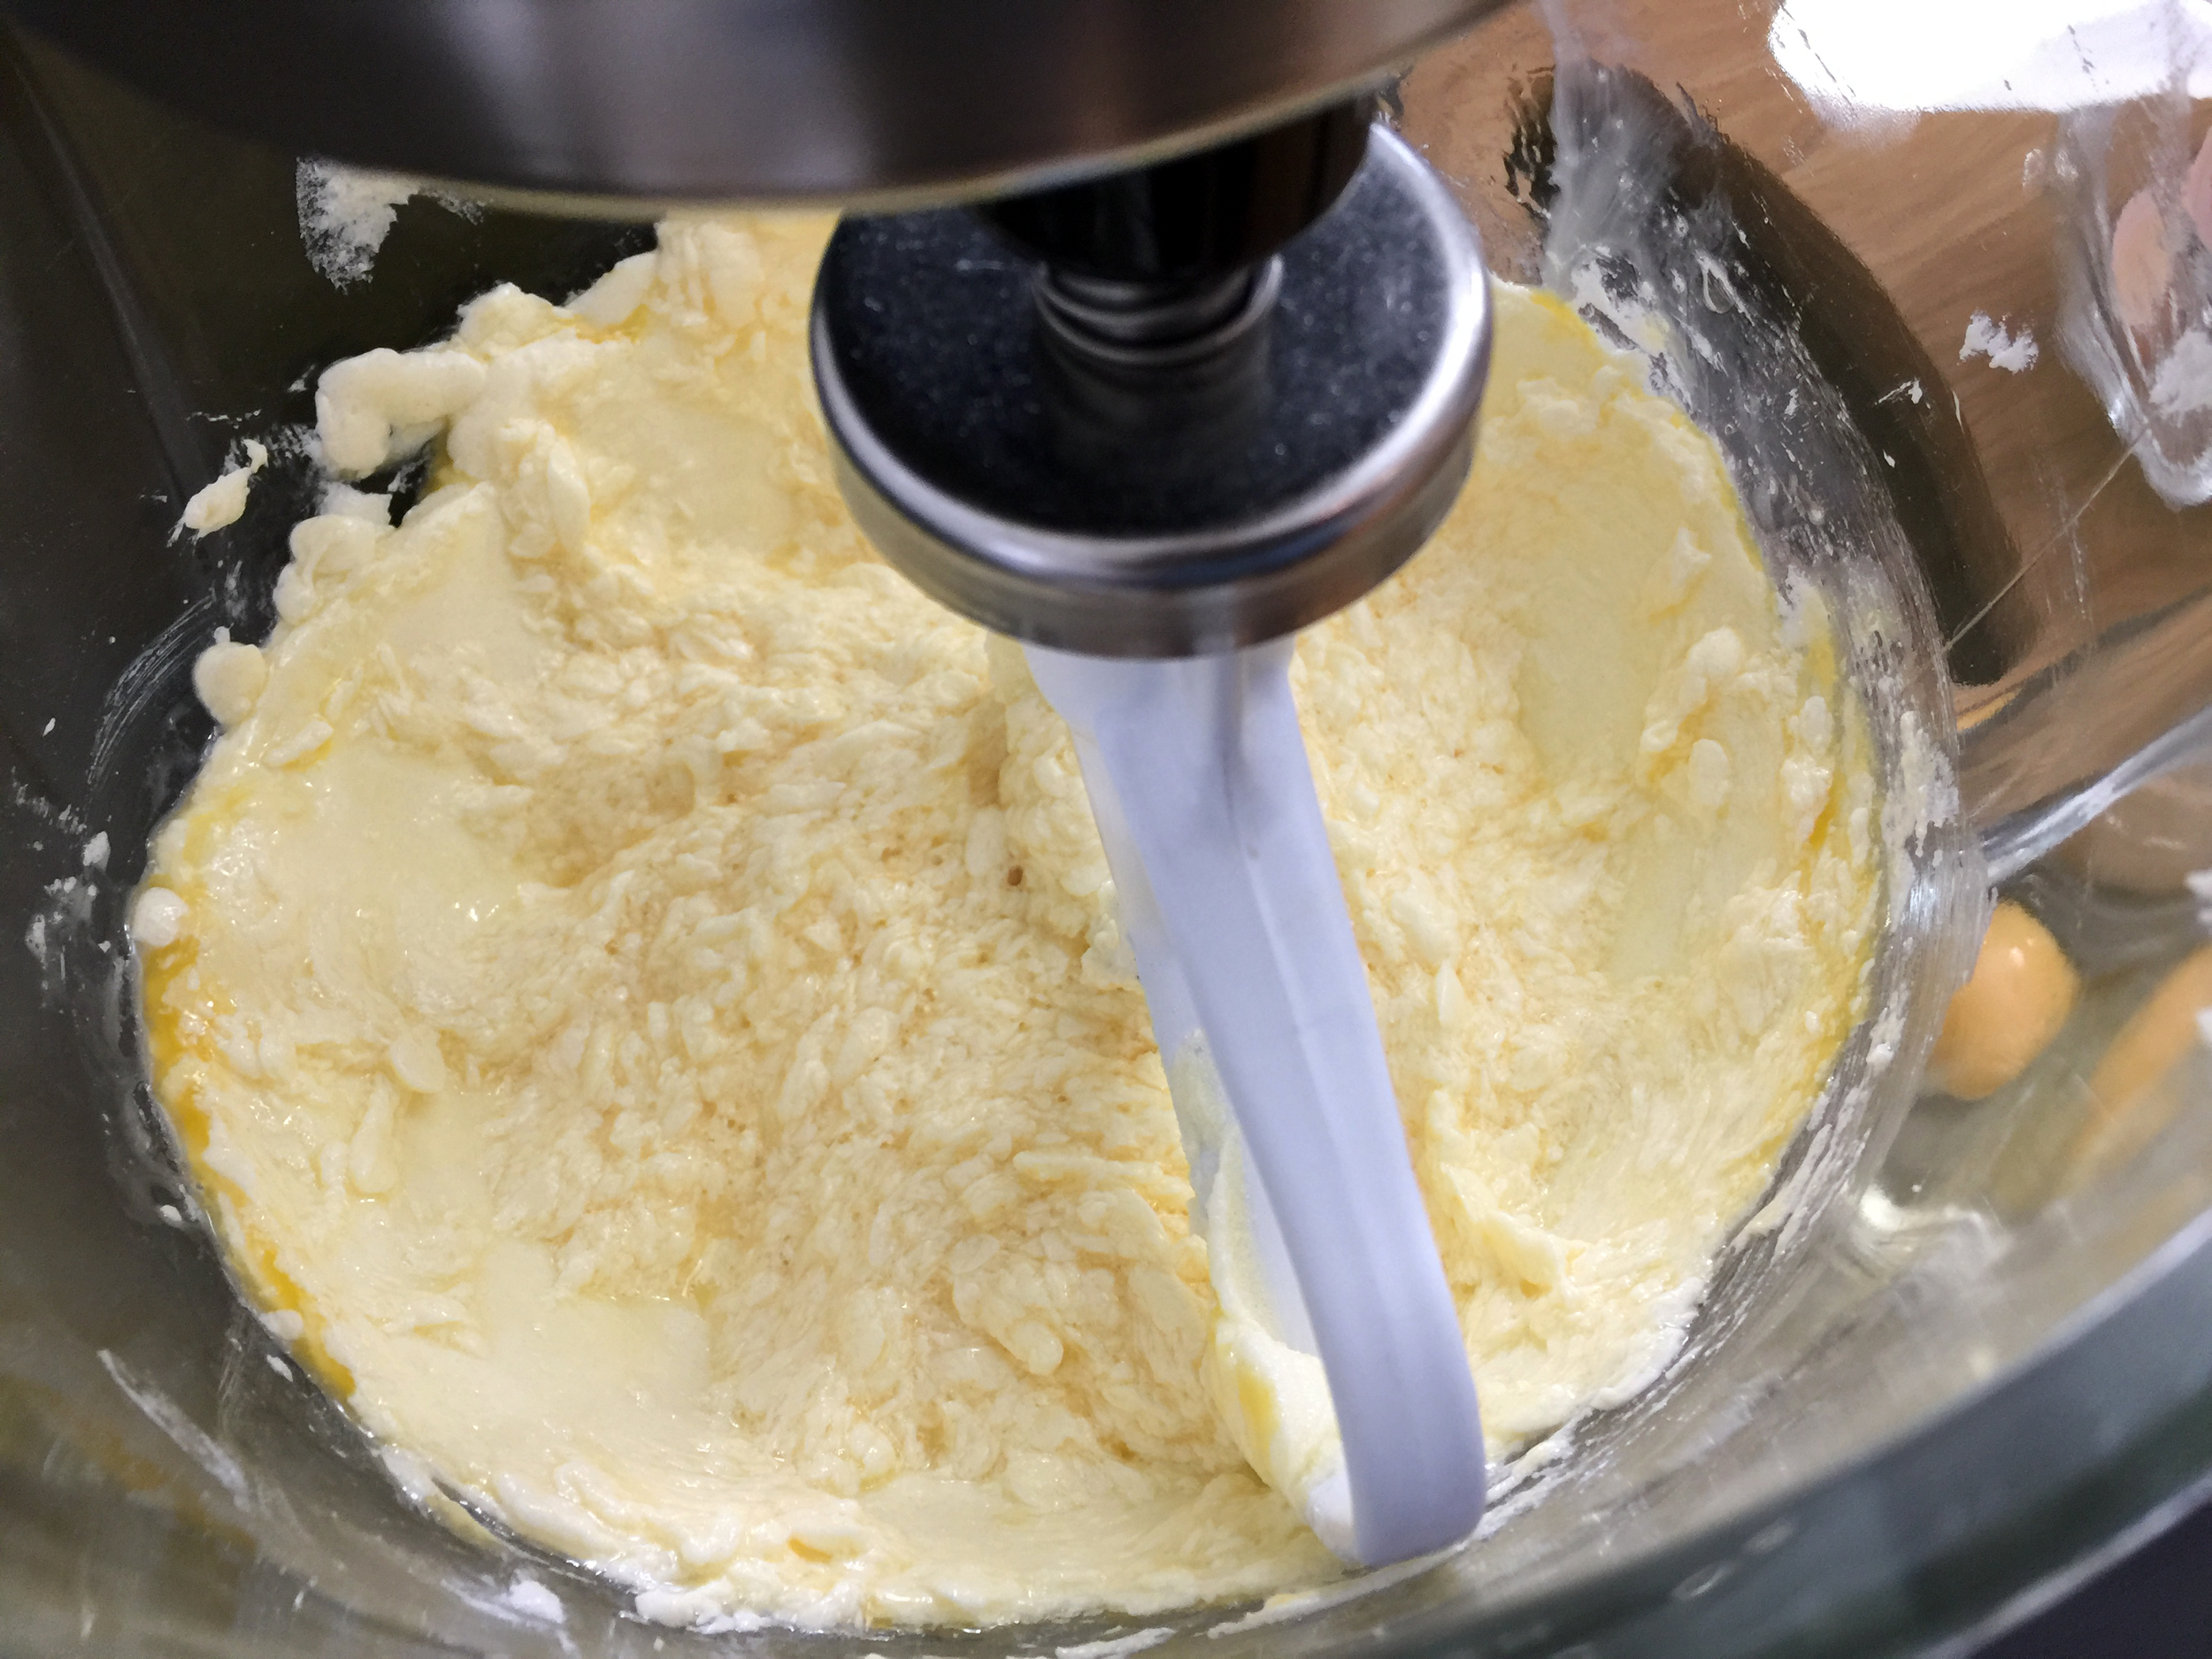
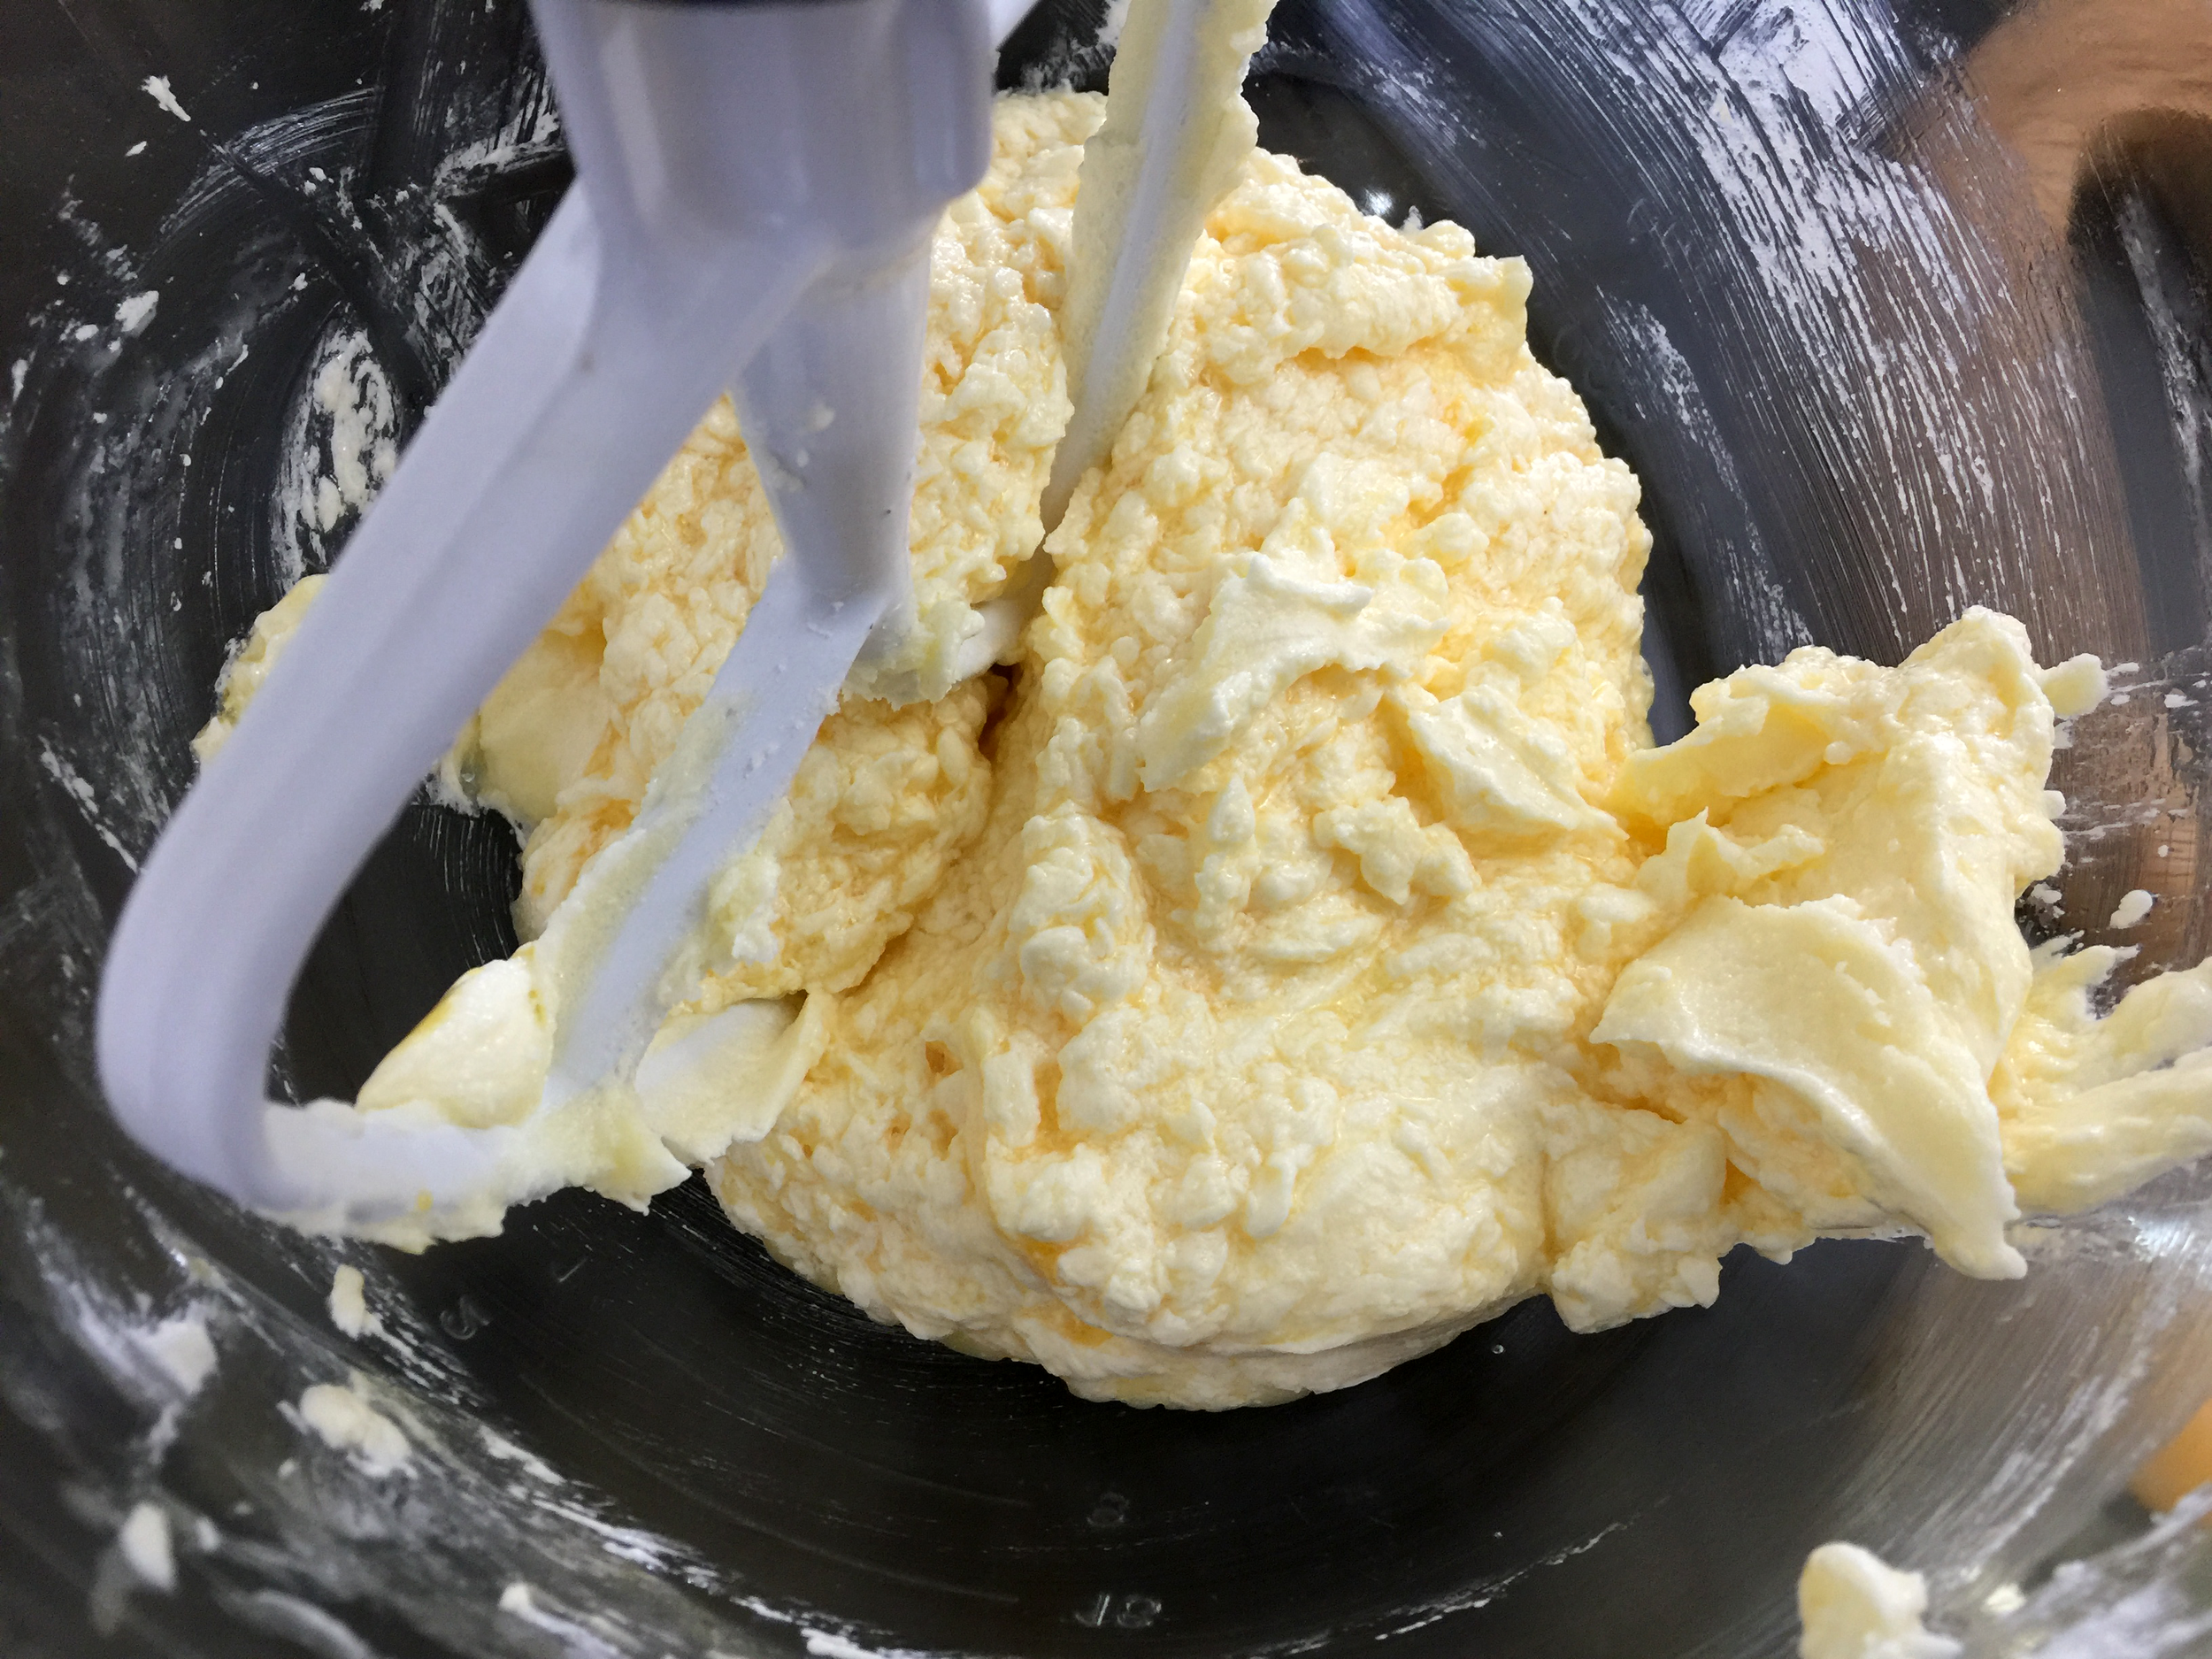
4. Crack the eggs into a fresh bowl, then add the eggs one at a time beating the creamed mixture well to fully absorb and incorporate the egg before adding the next egg and so on. The mixture may curdle, this is quite normal. Continue beating and the mix will combine (you can add 1tbsp of flour after each egg, however I tend to wait until the end and add the flour at once. If you beat the eggs in well, the mixture is only slightly curdled).
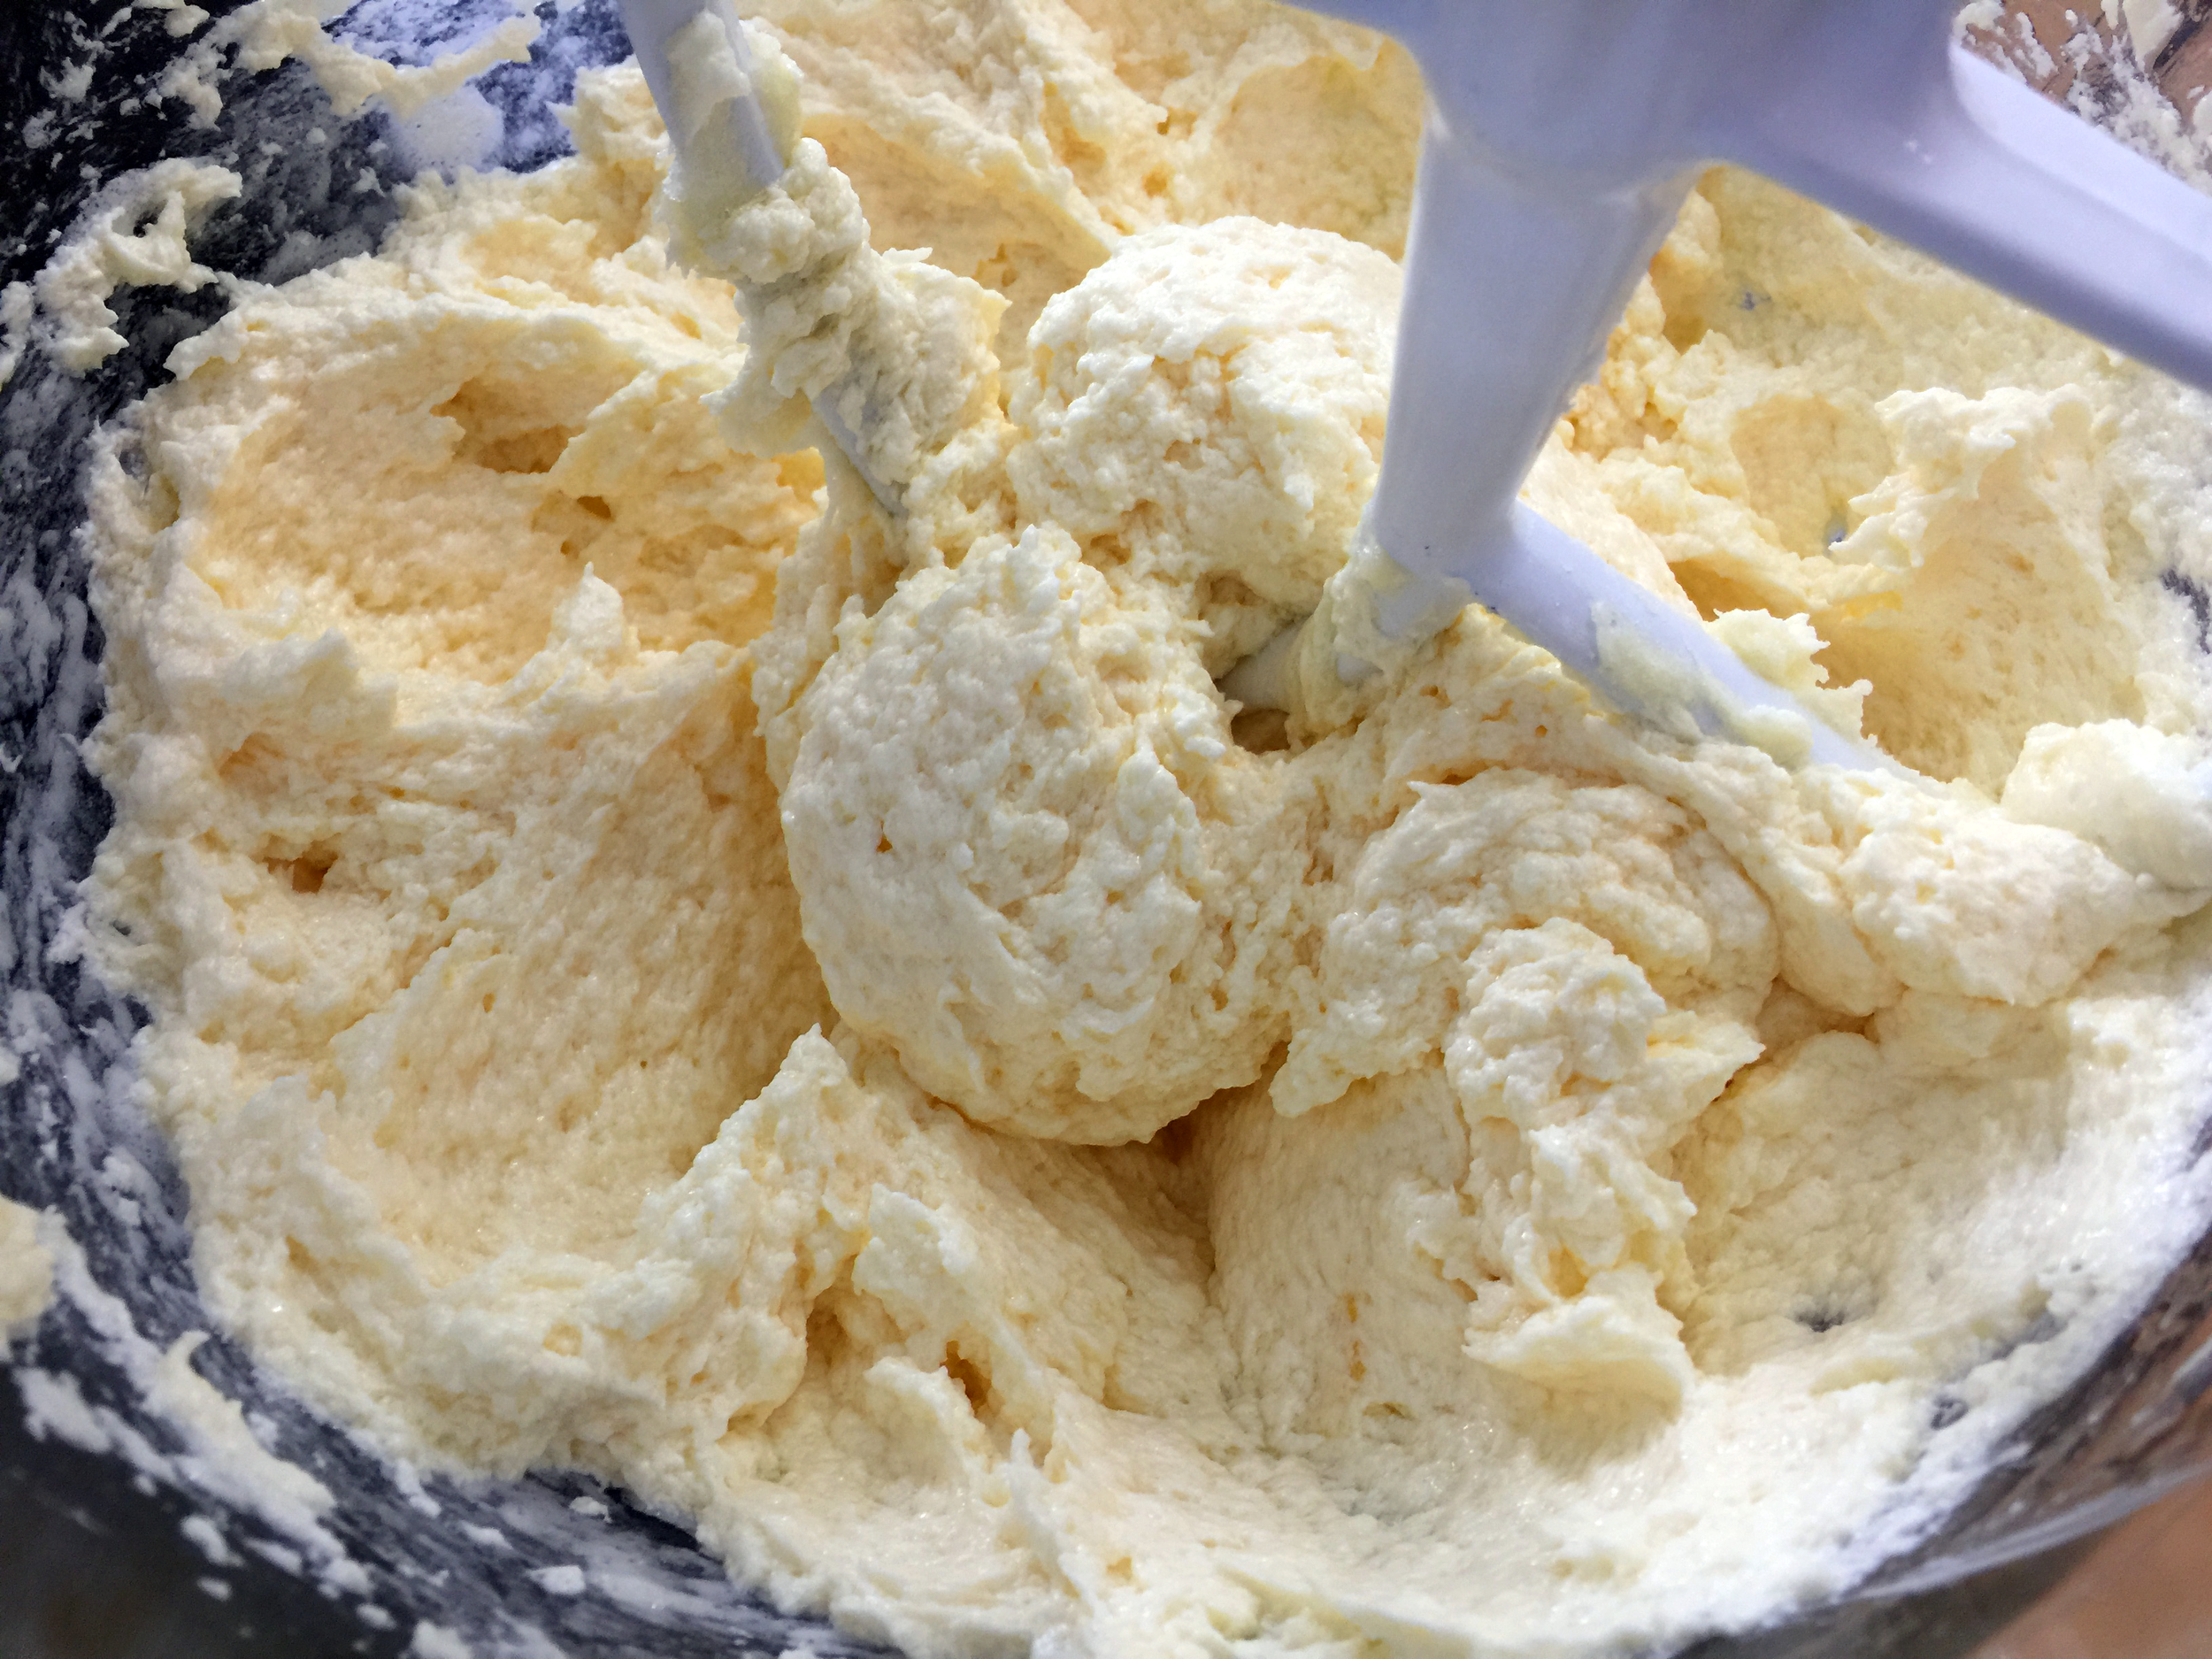
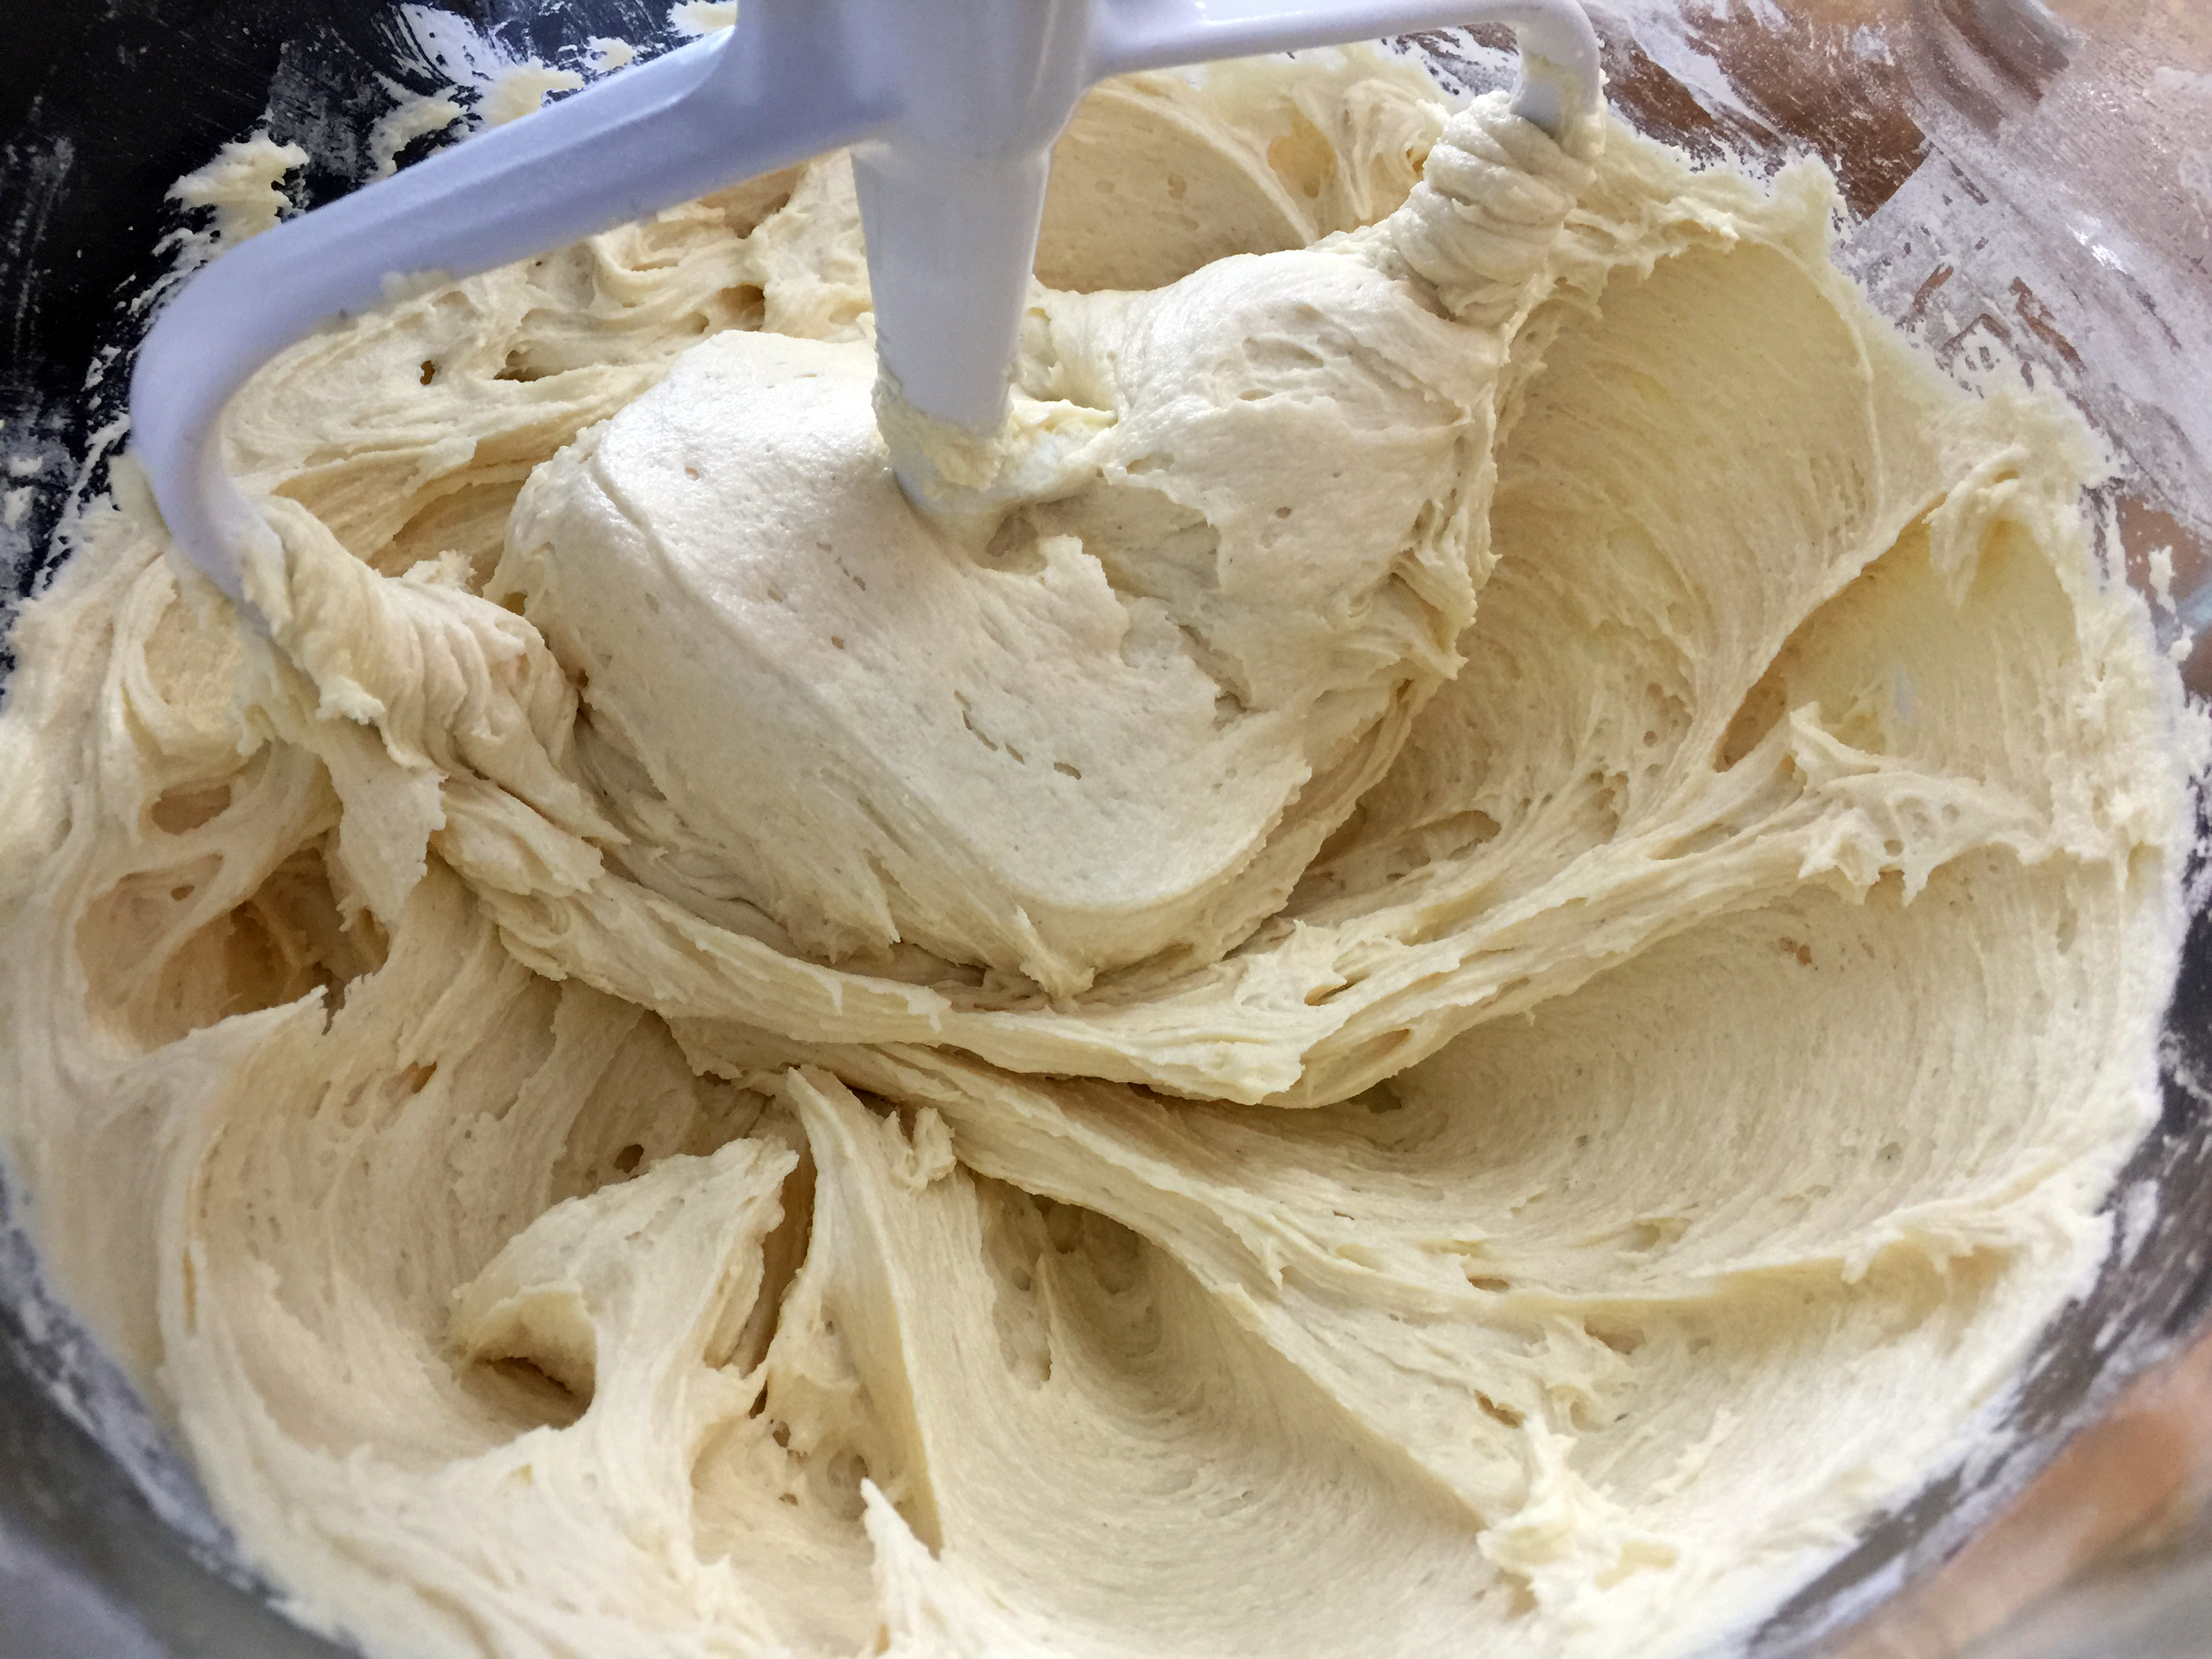
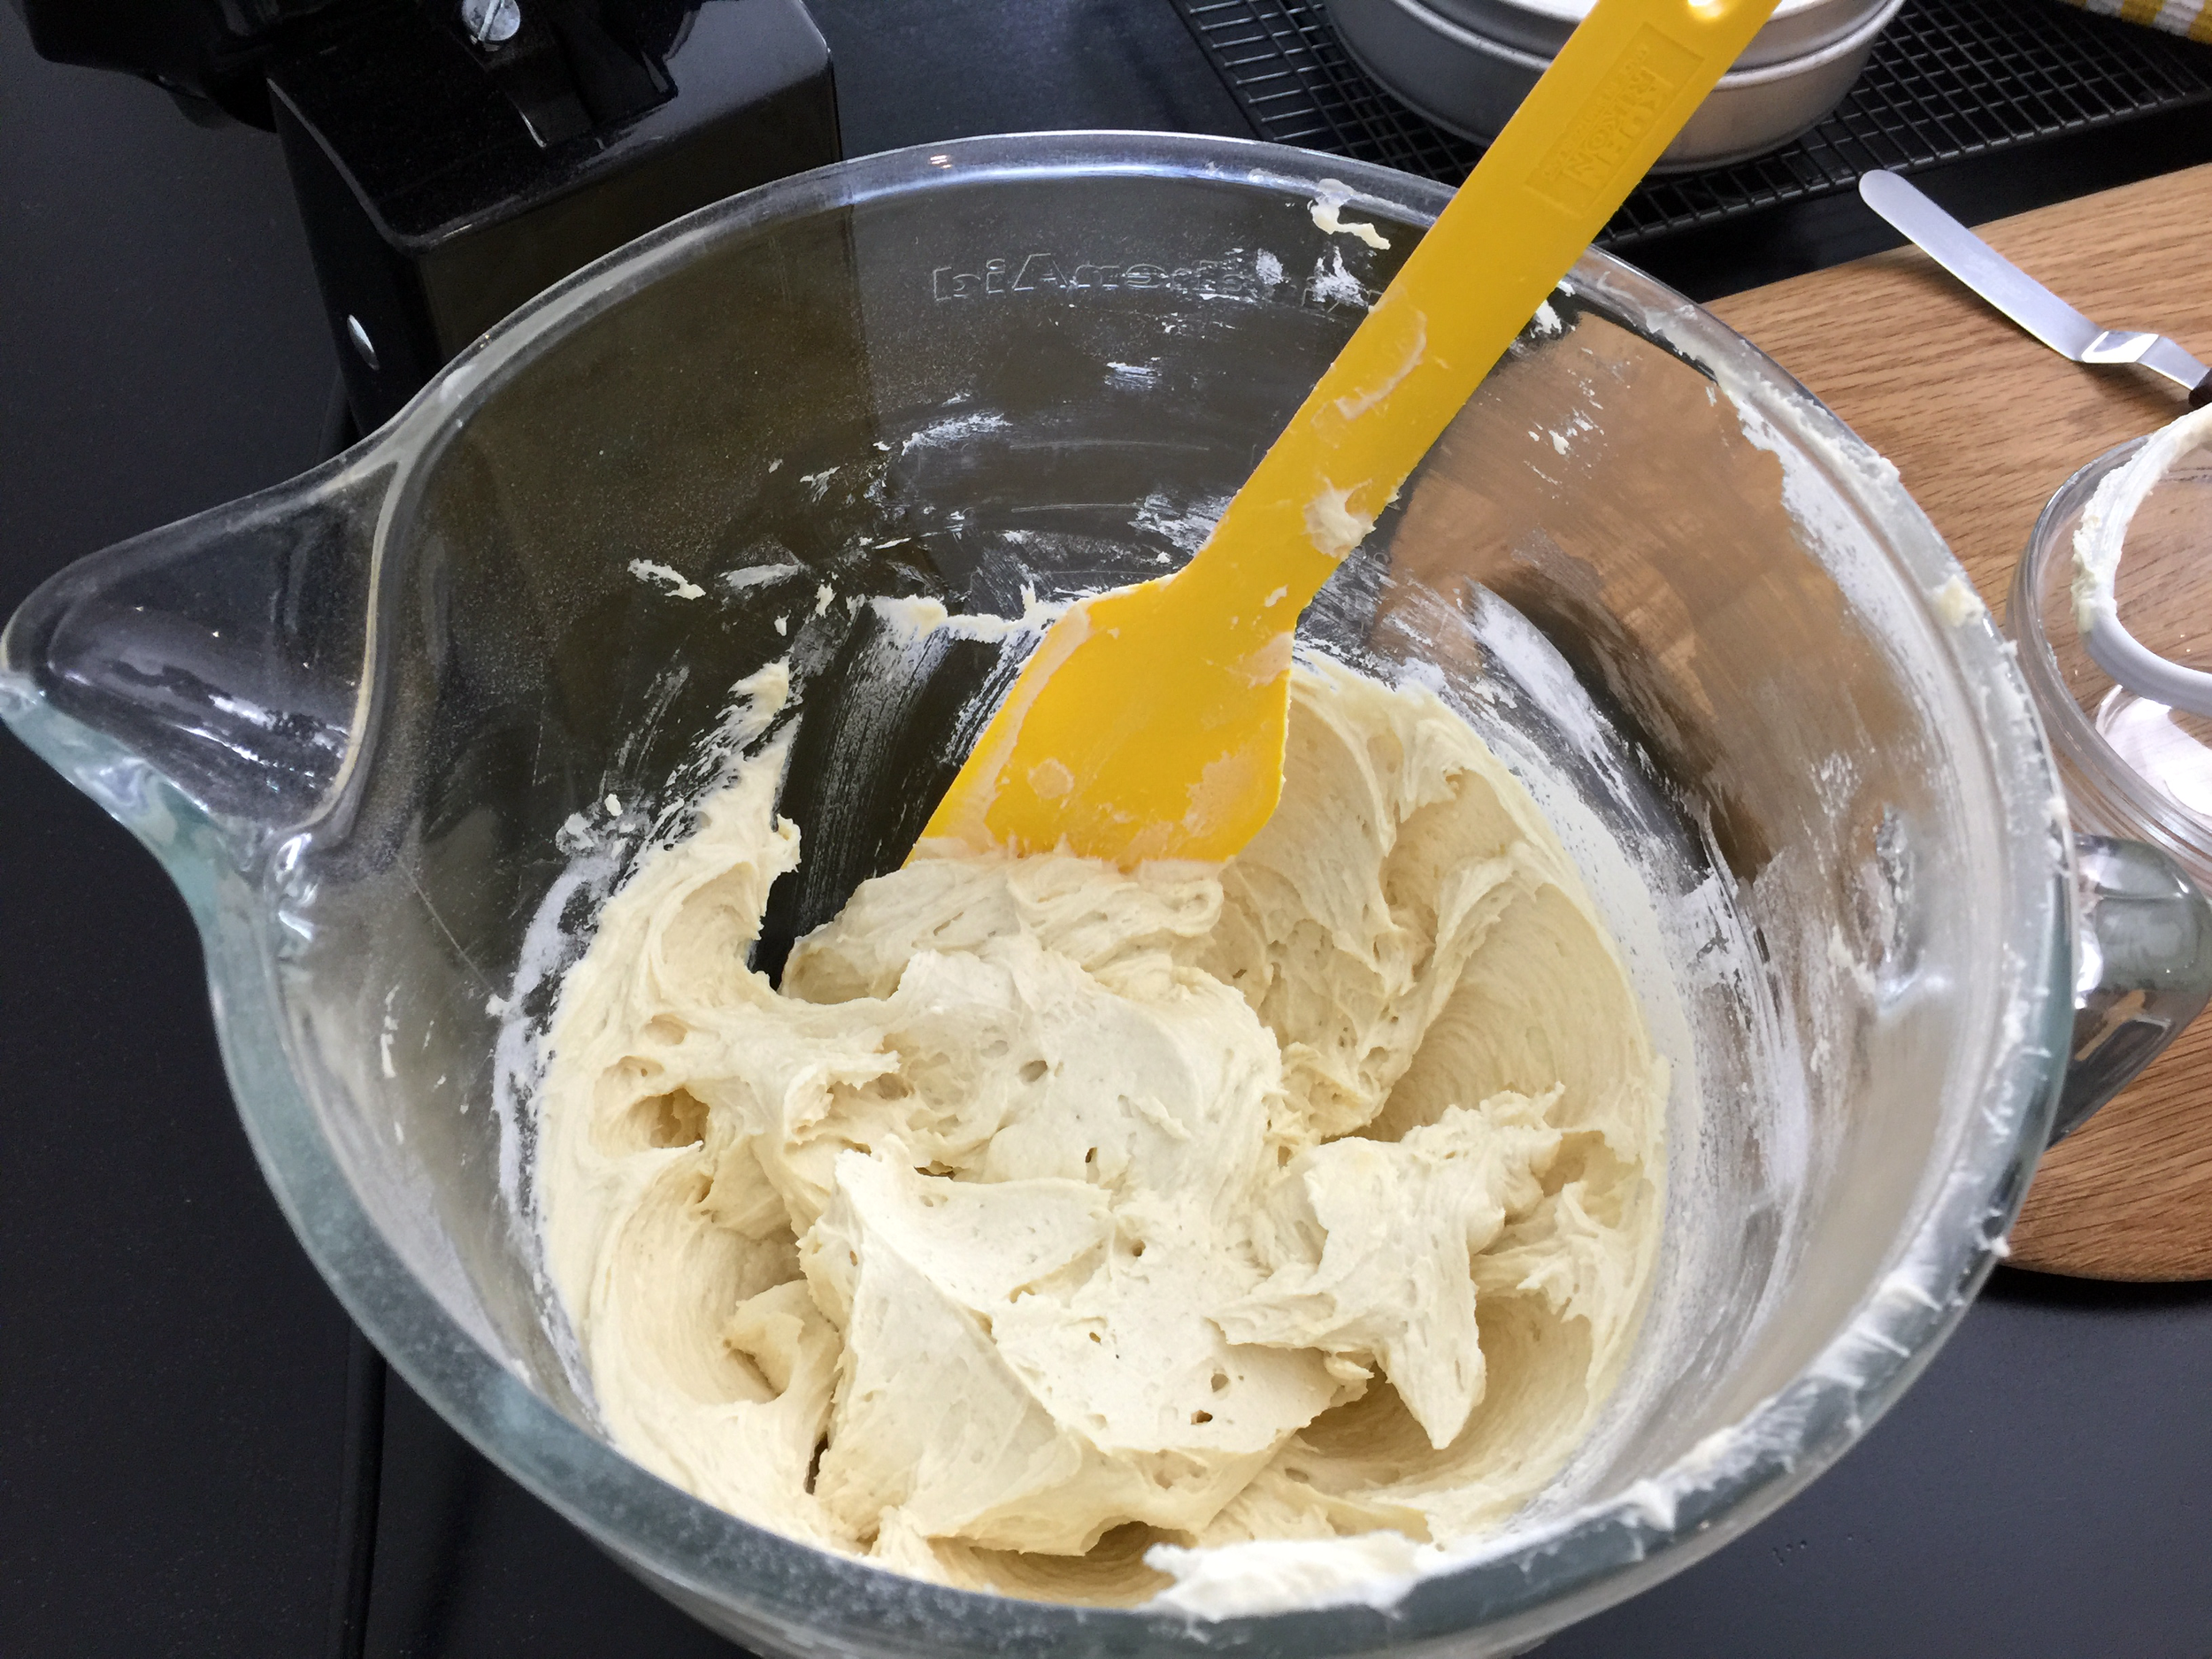
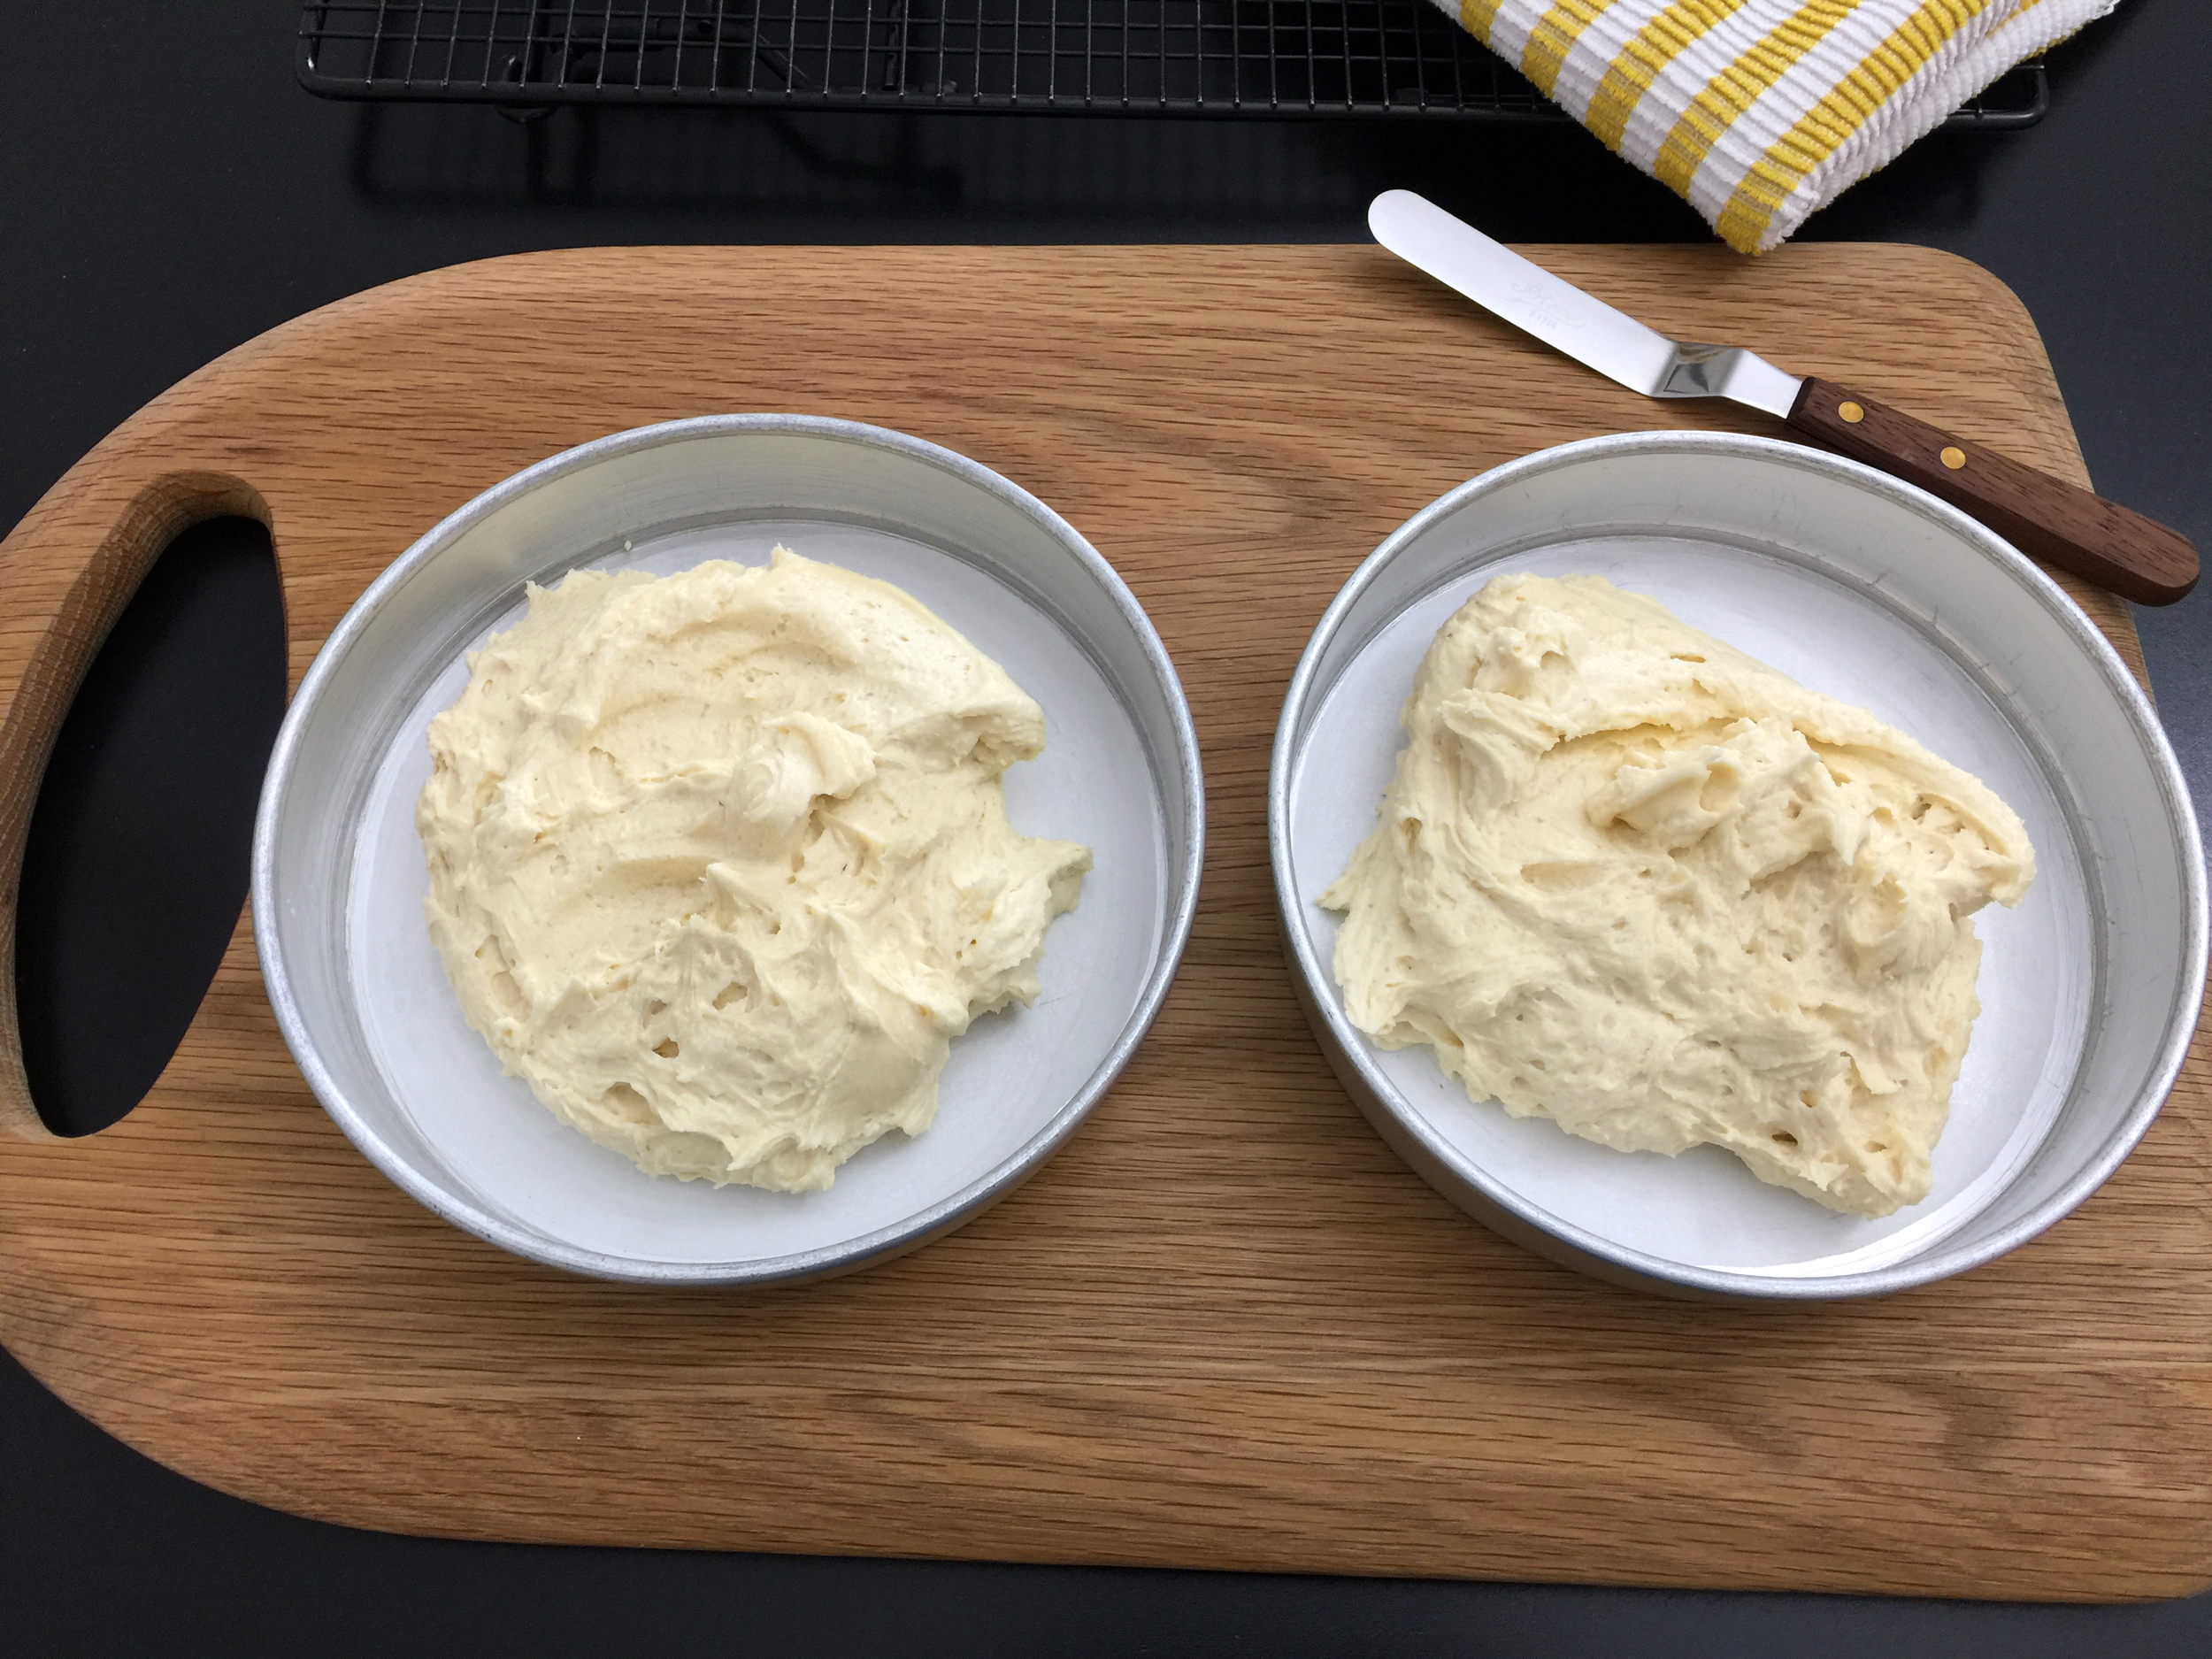
5. Next, add the flour and fully incorporate. Remember to scrape down the sides, bottom of the bowl and the spatula. Be cautious not to overmix the cake batter, this will result in a tough crumb texture due to the gluten (the photos are a good reference).
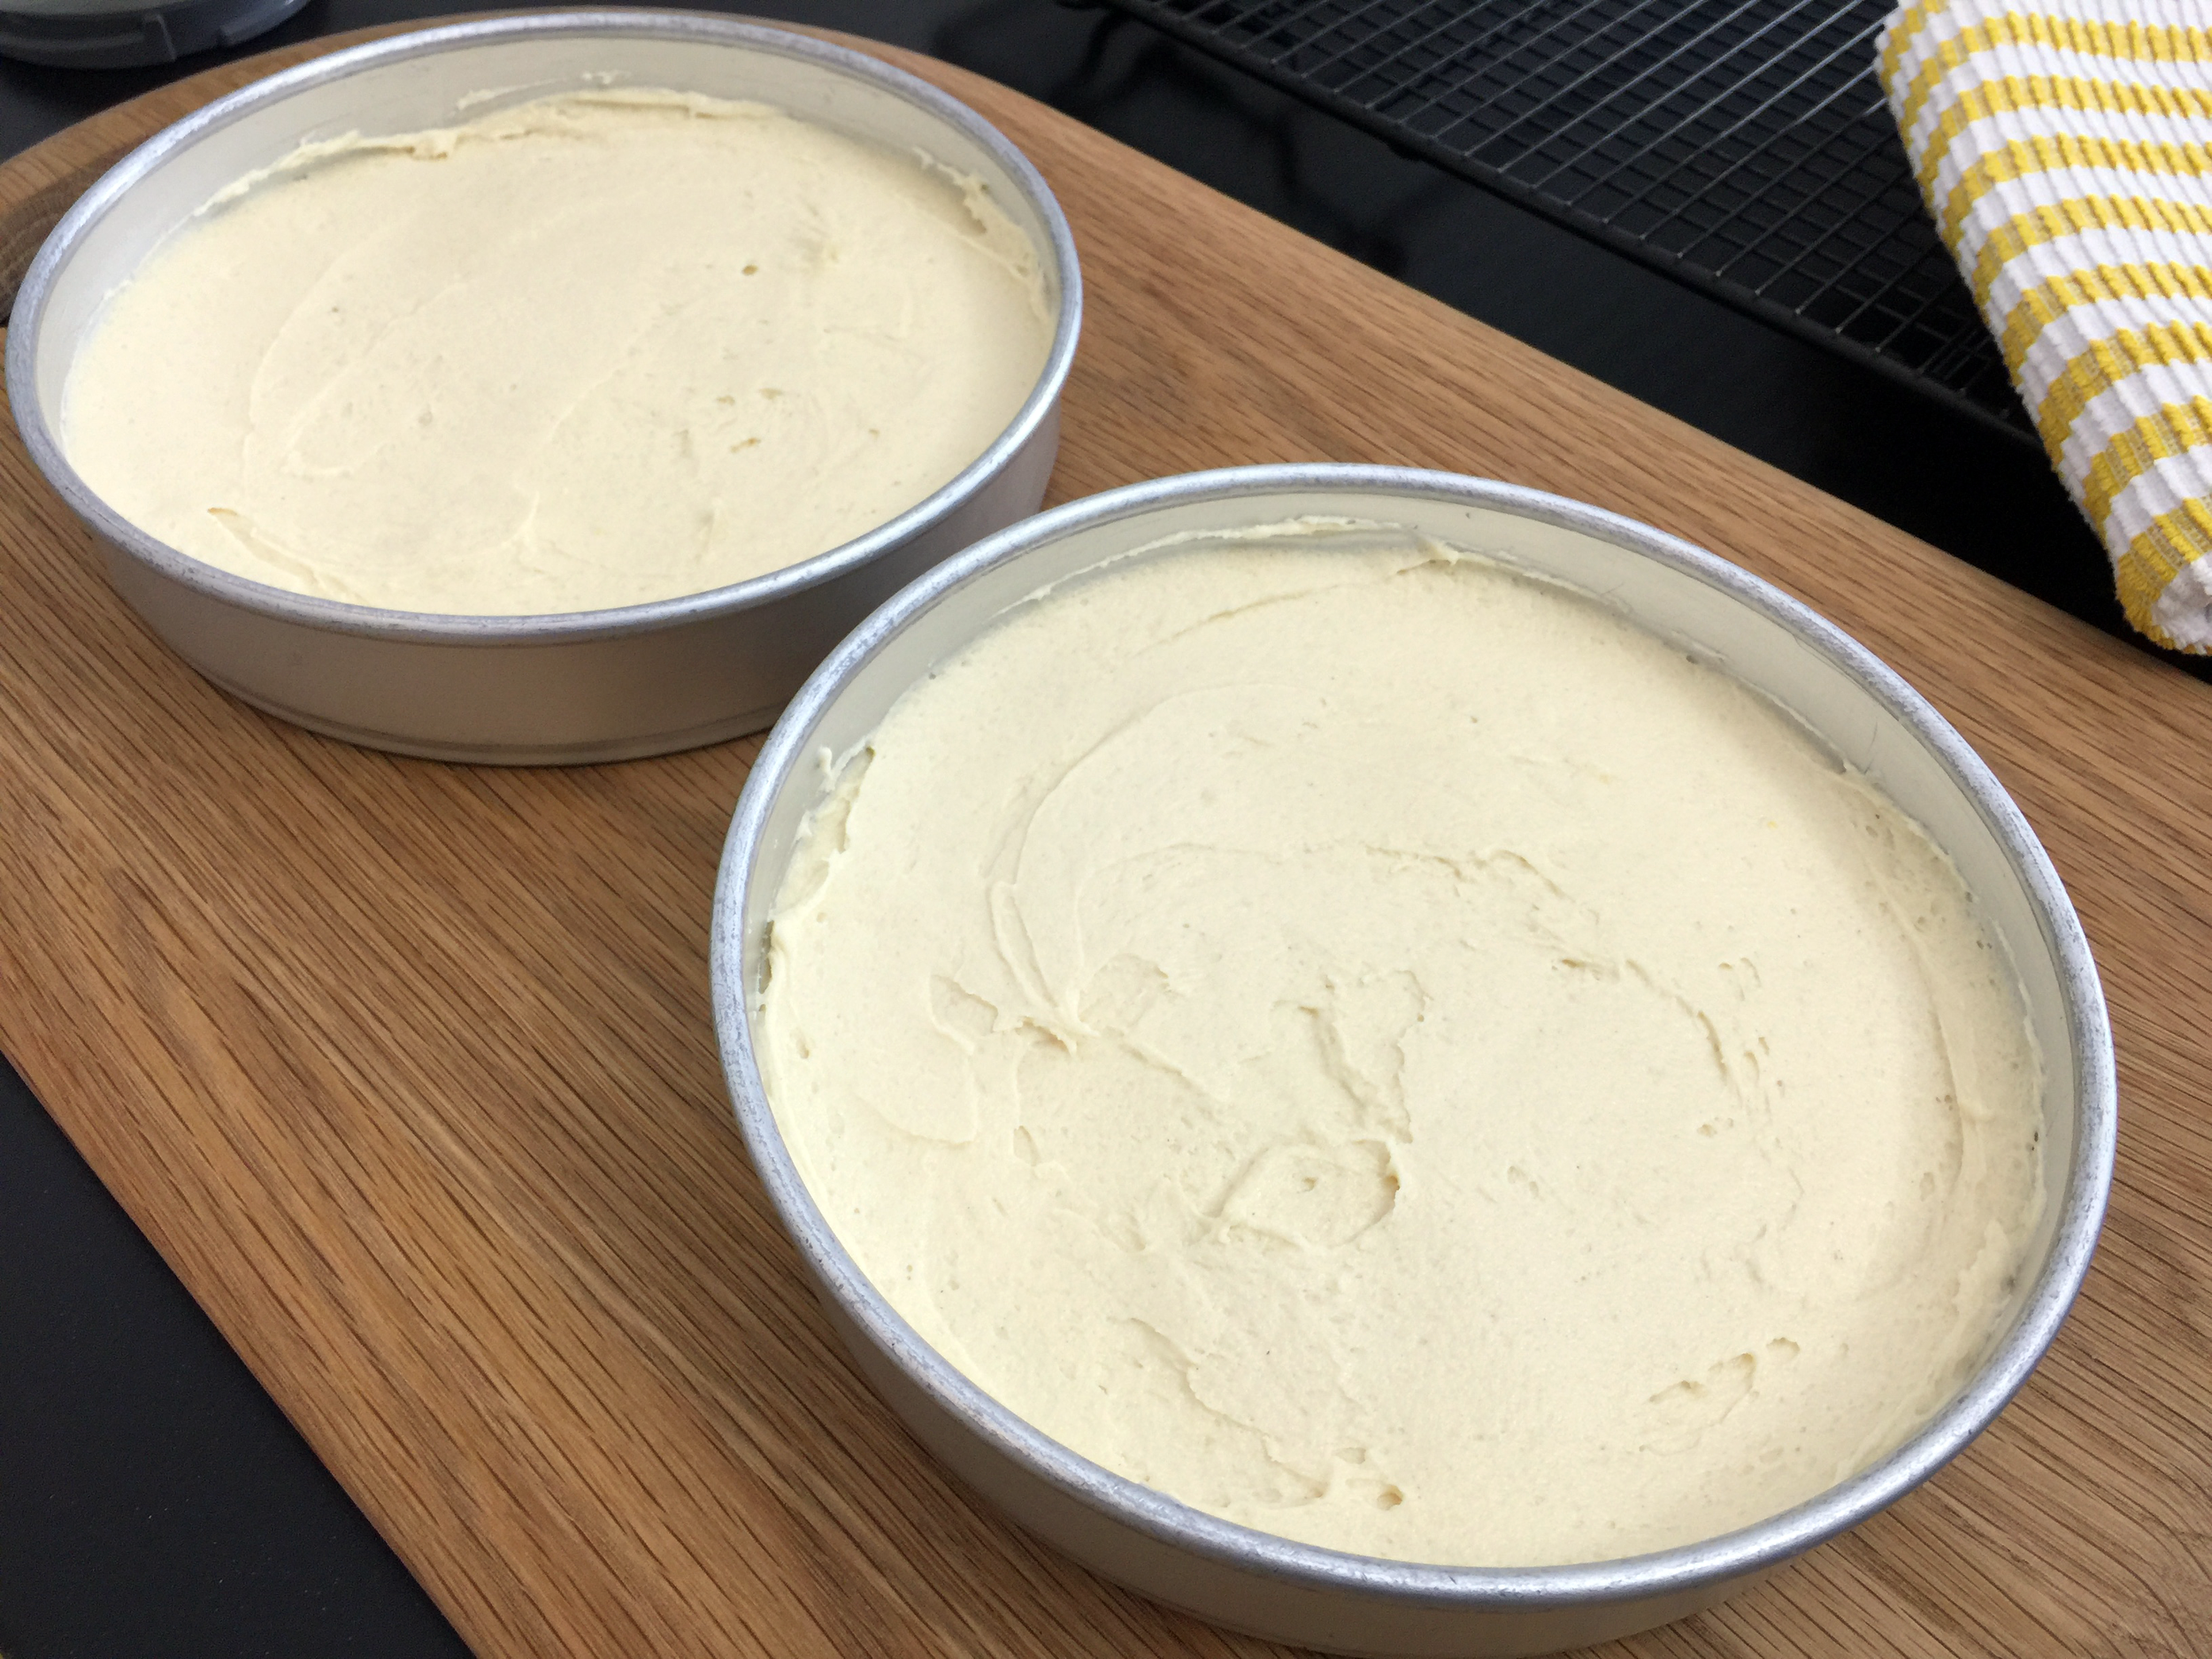
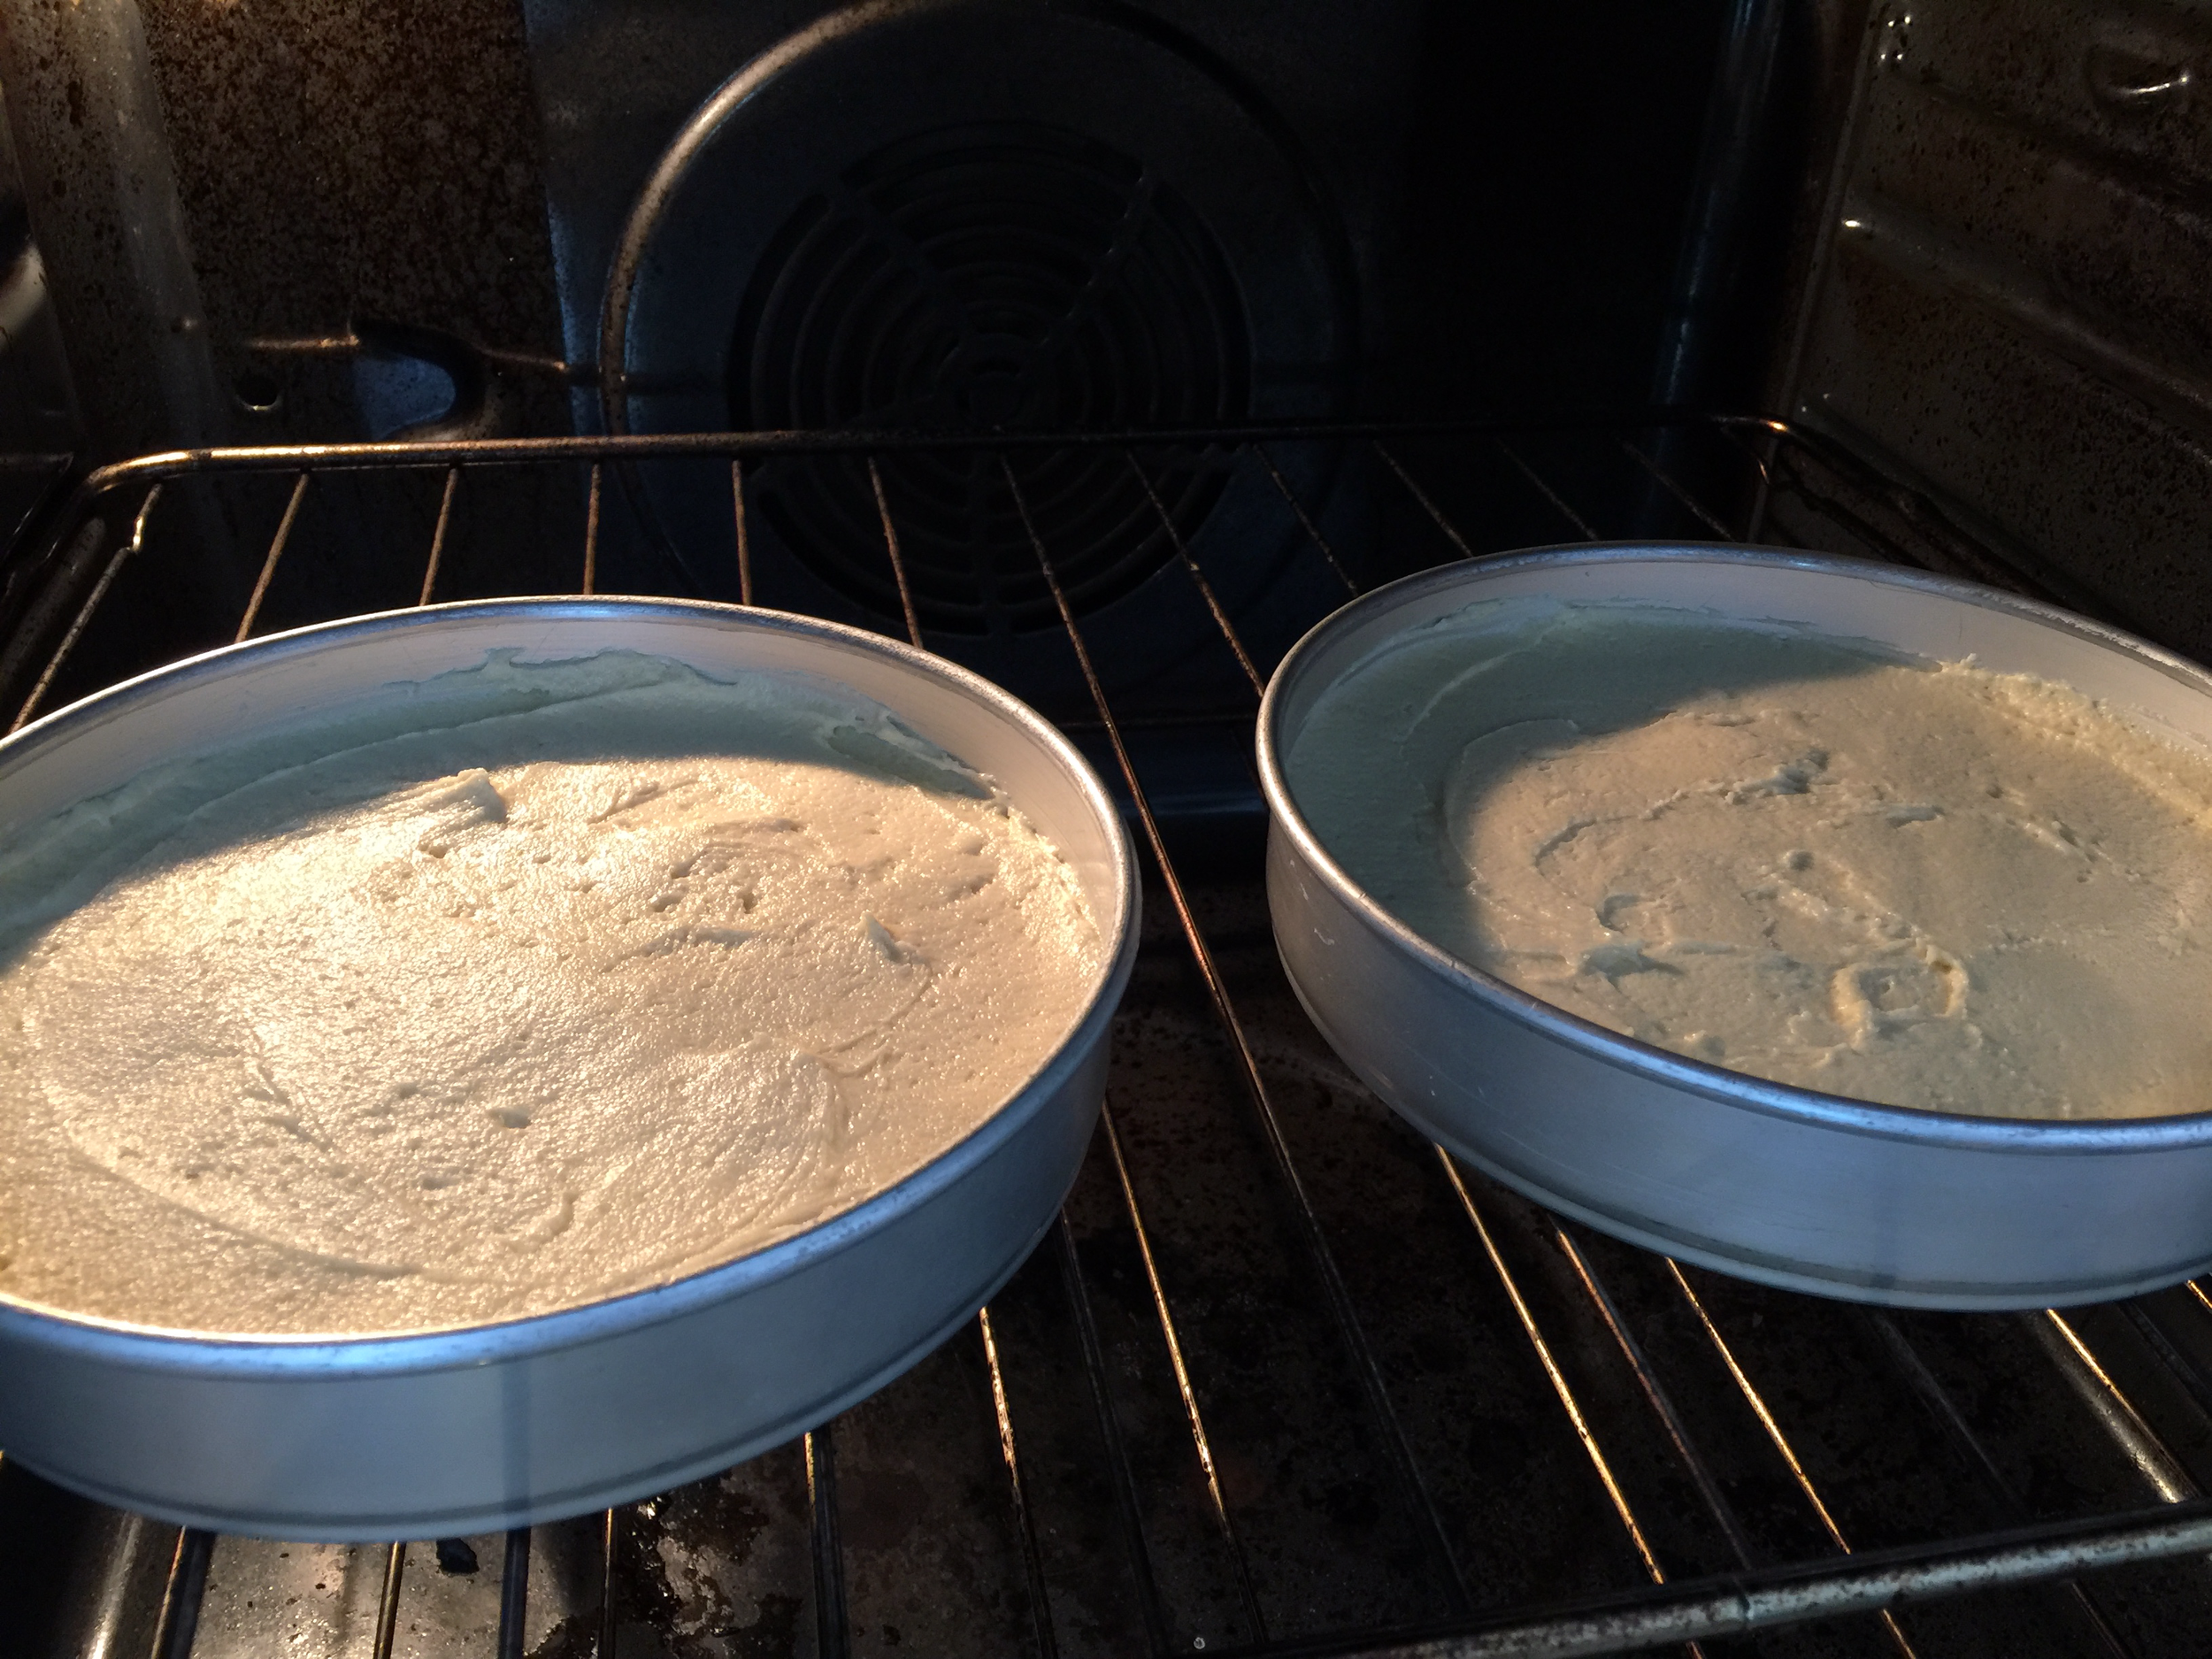
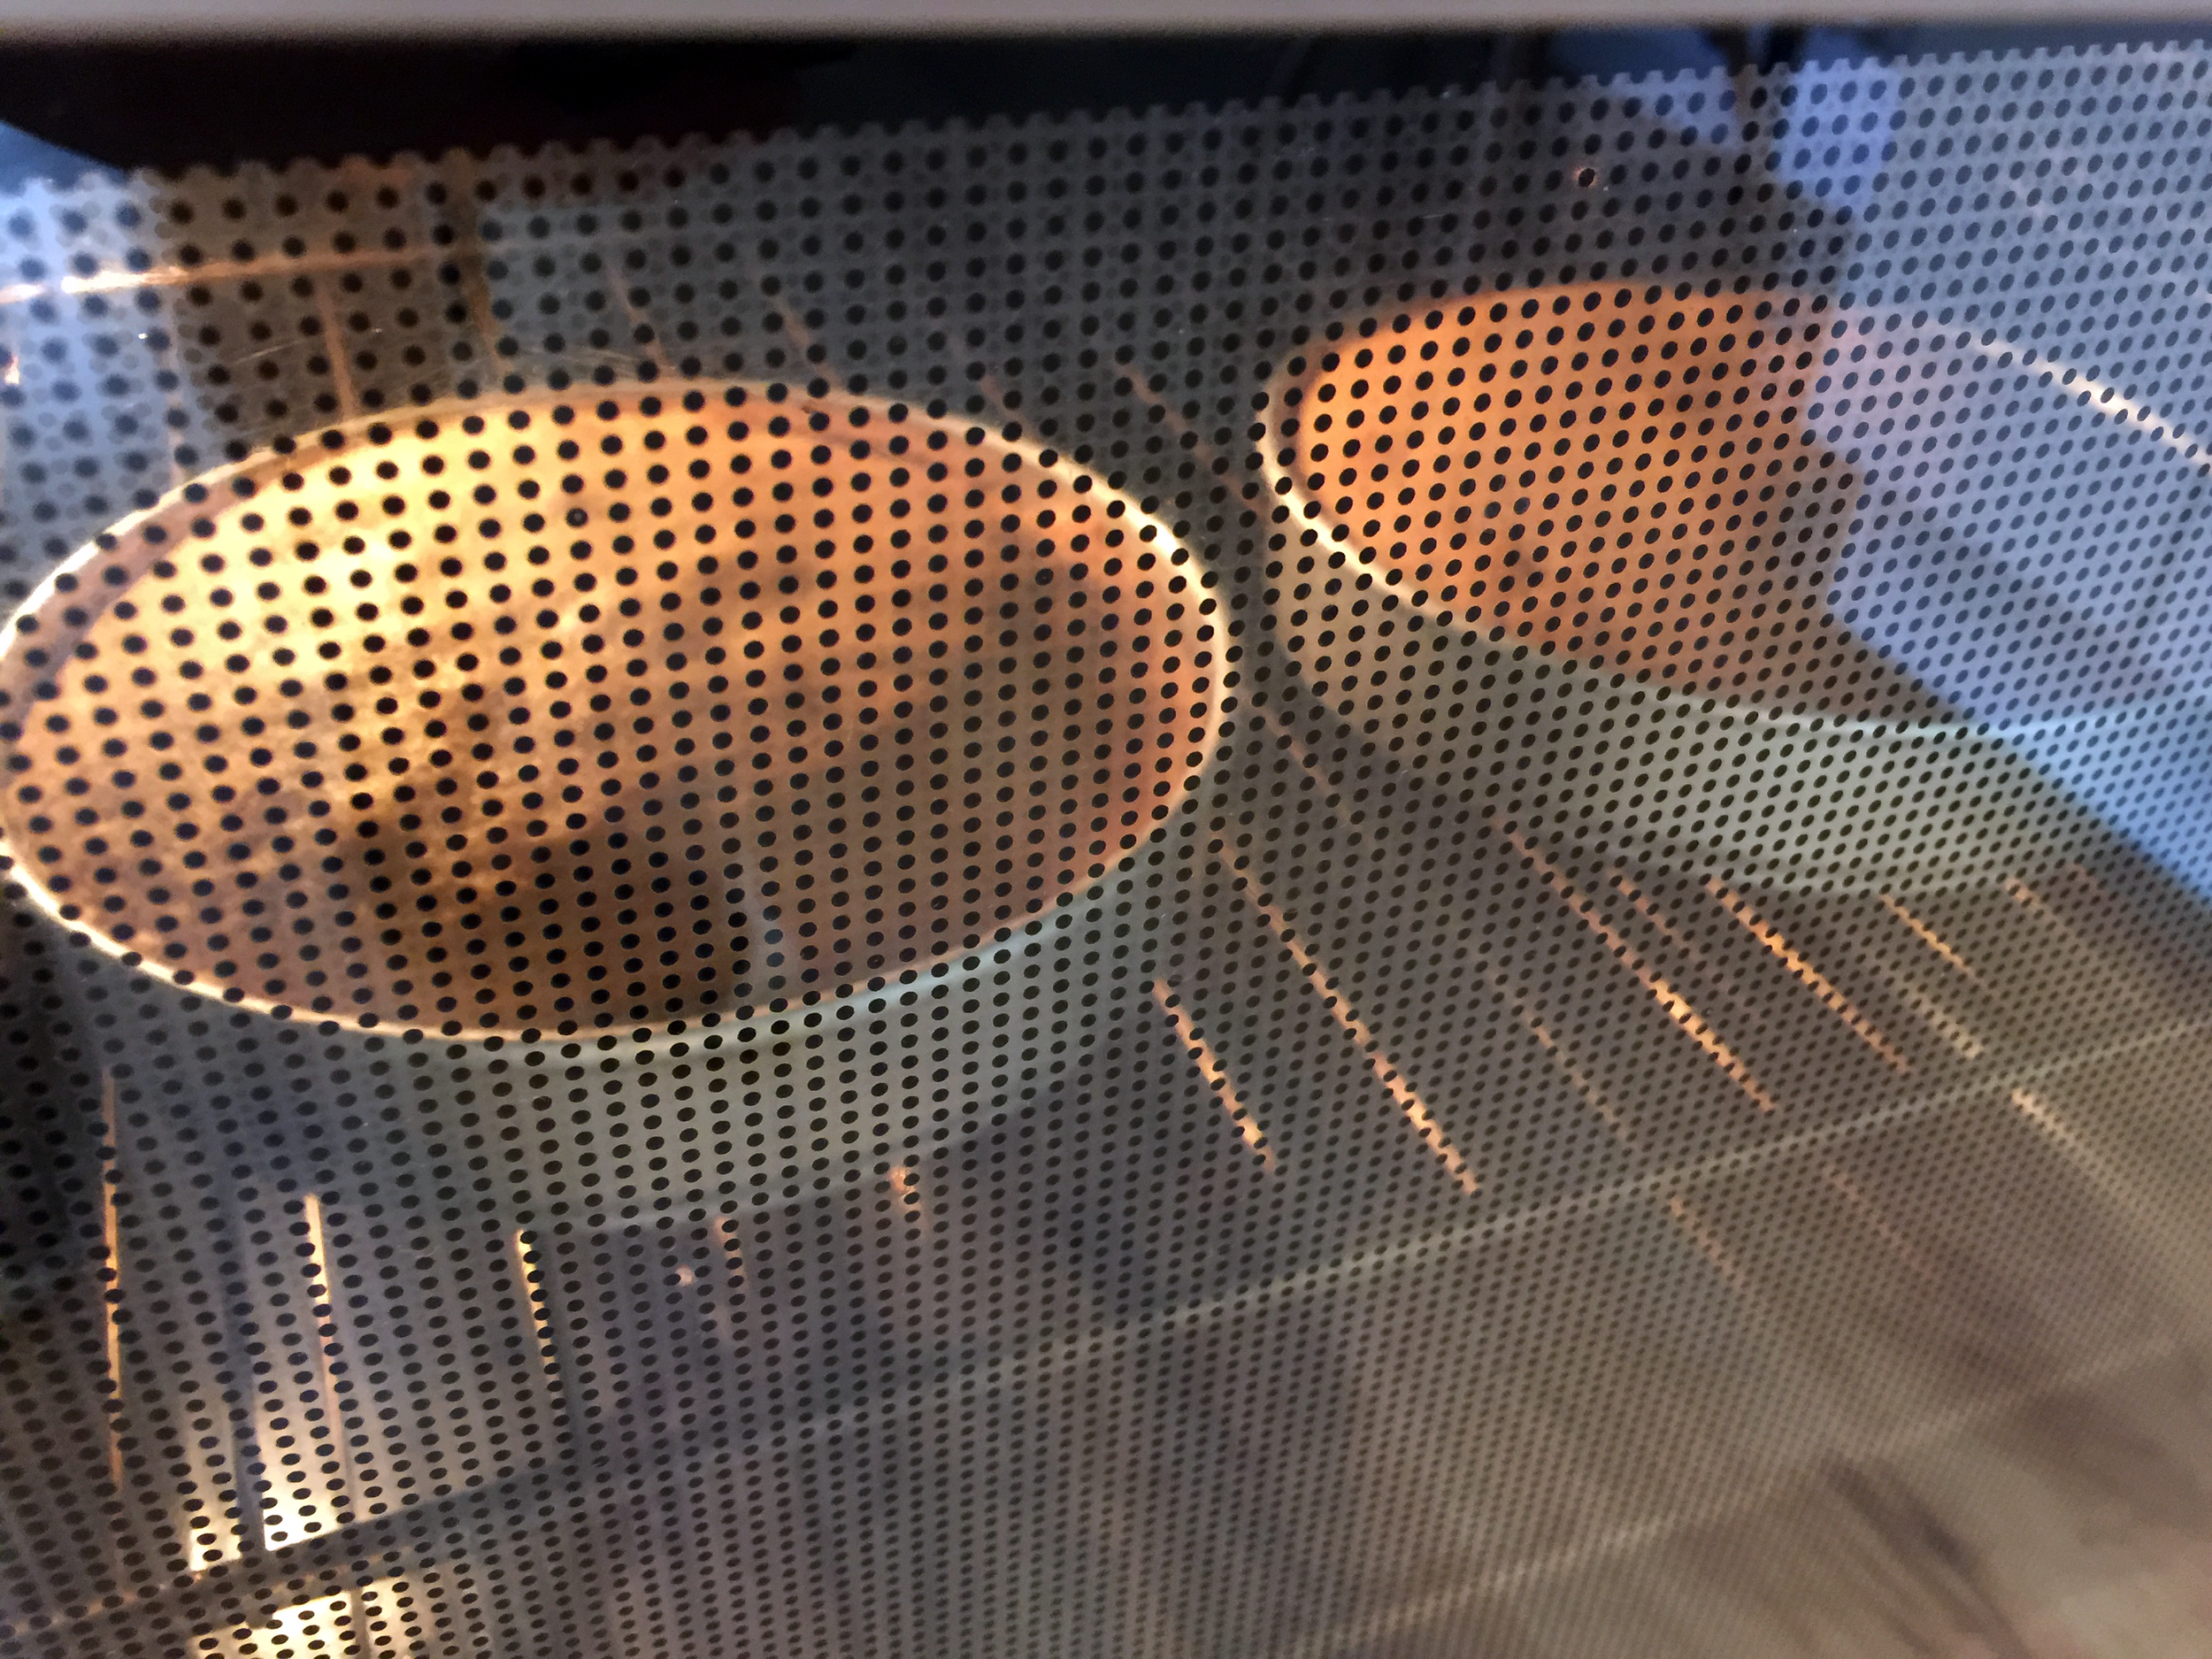
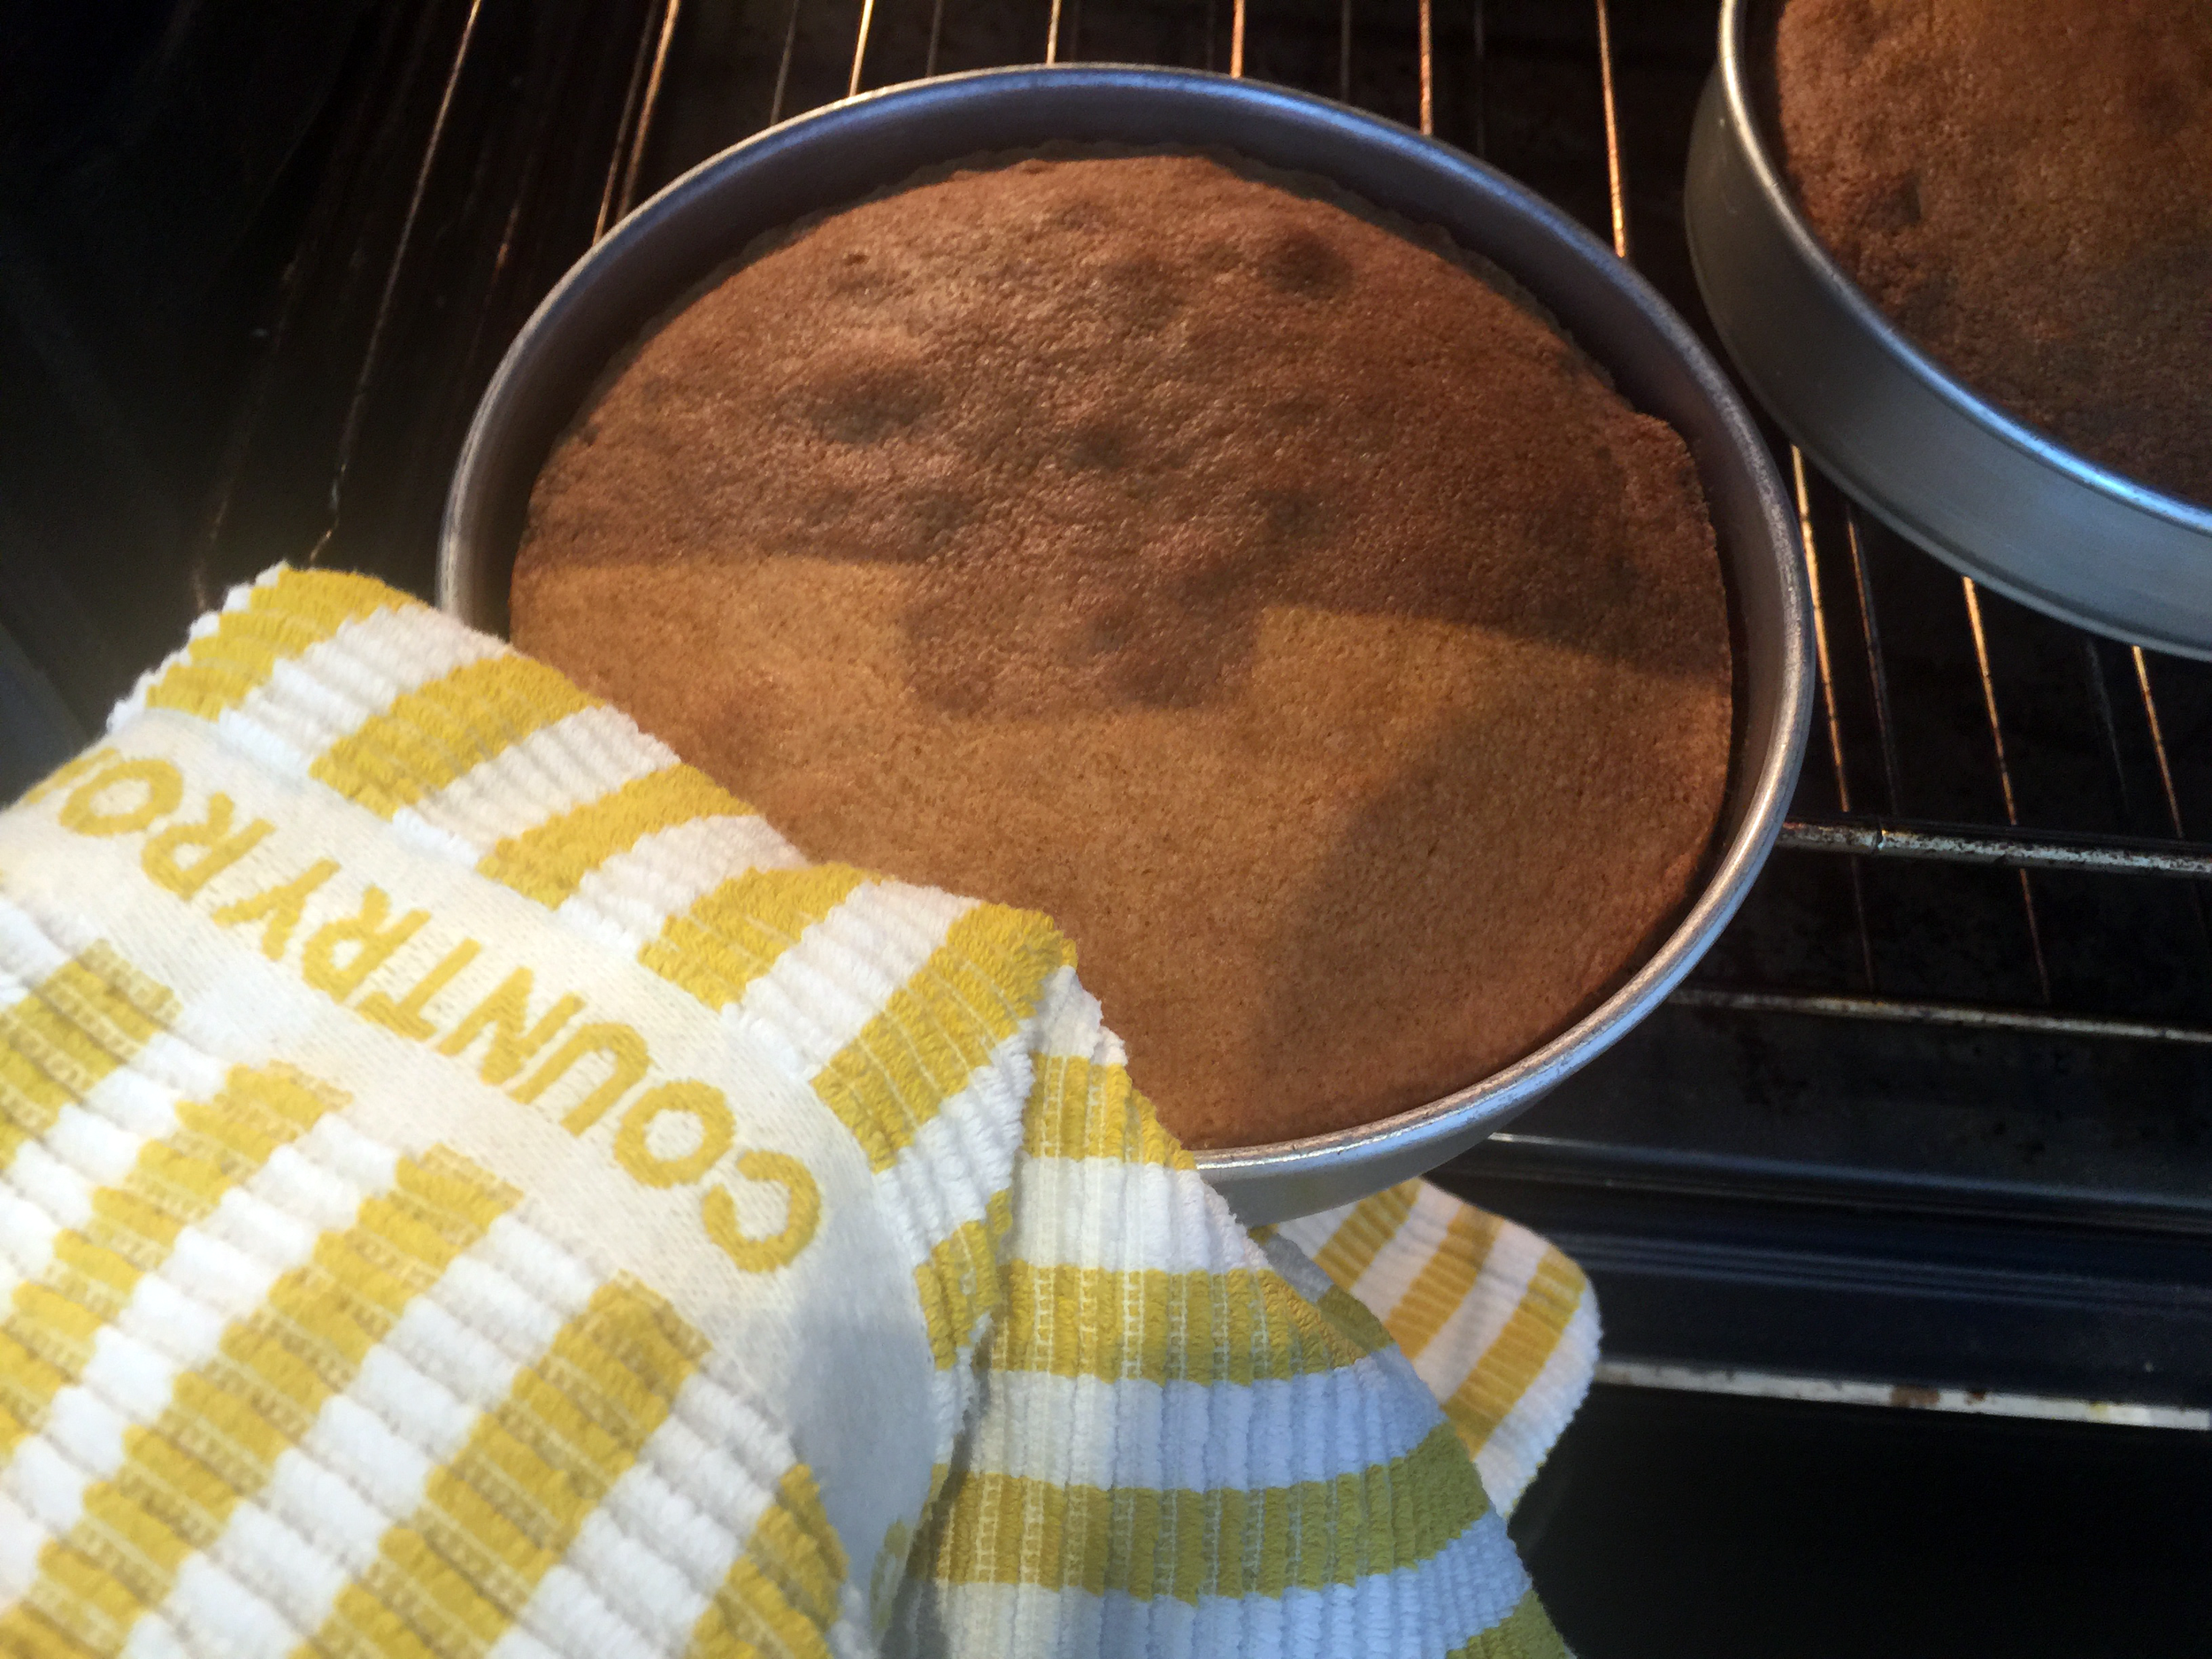
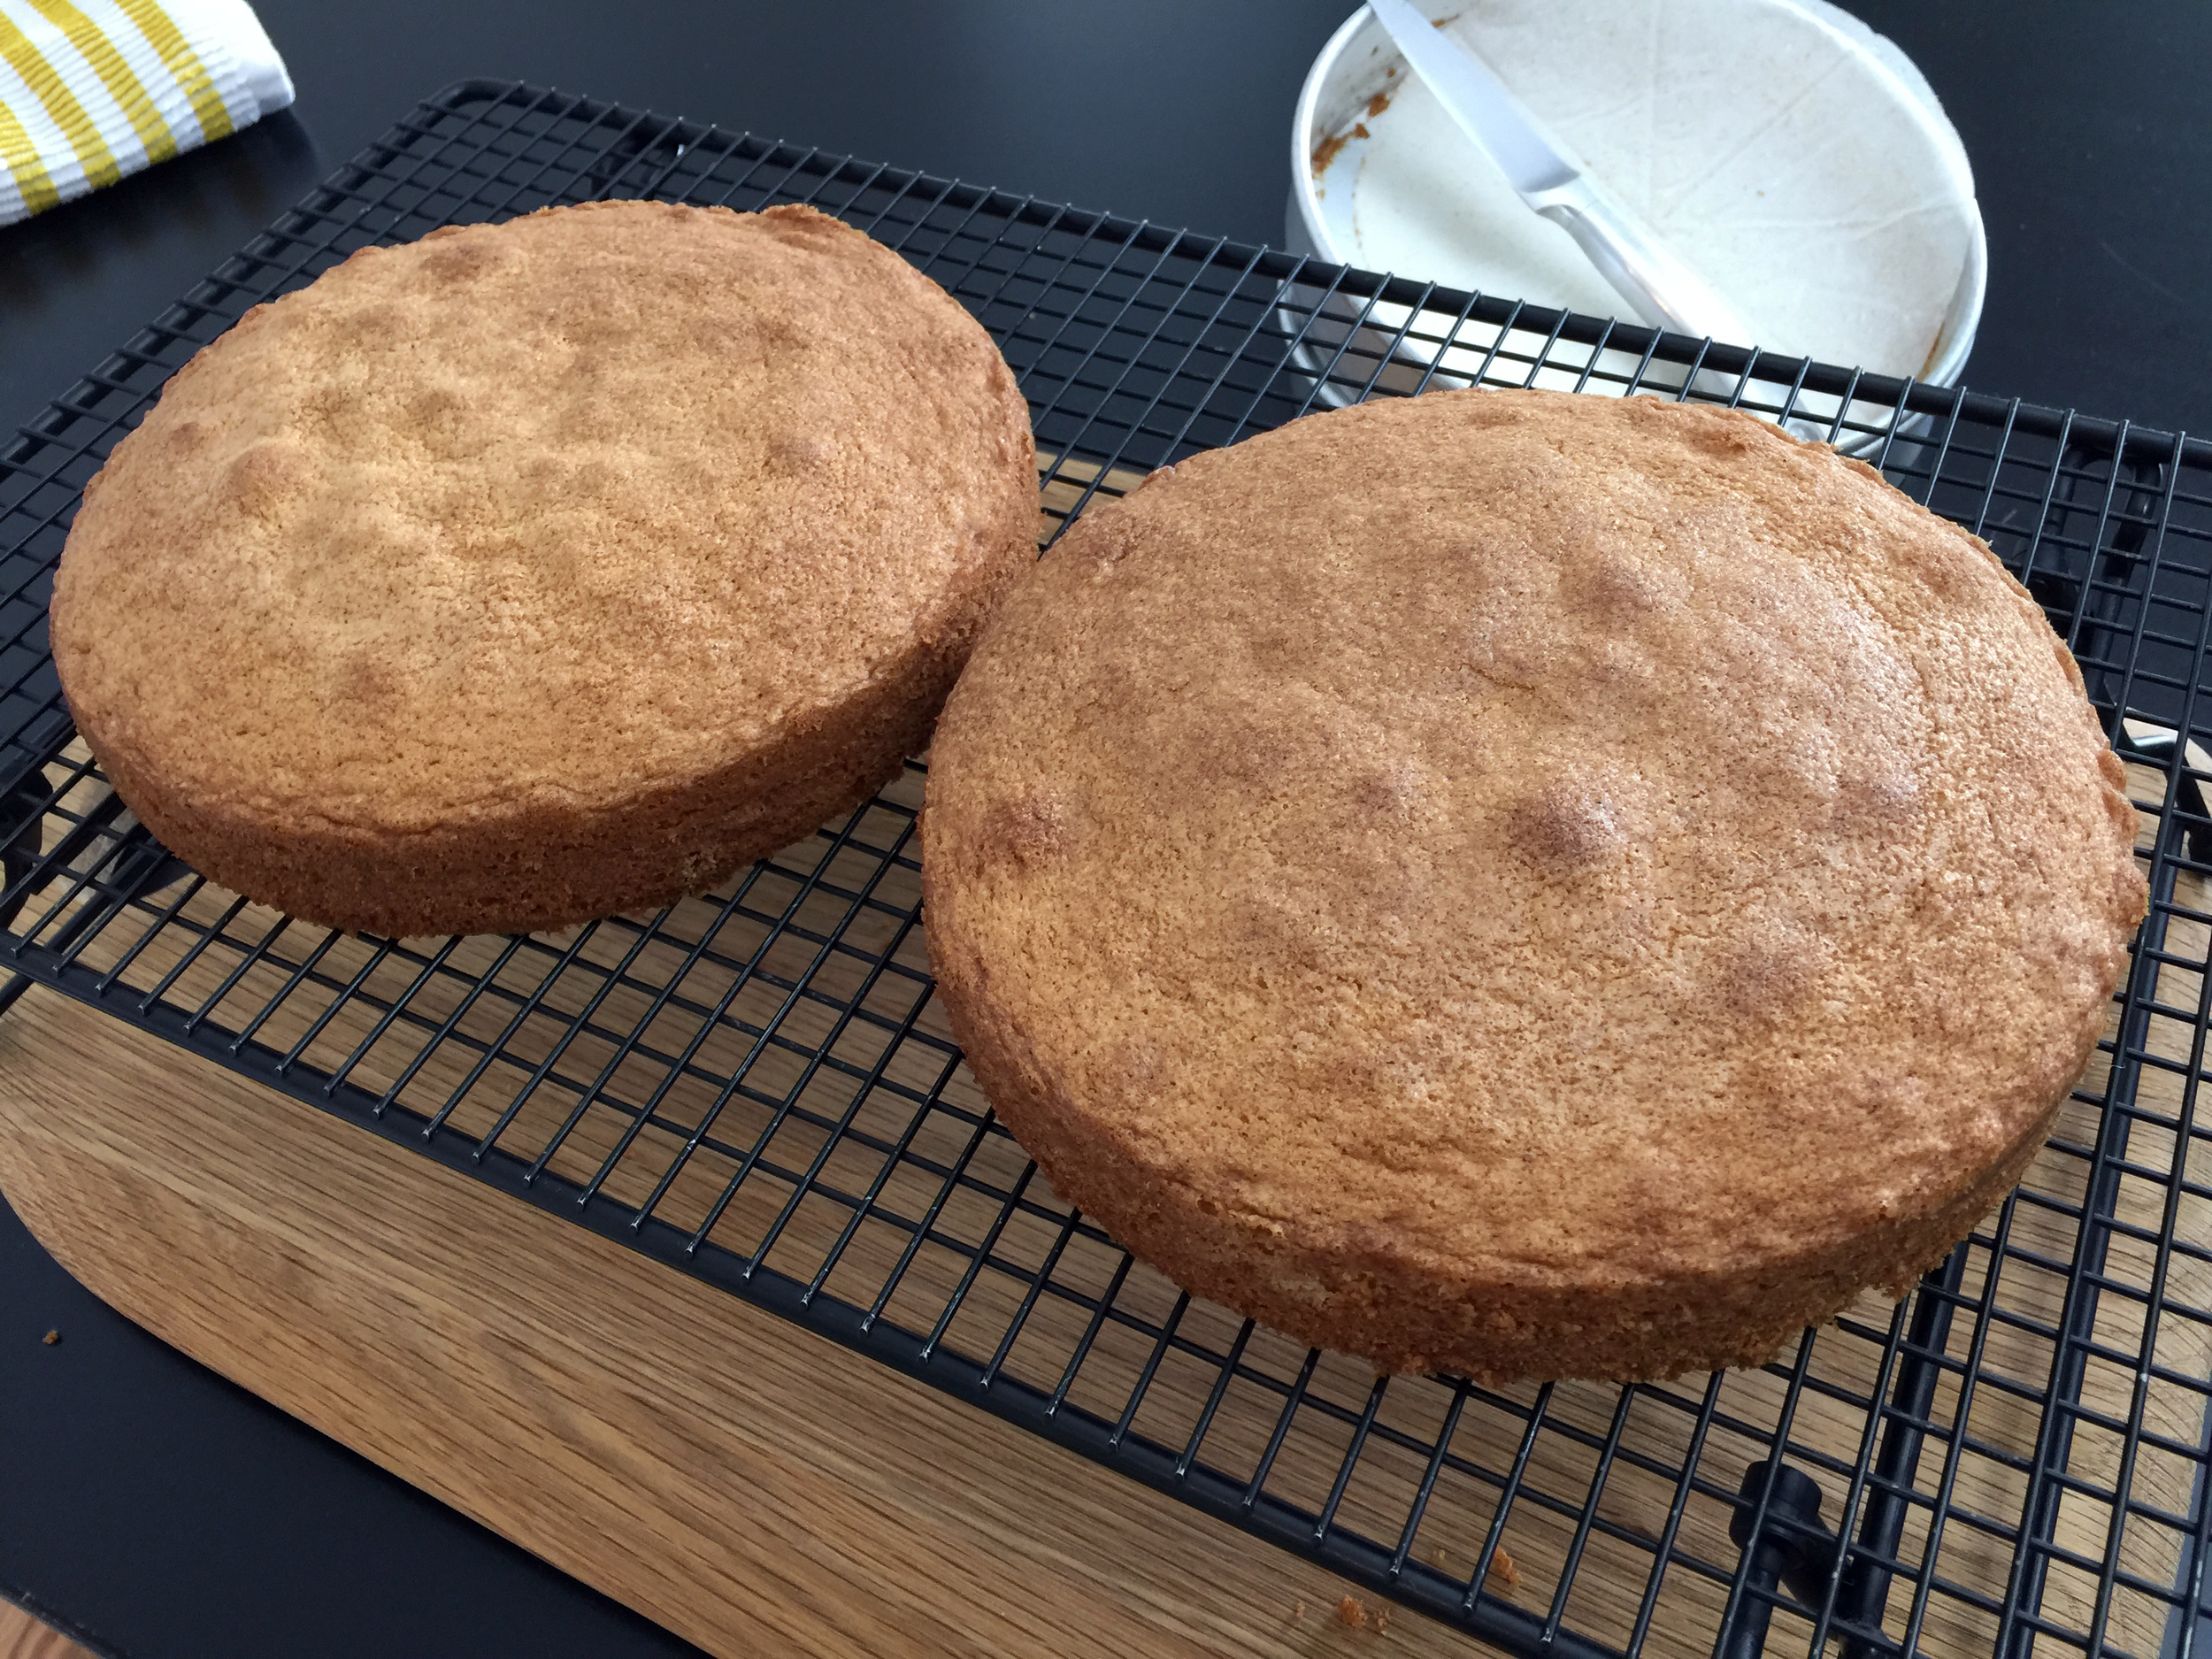
6. Divide the mixture between the two tins and level out. Bake in a preheated oven for 22-25 mins, until the cake is golden brown in colour, has slightly retracted from the sides of the pan and the cake springs back to the touch.
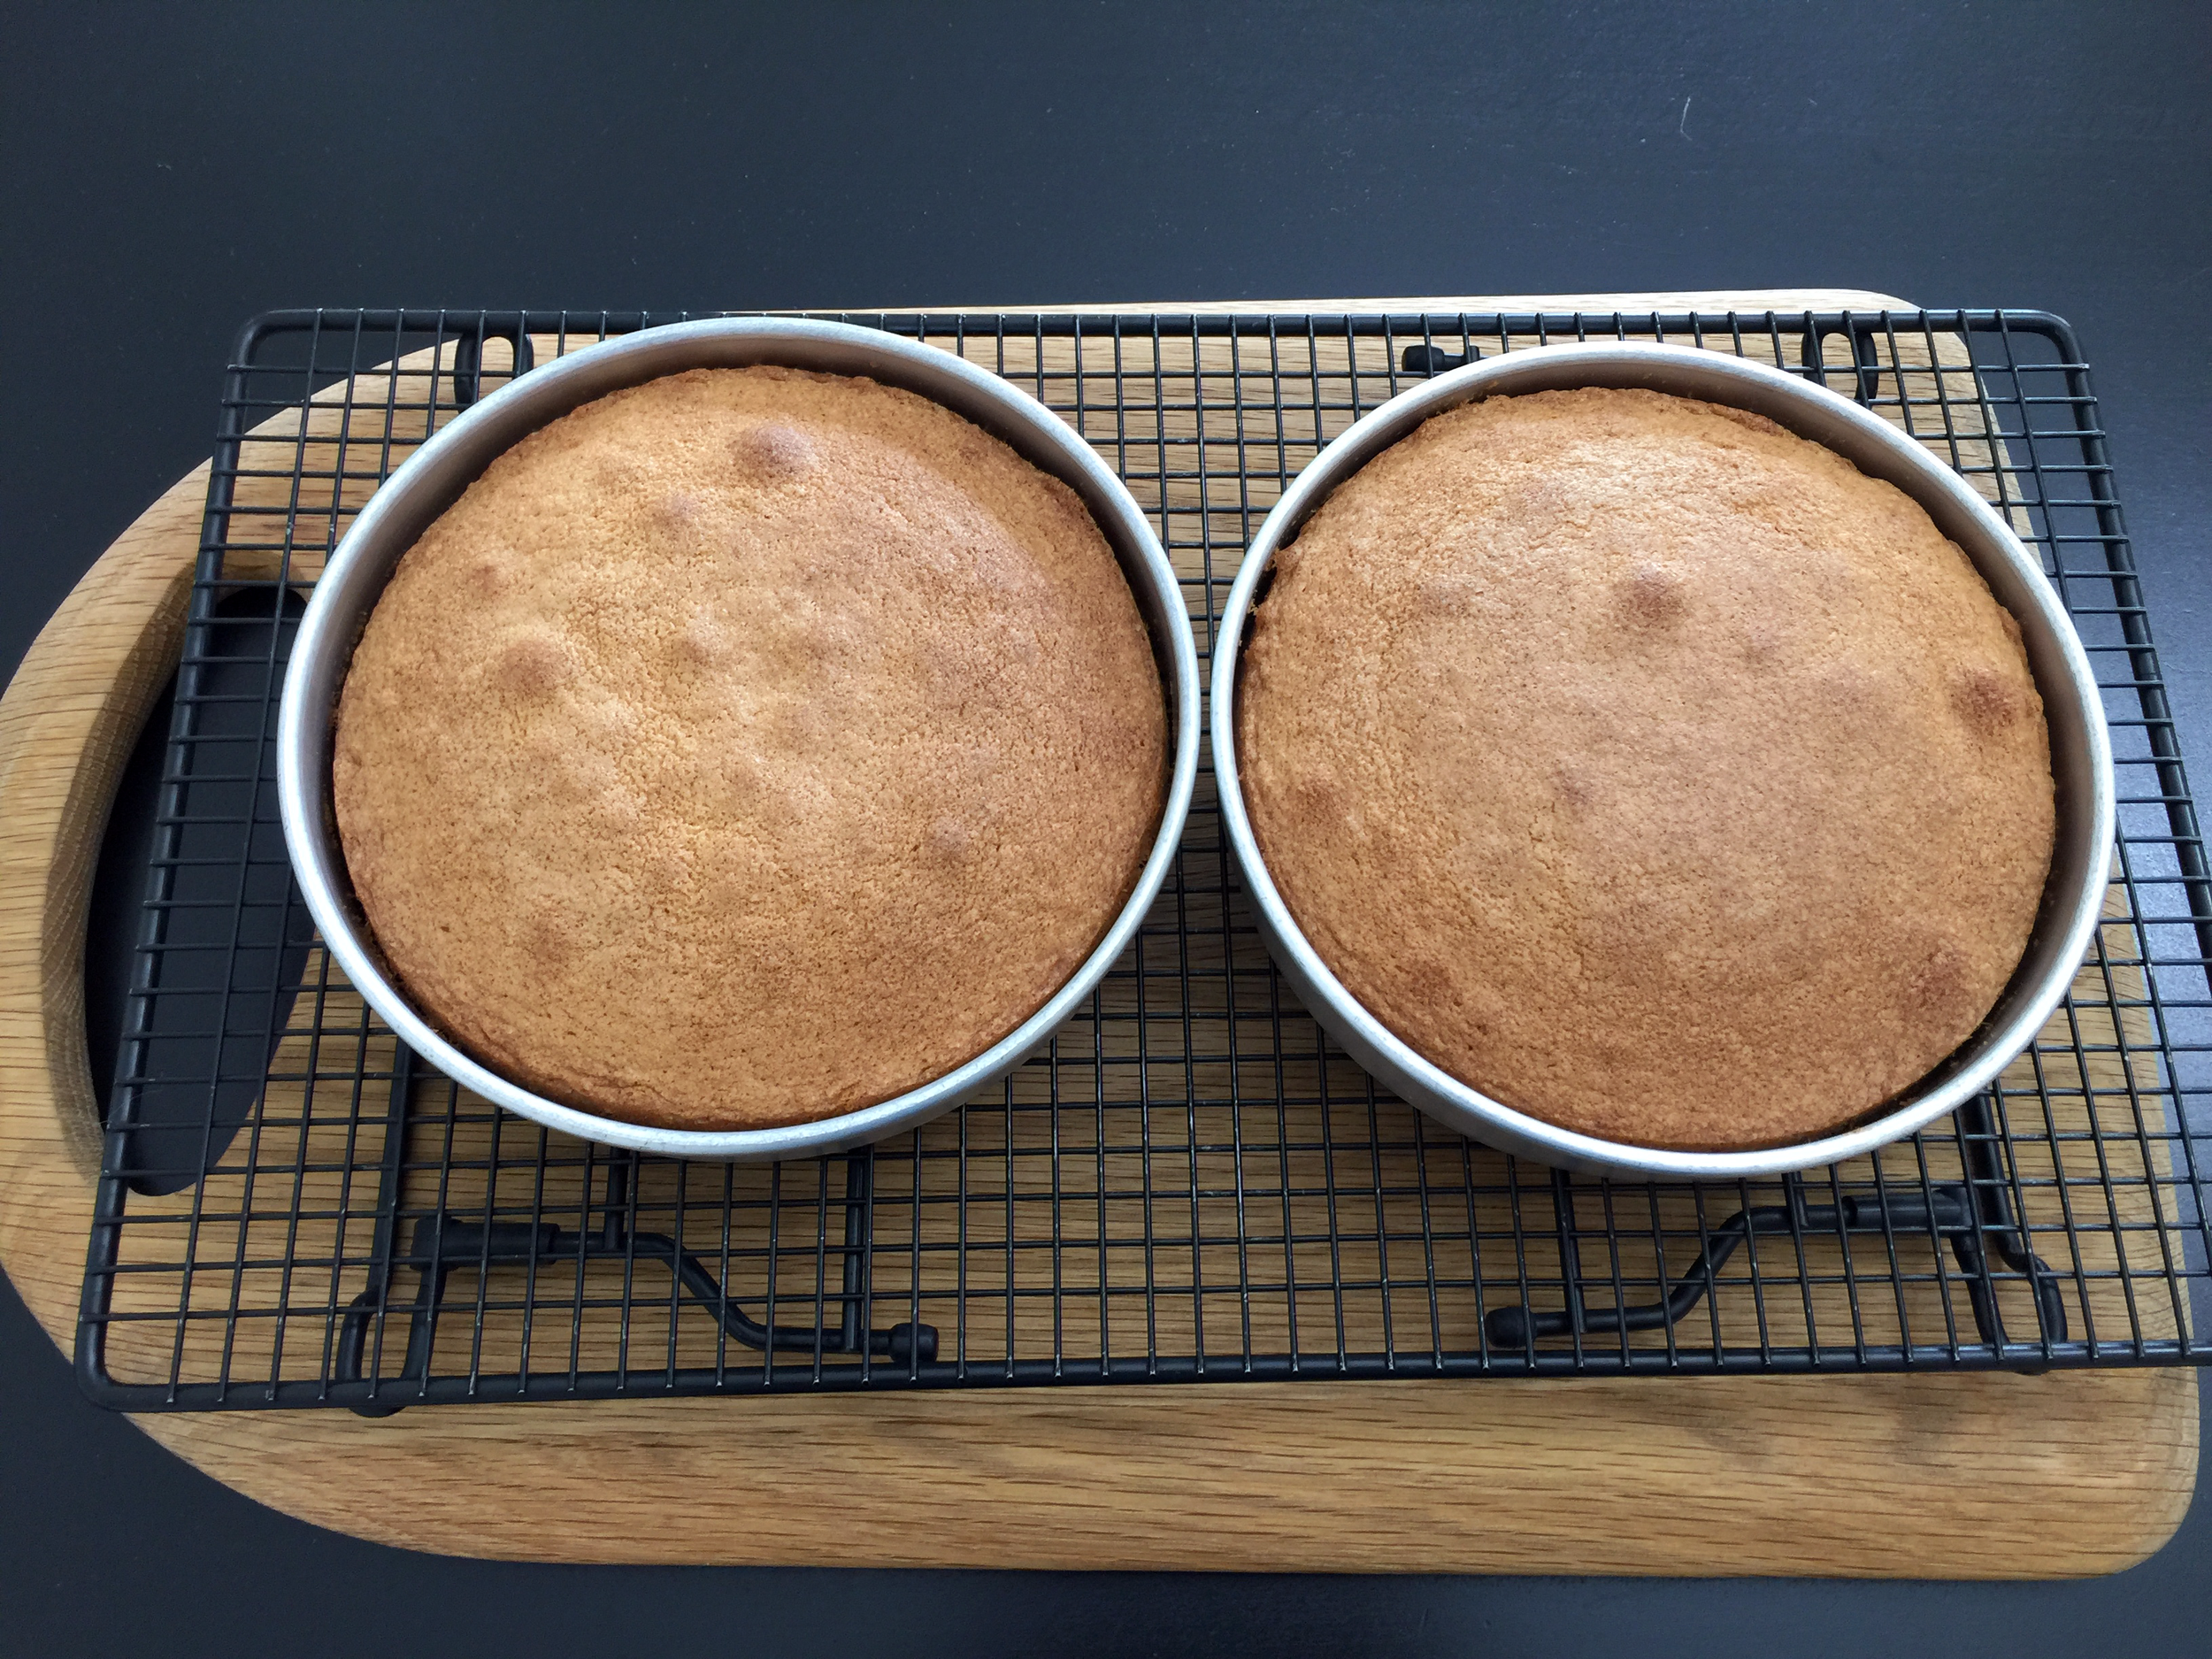
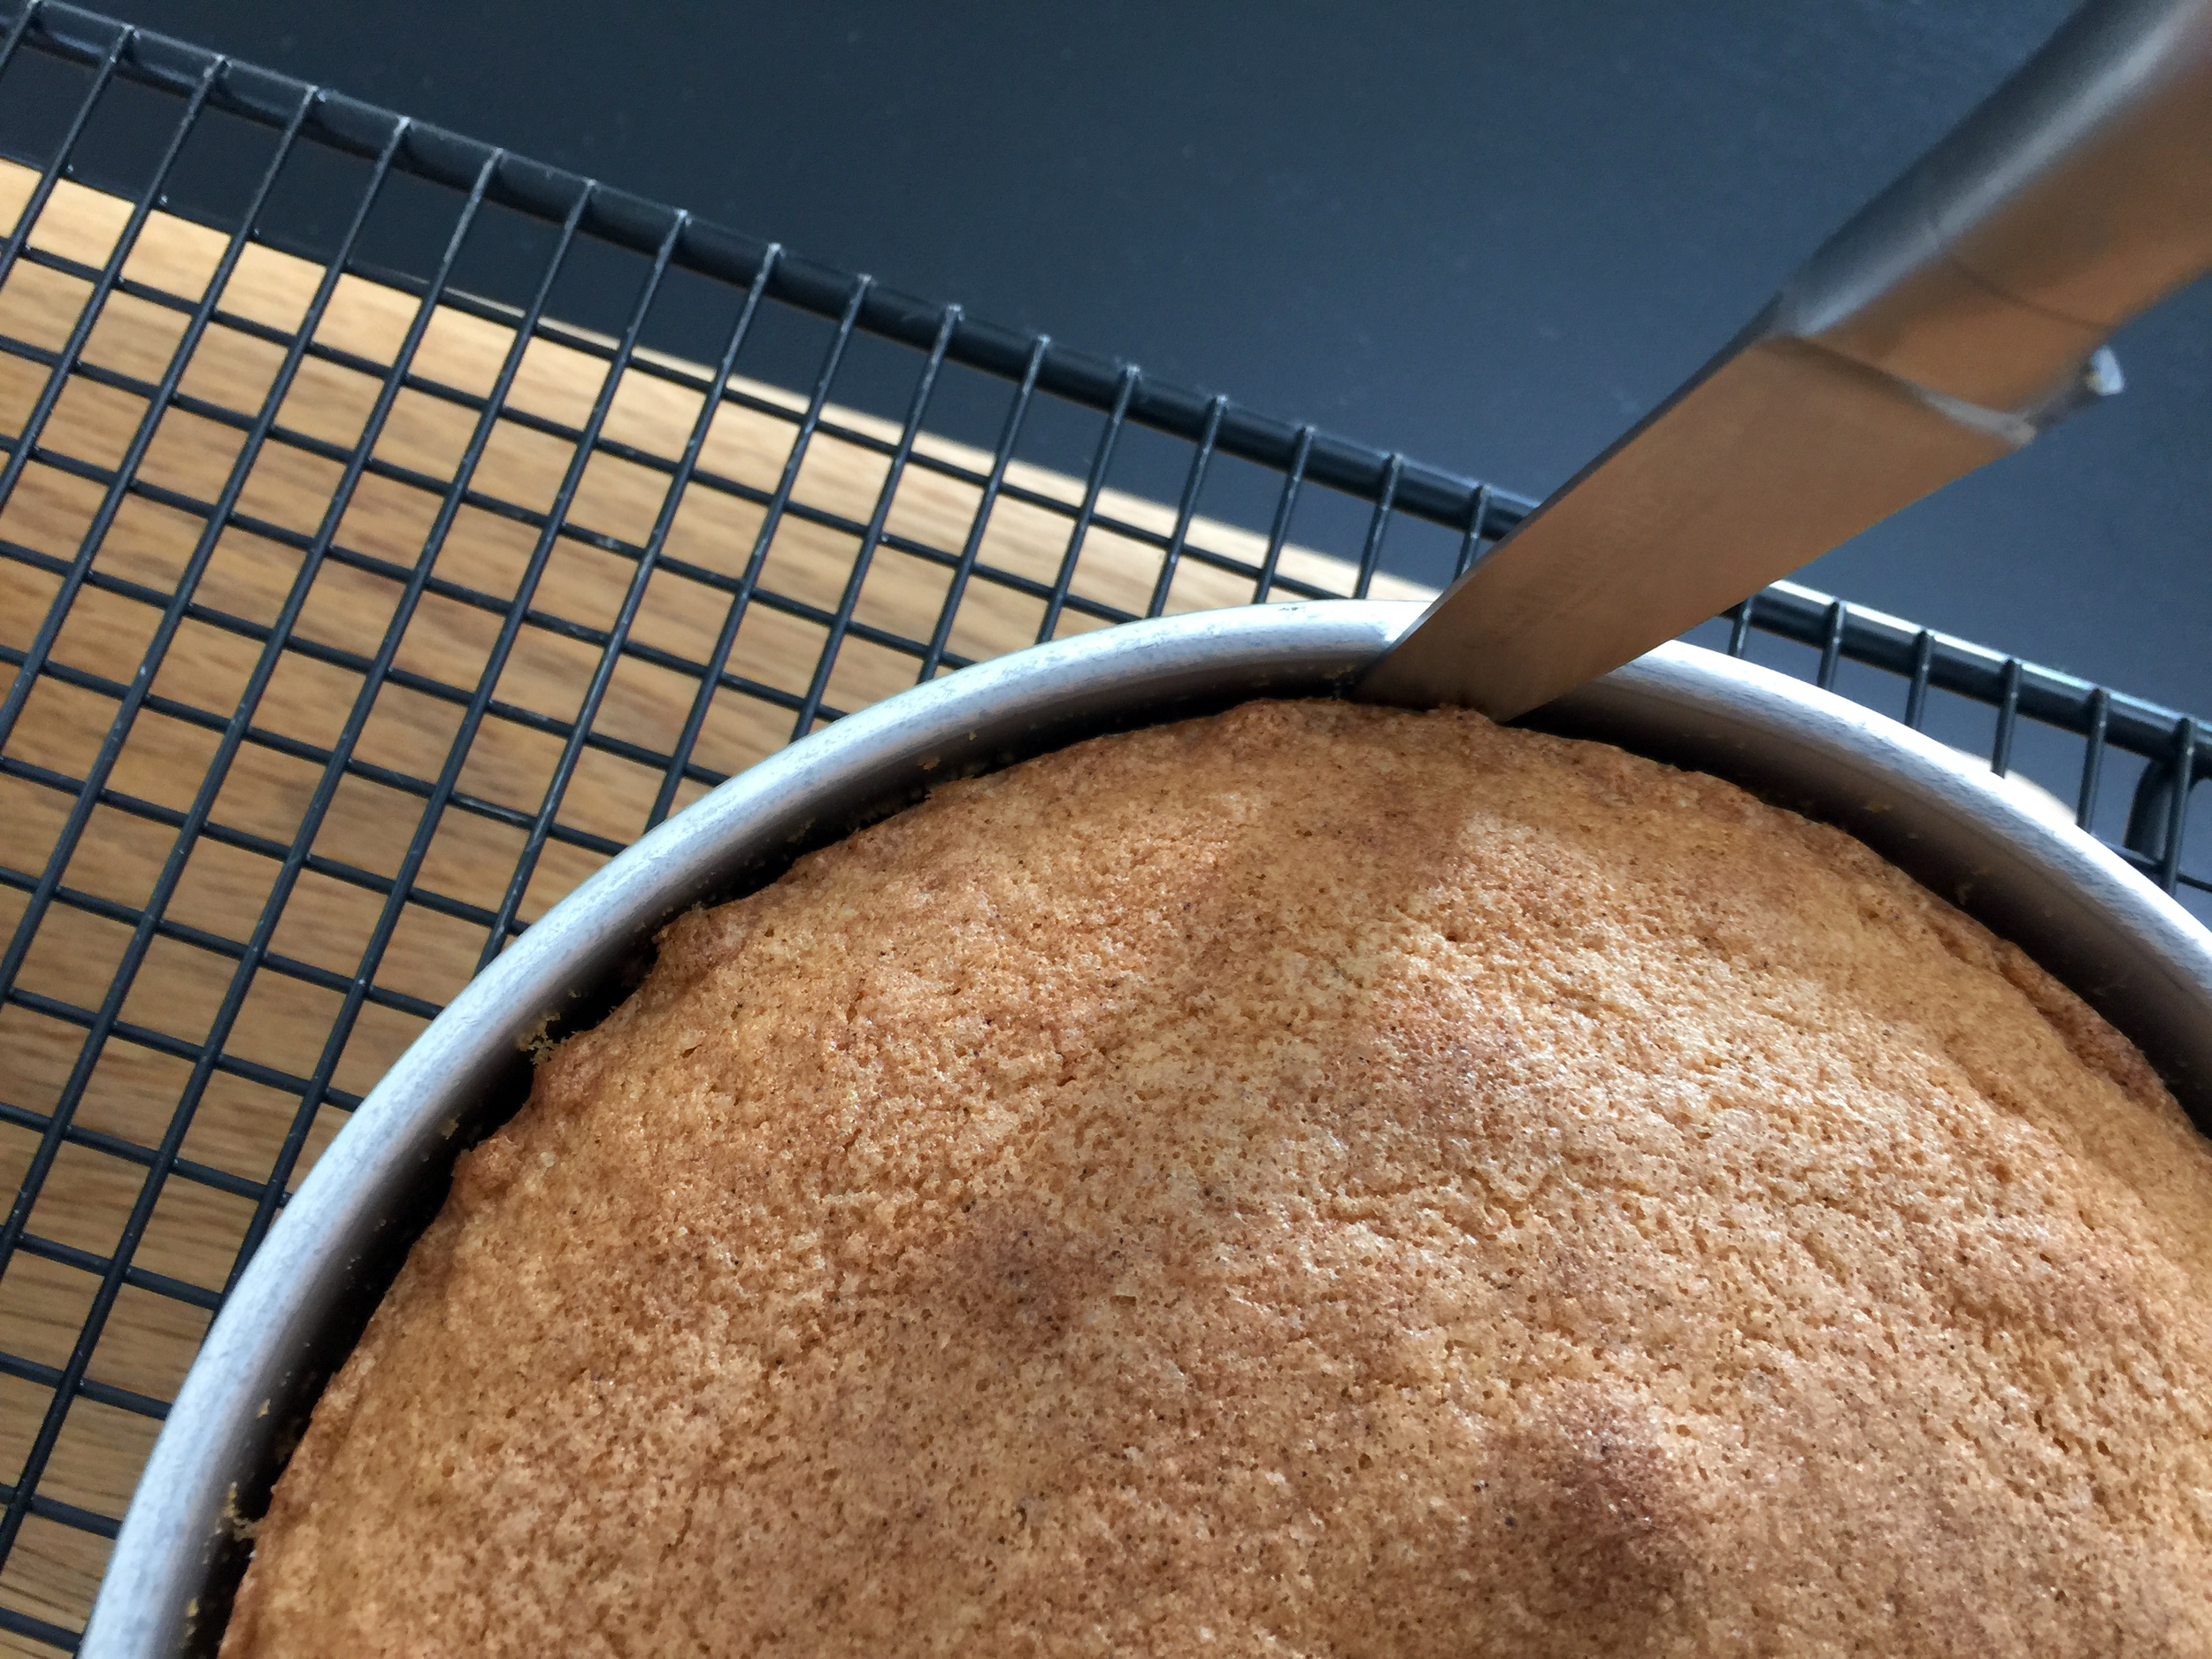
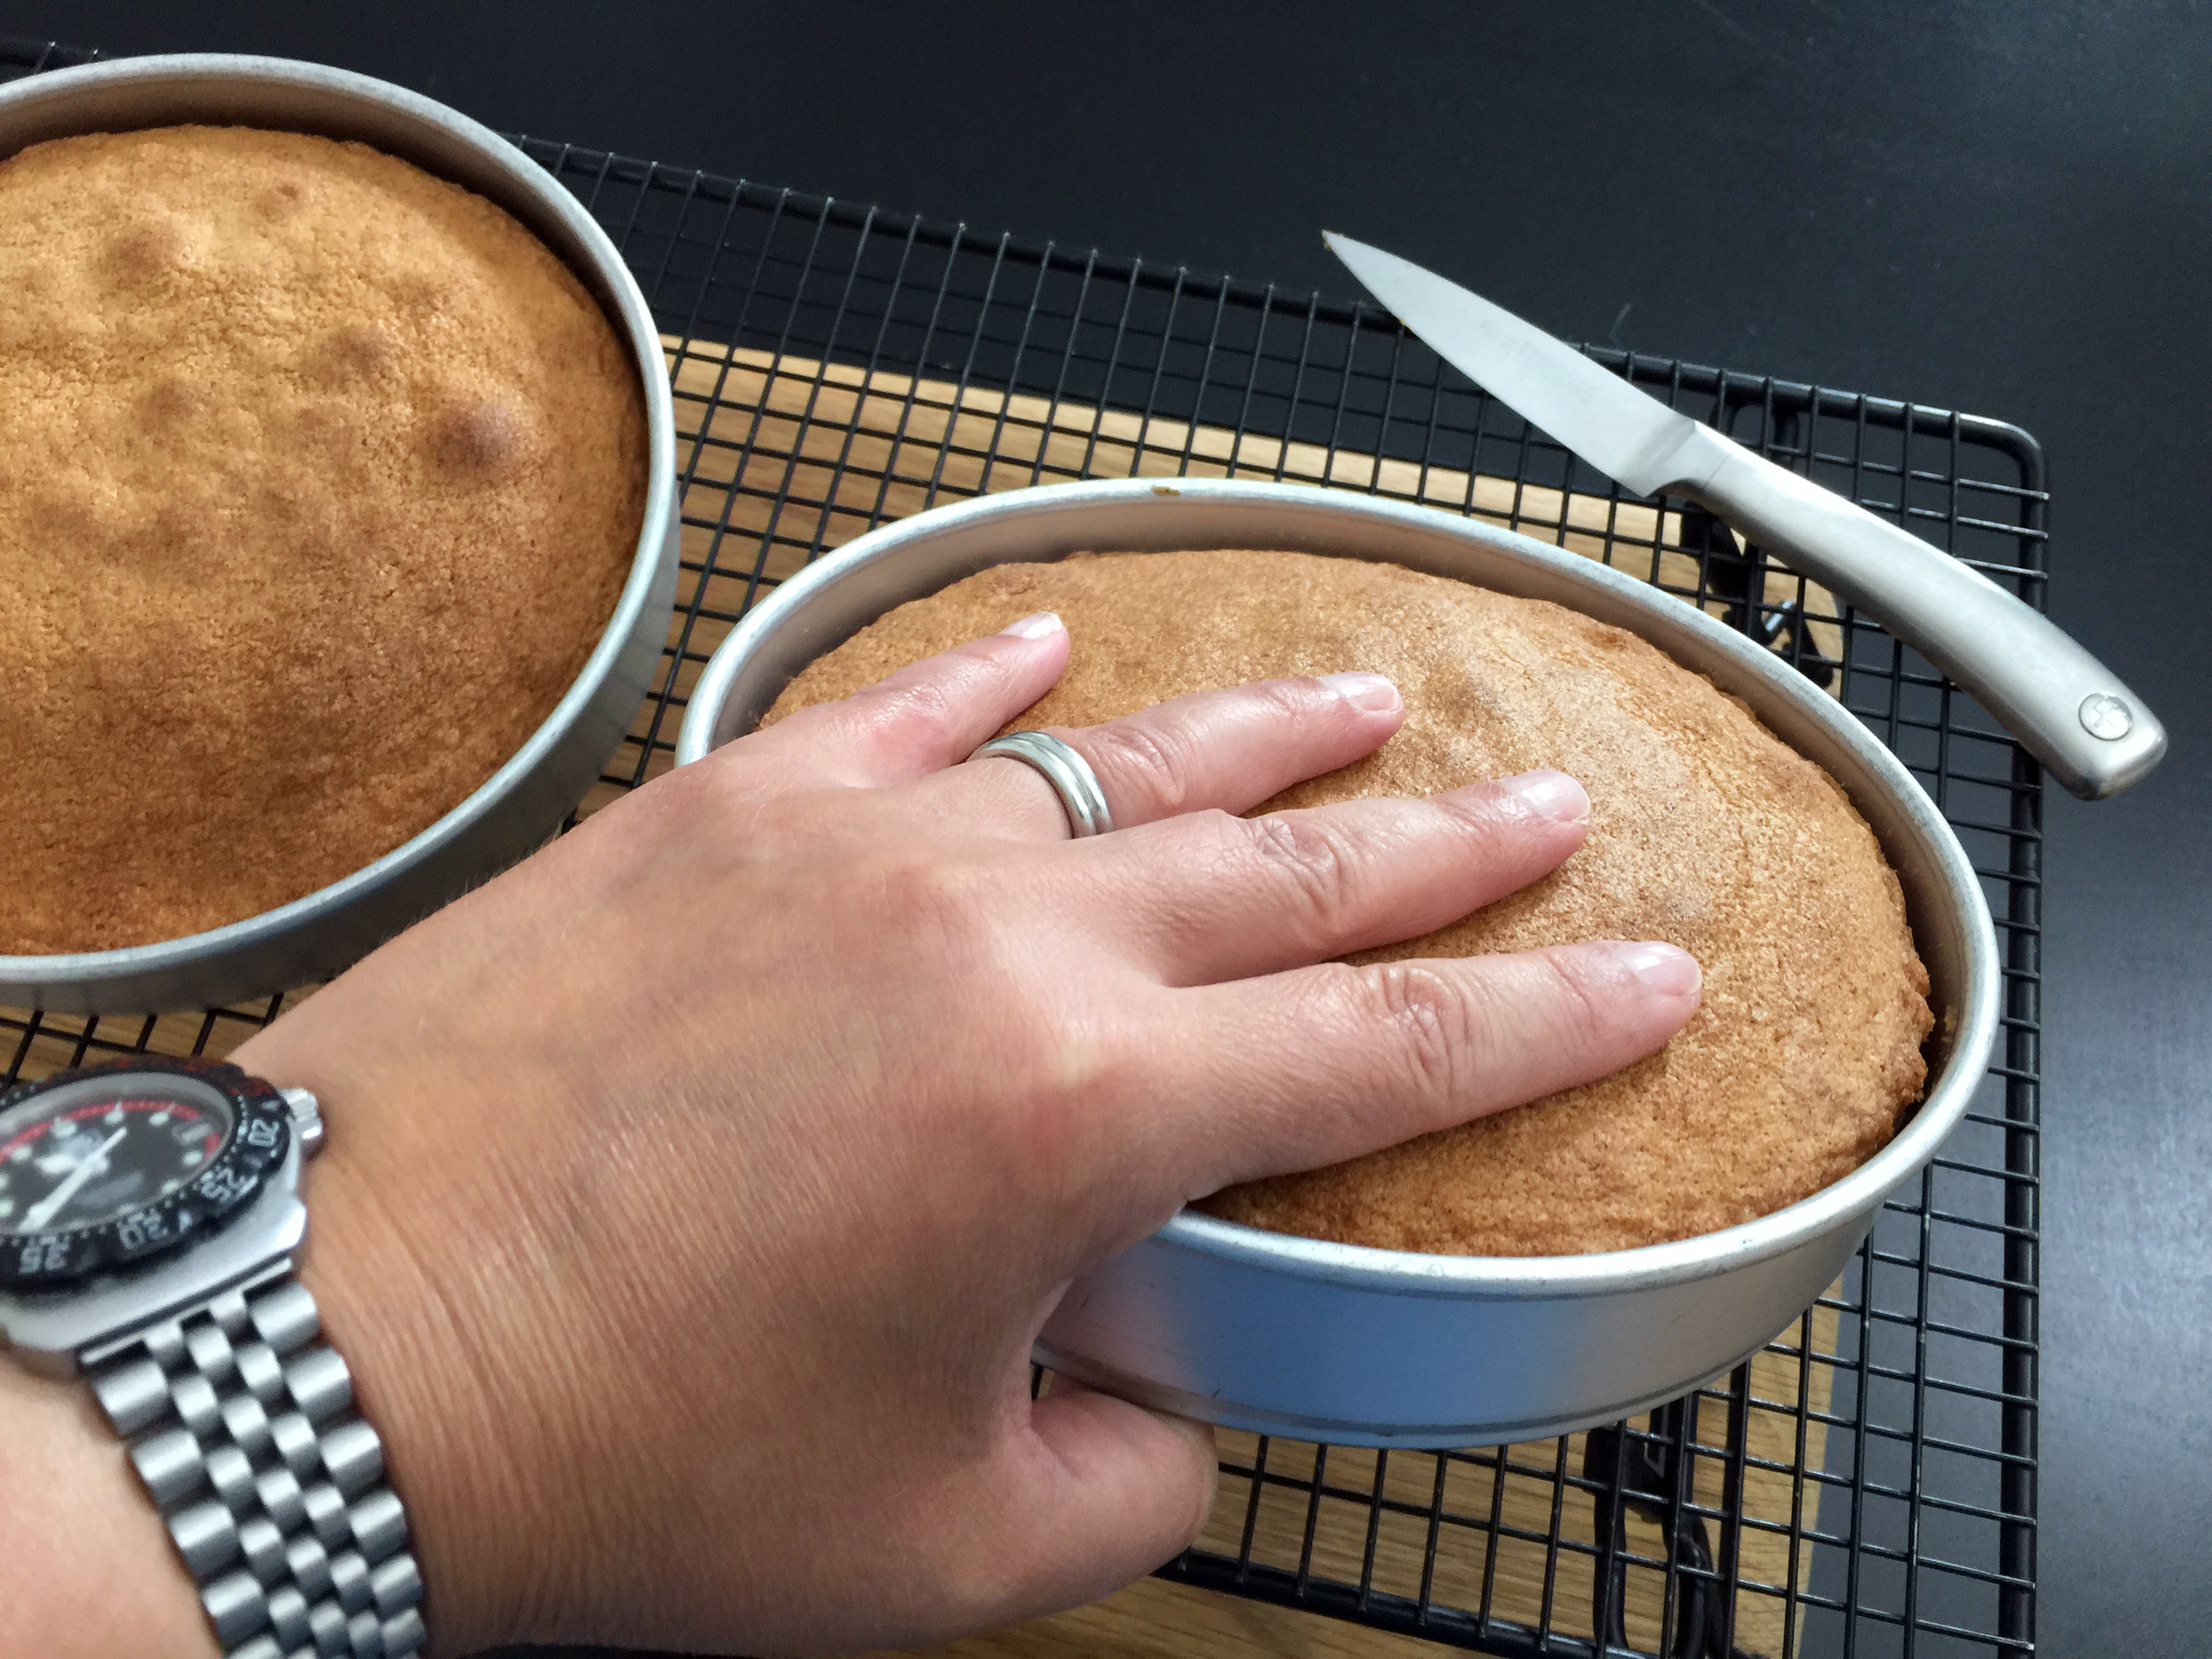
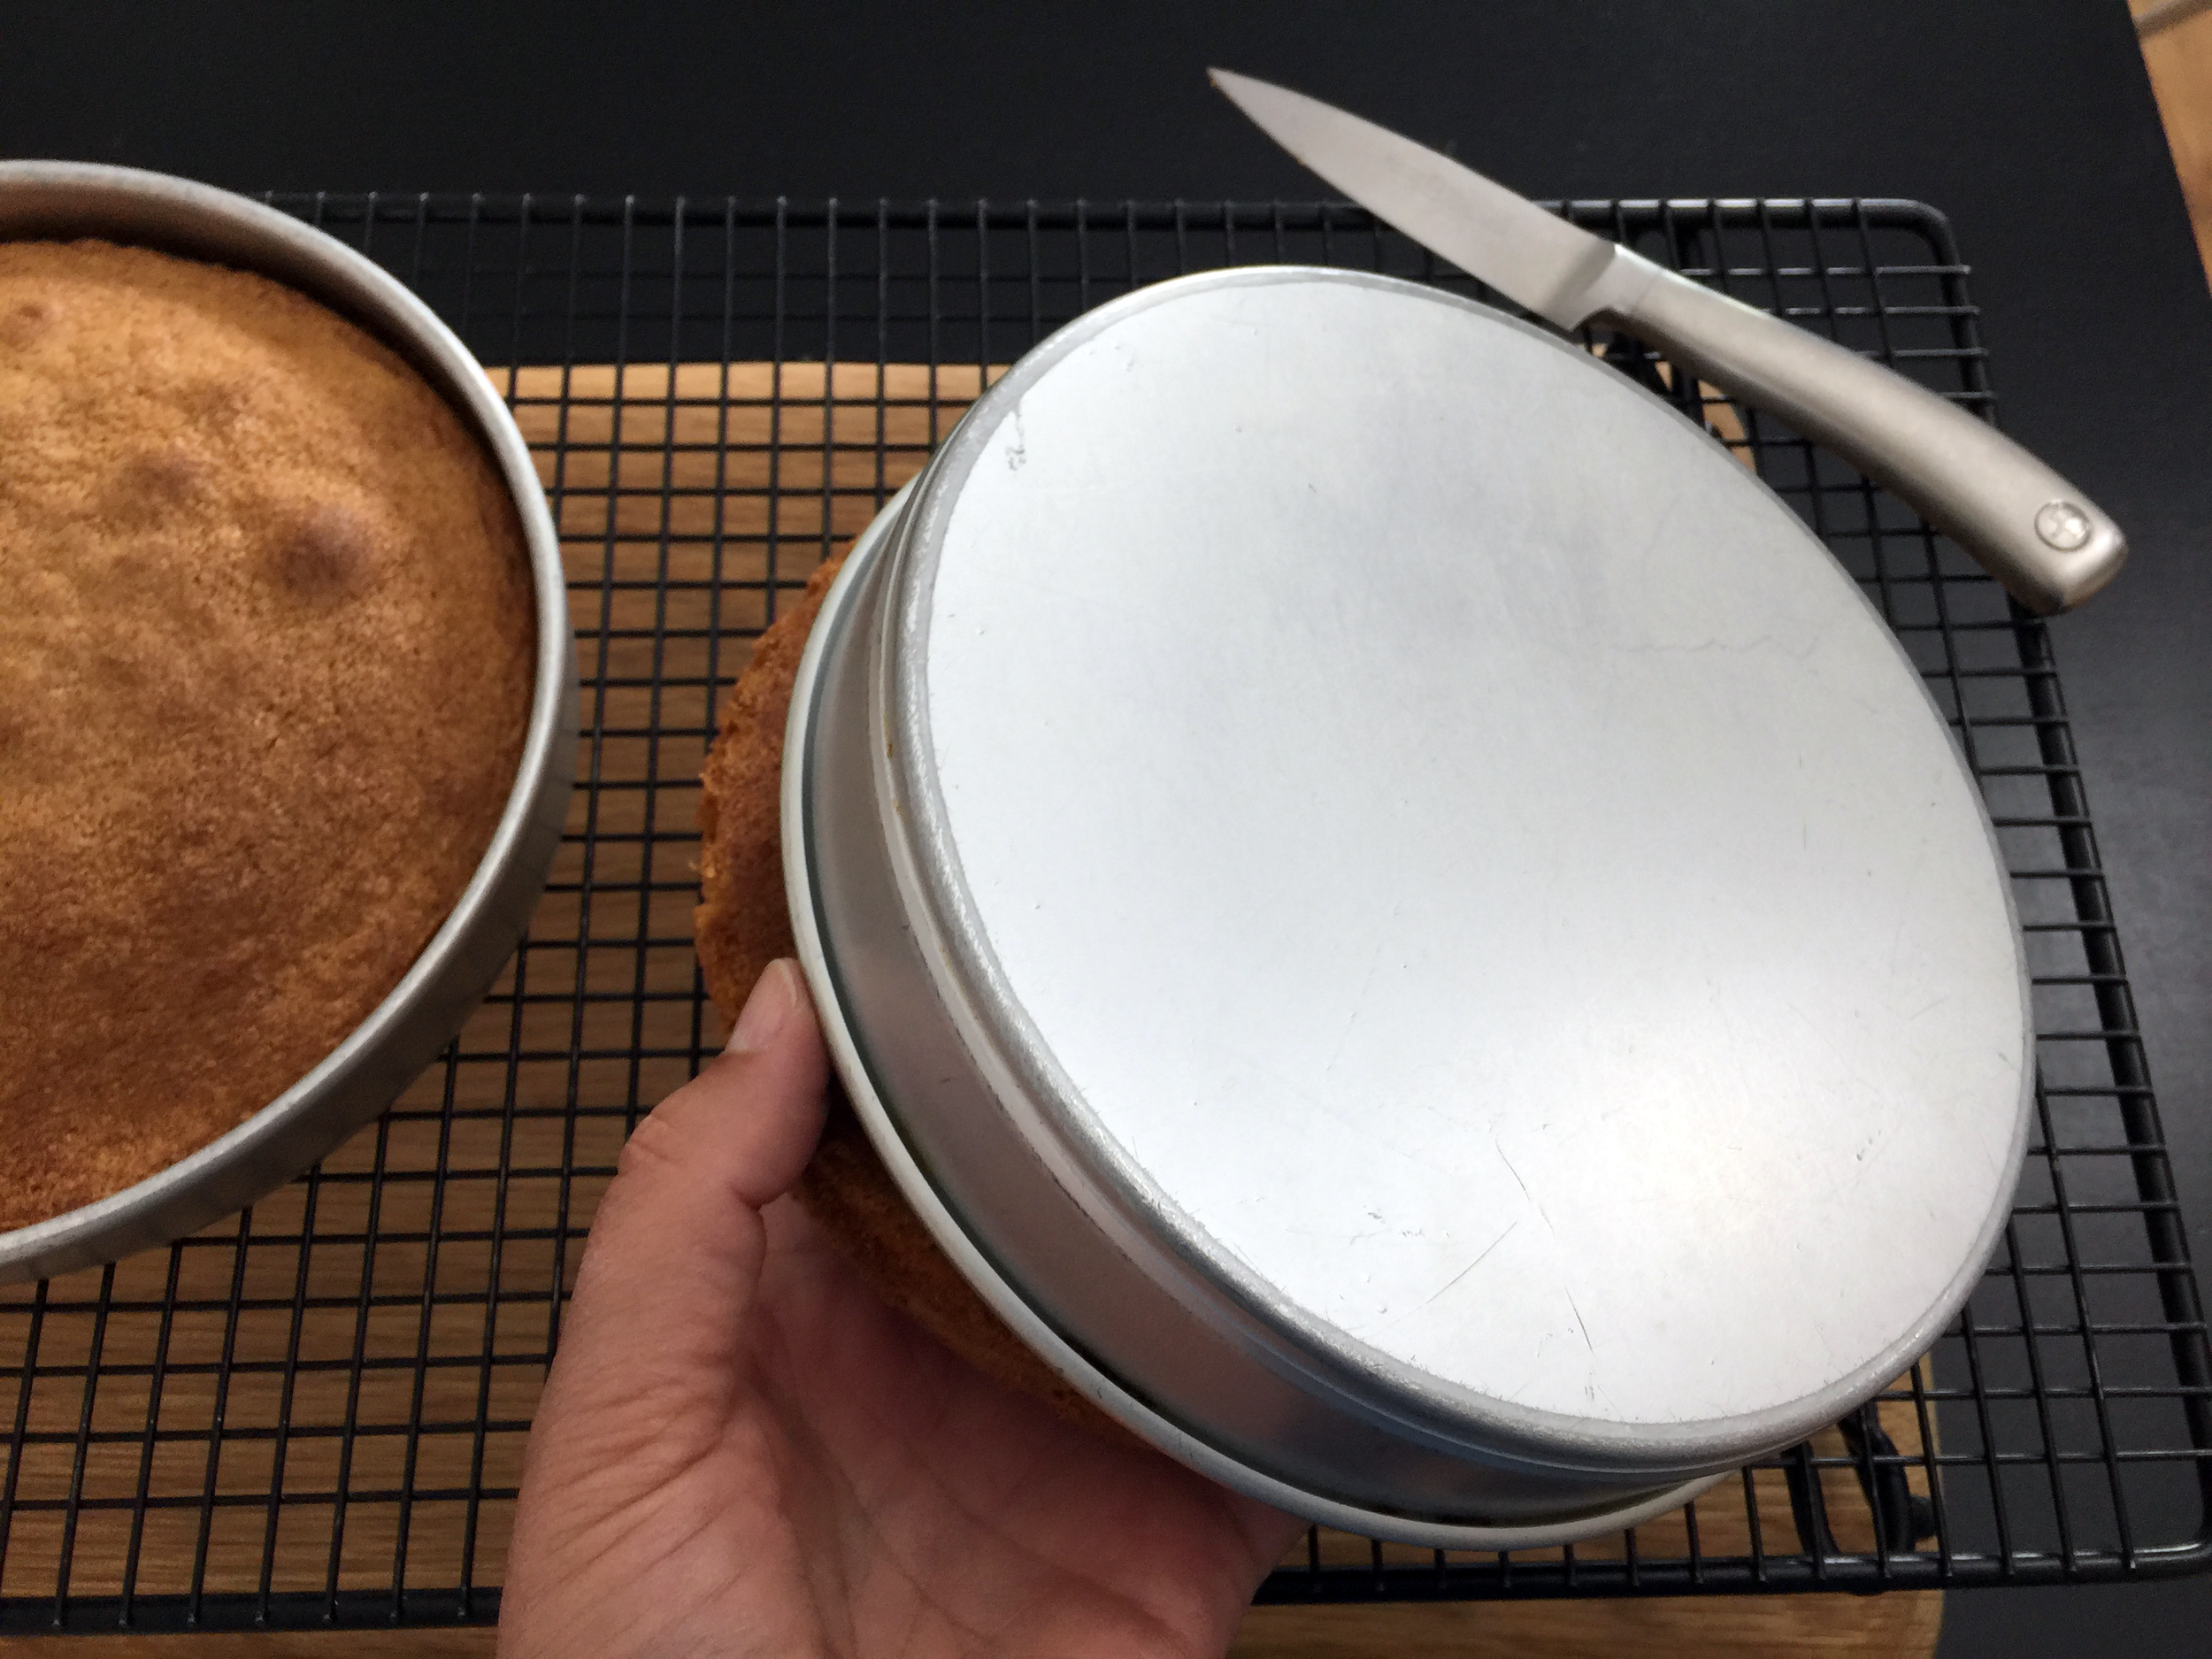
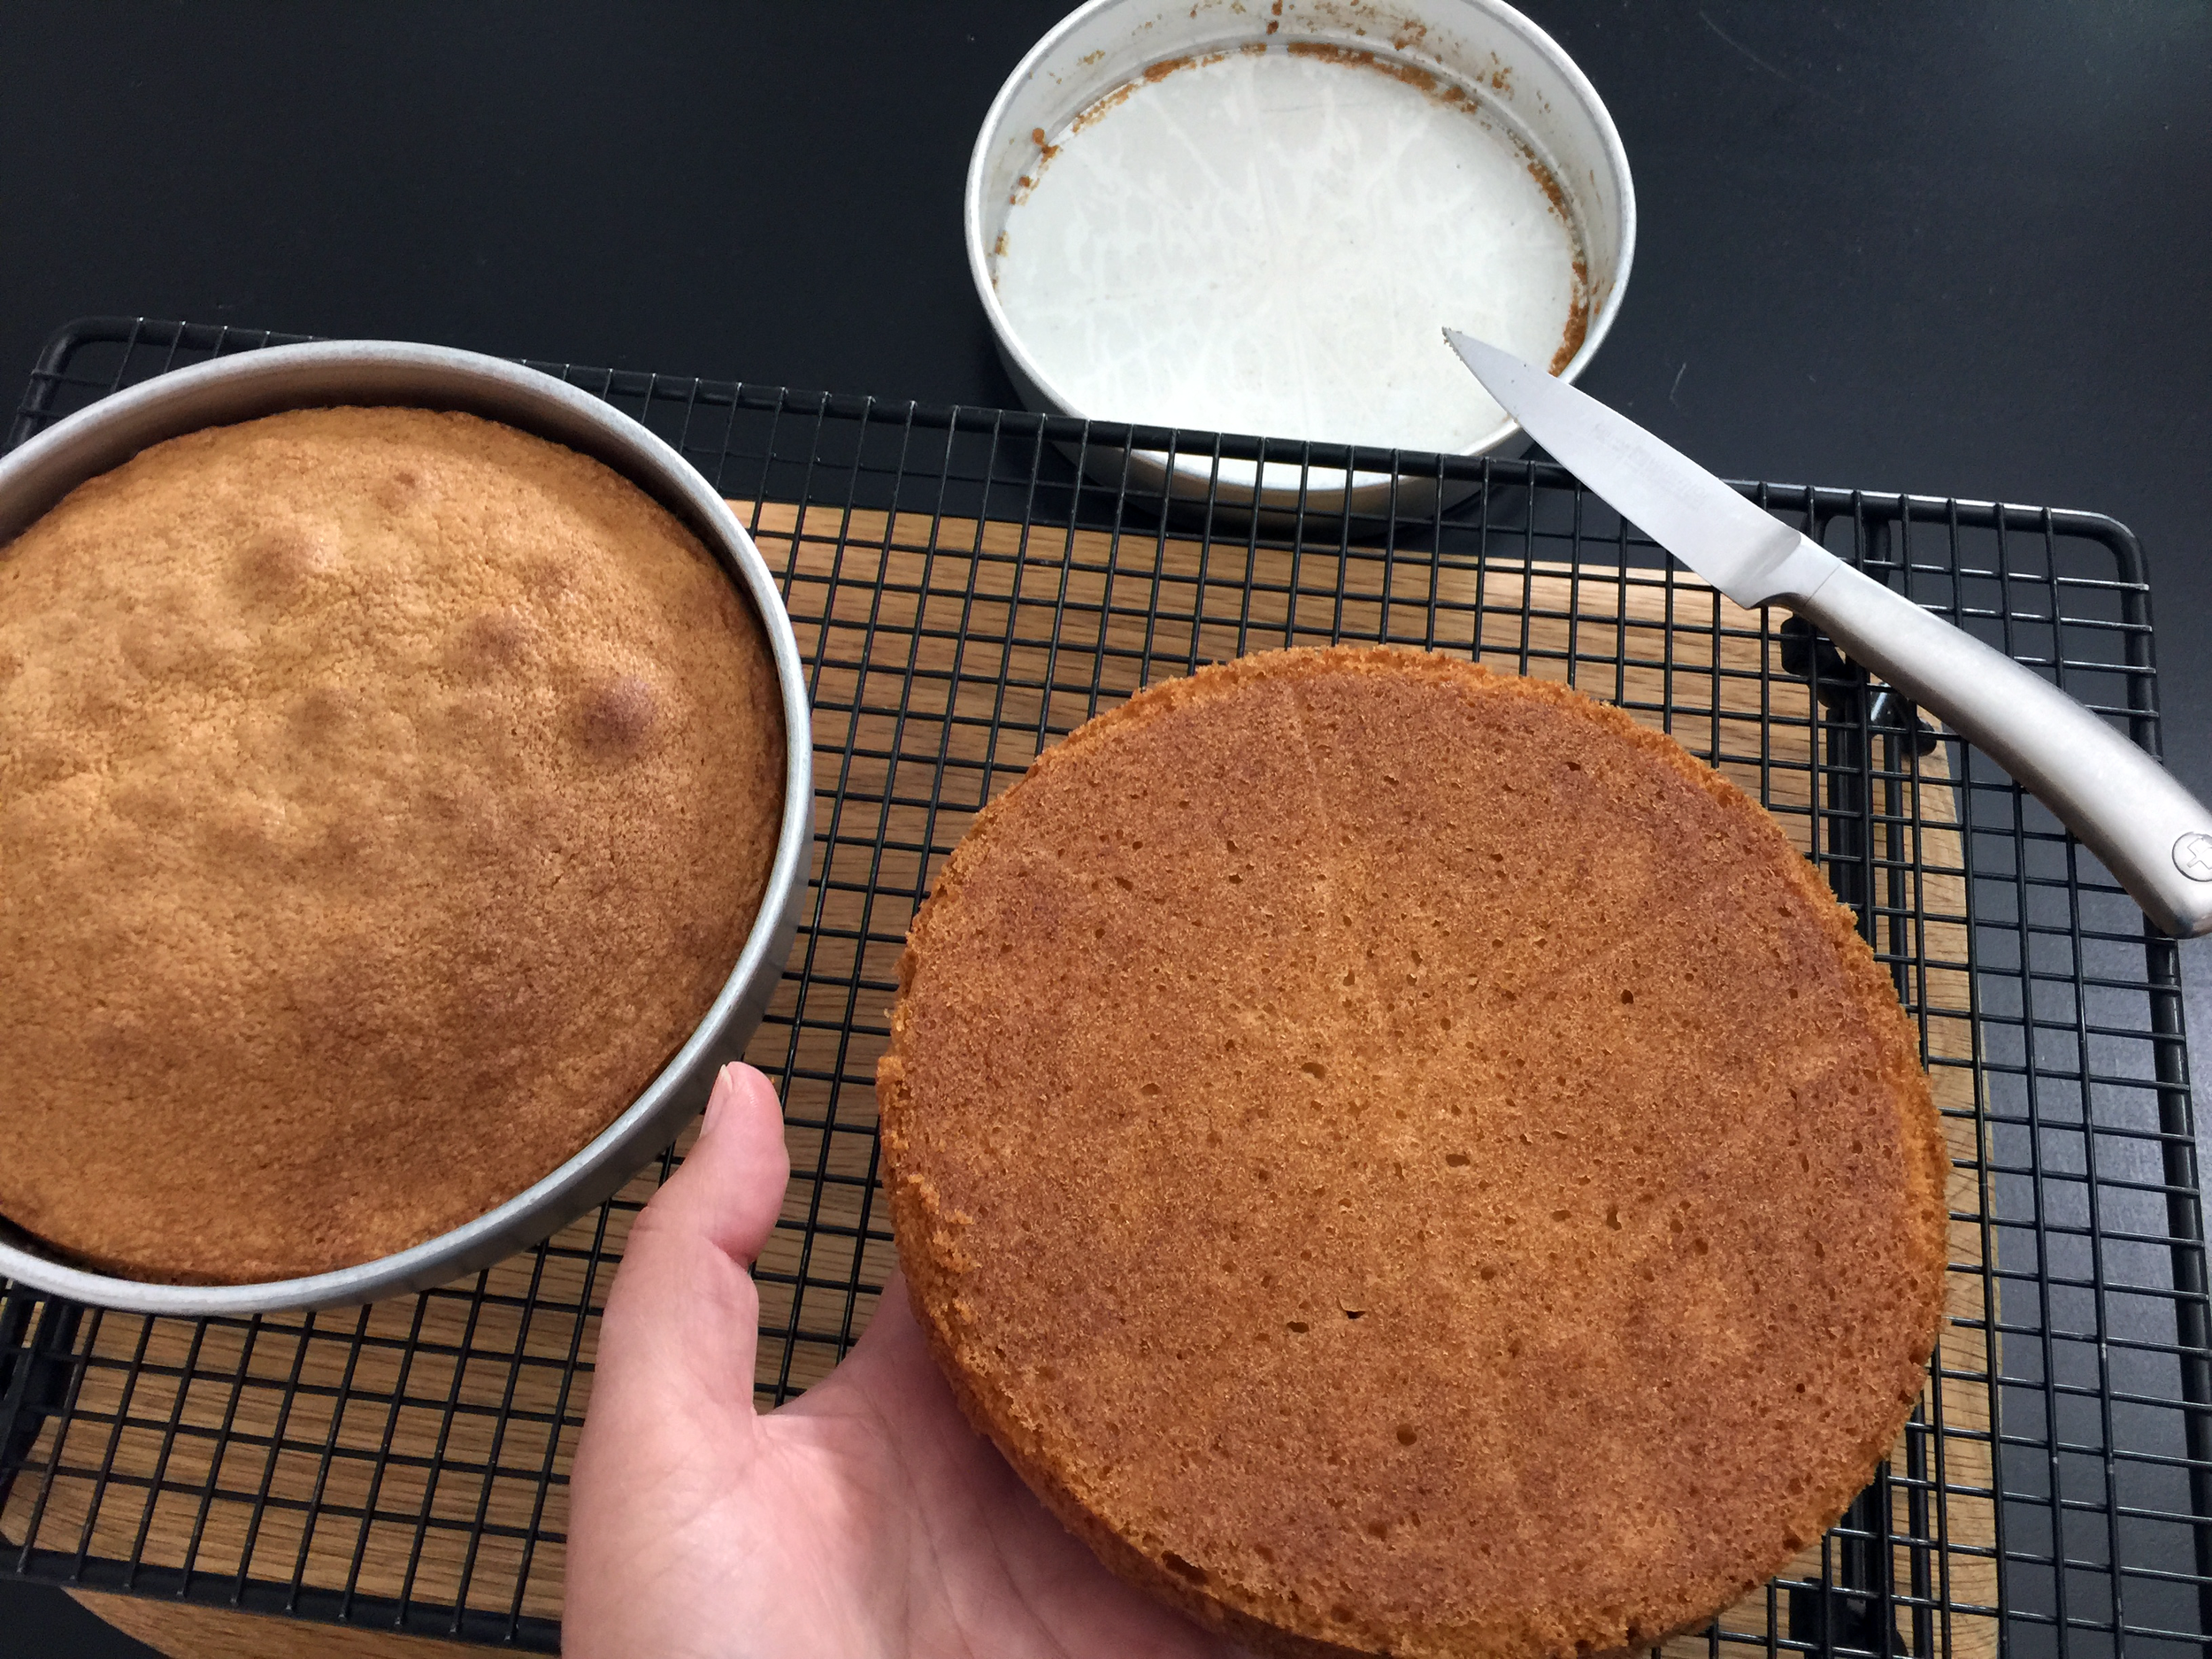
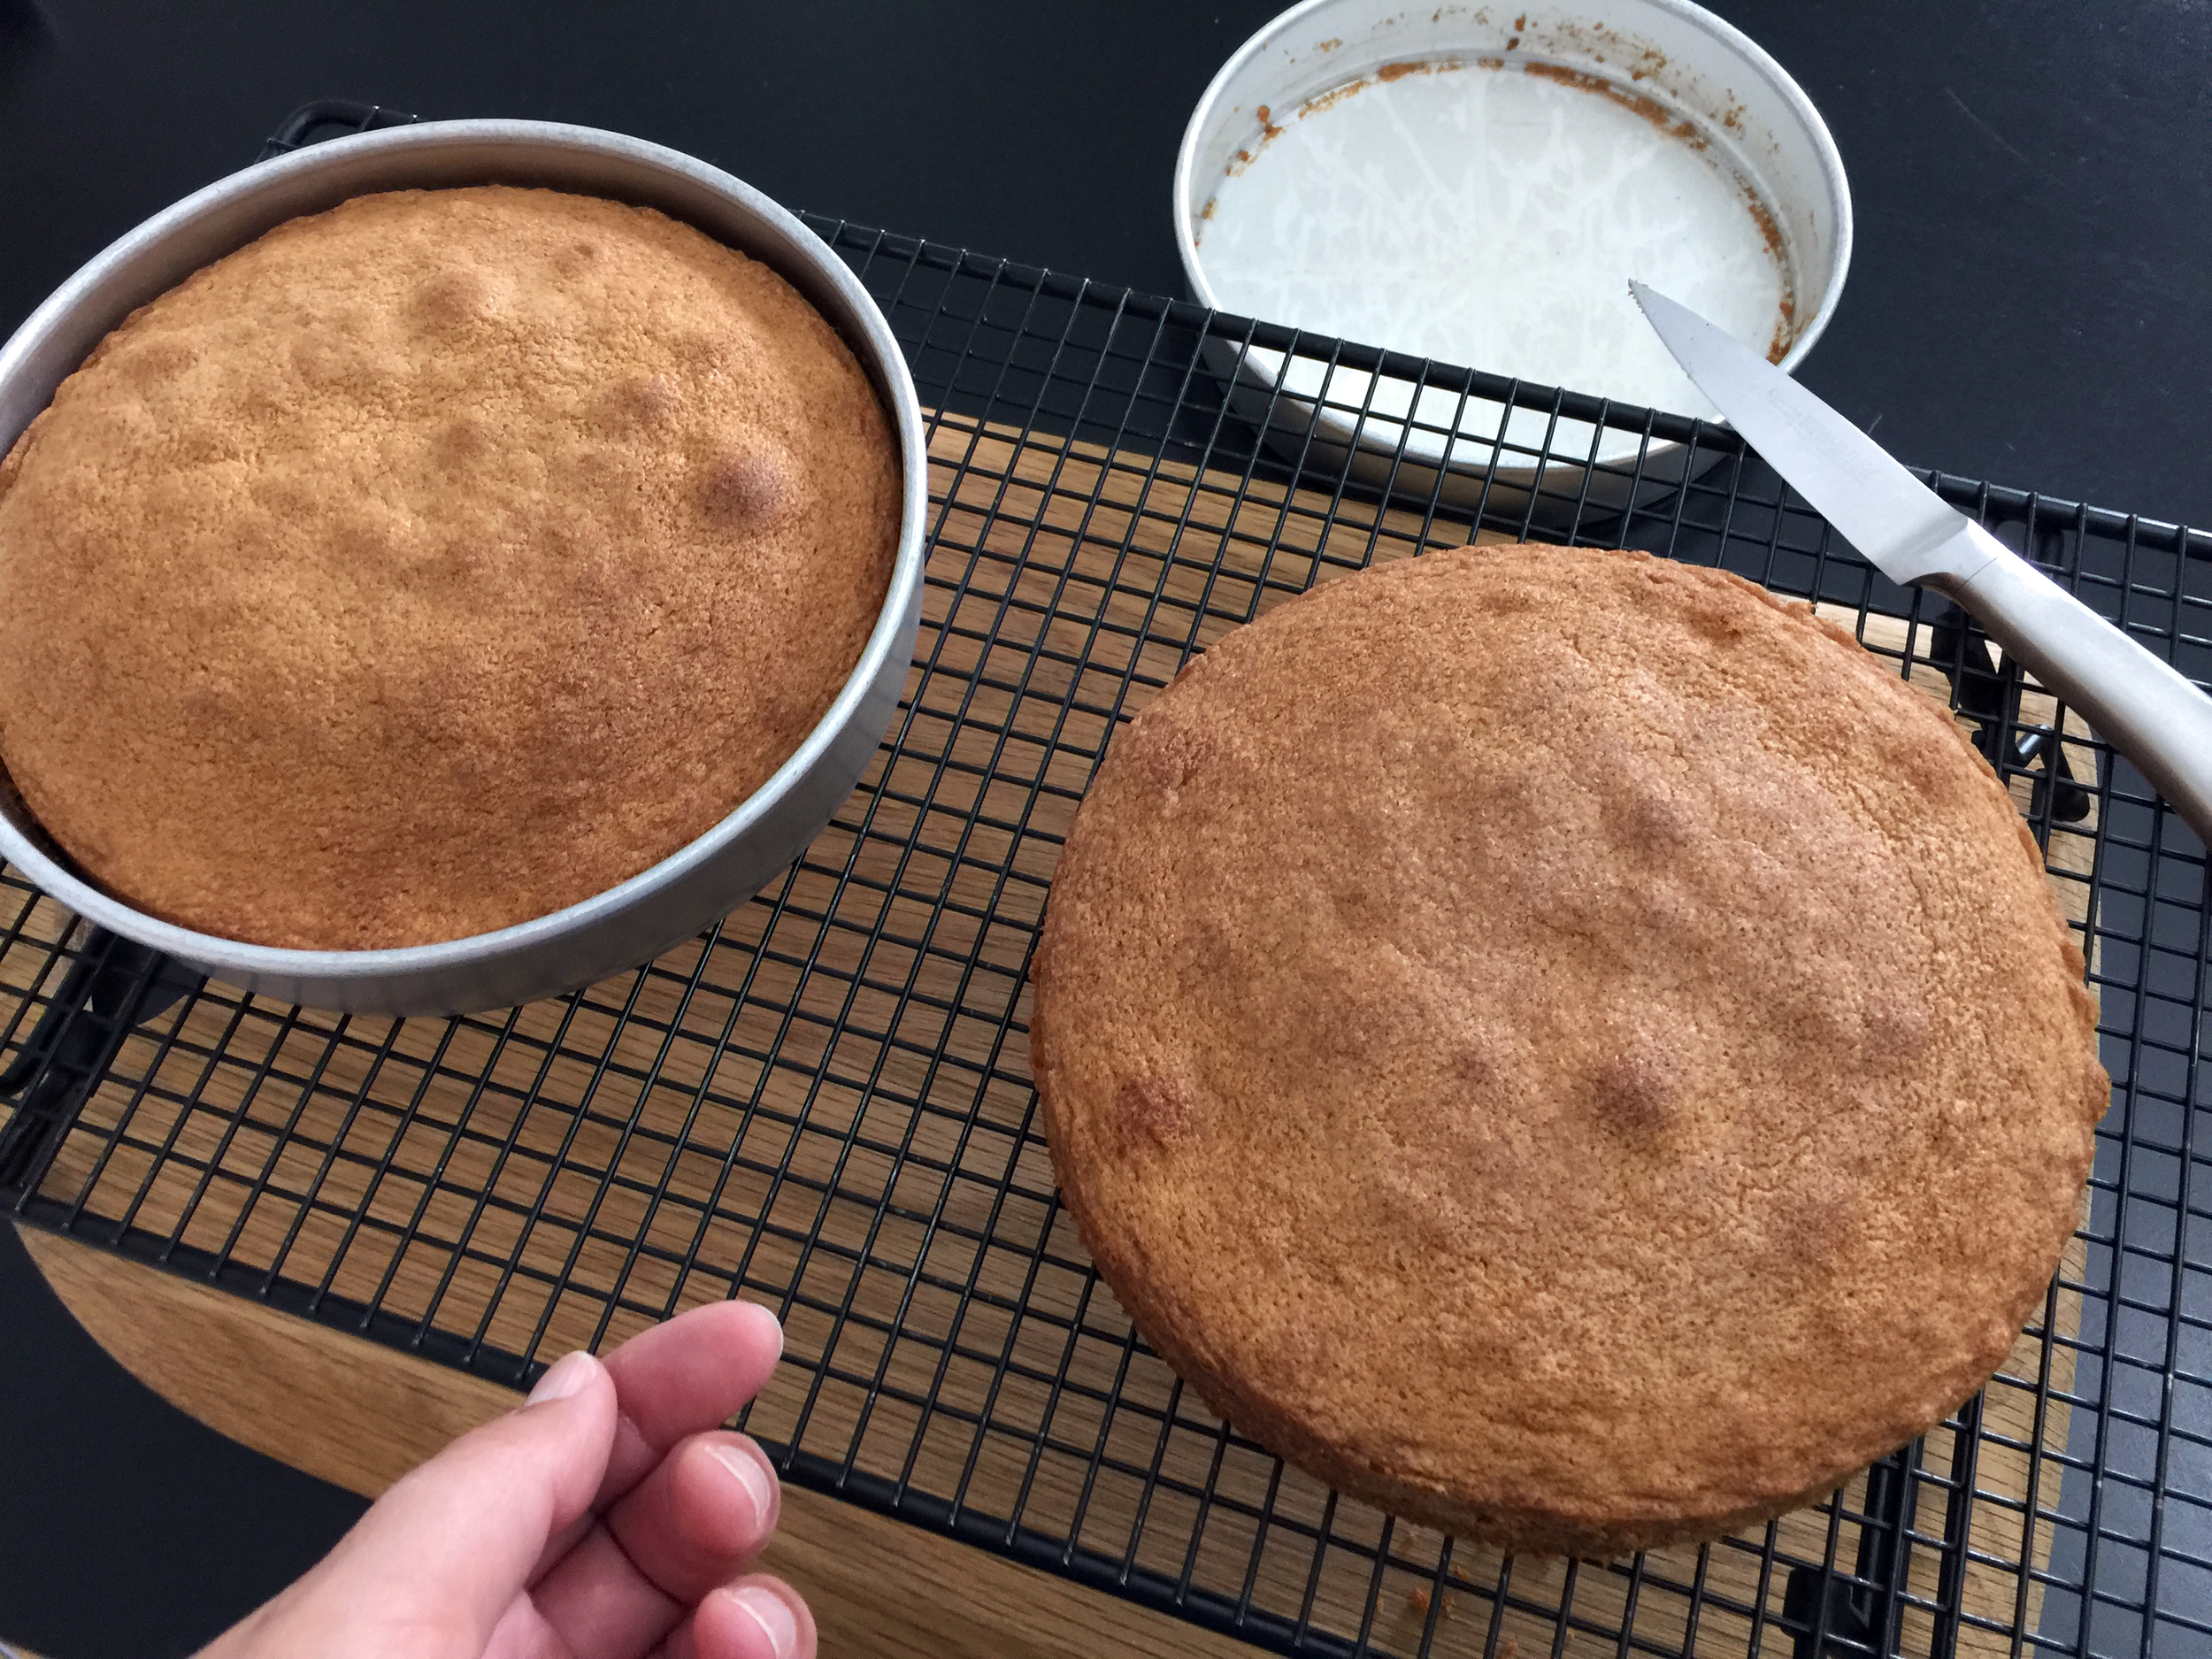
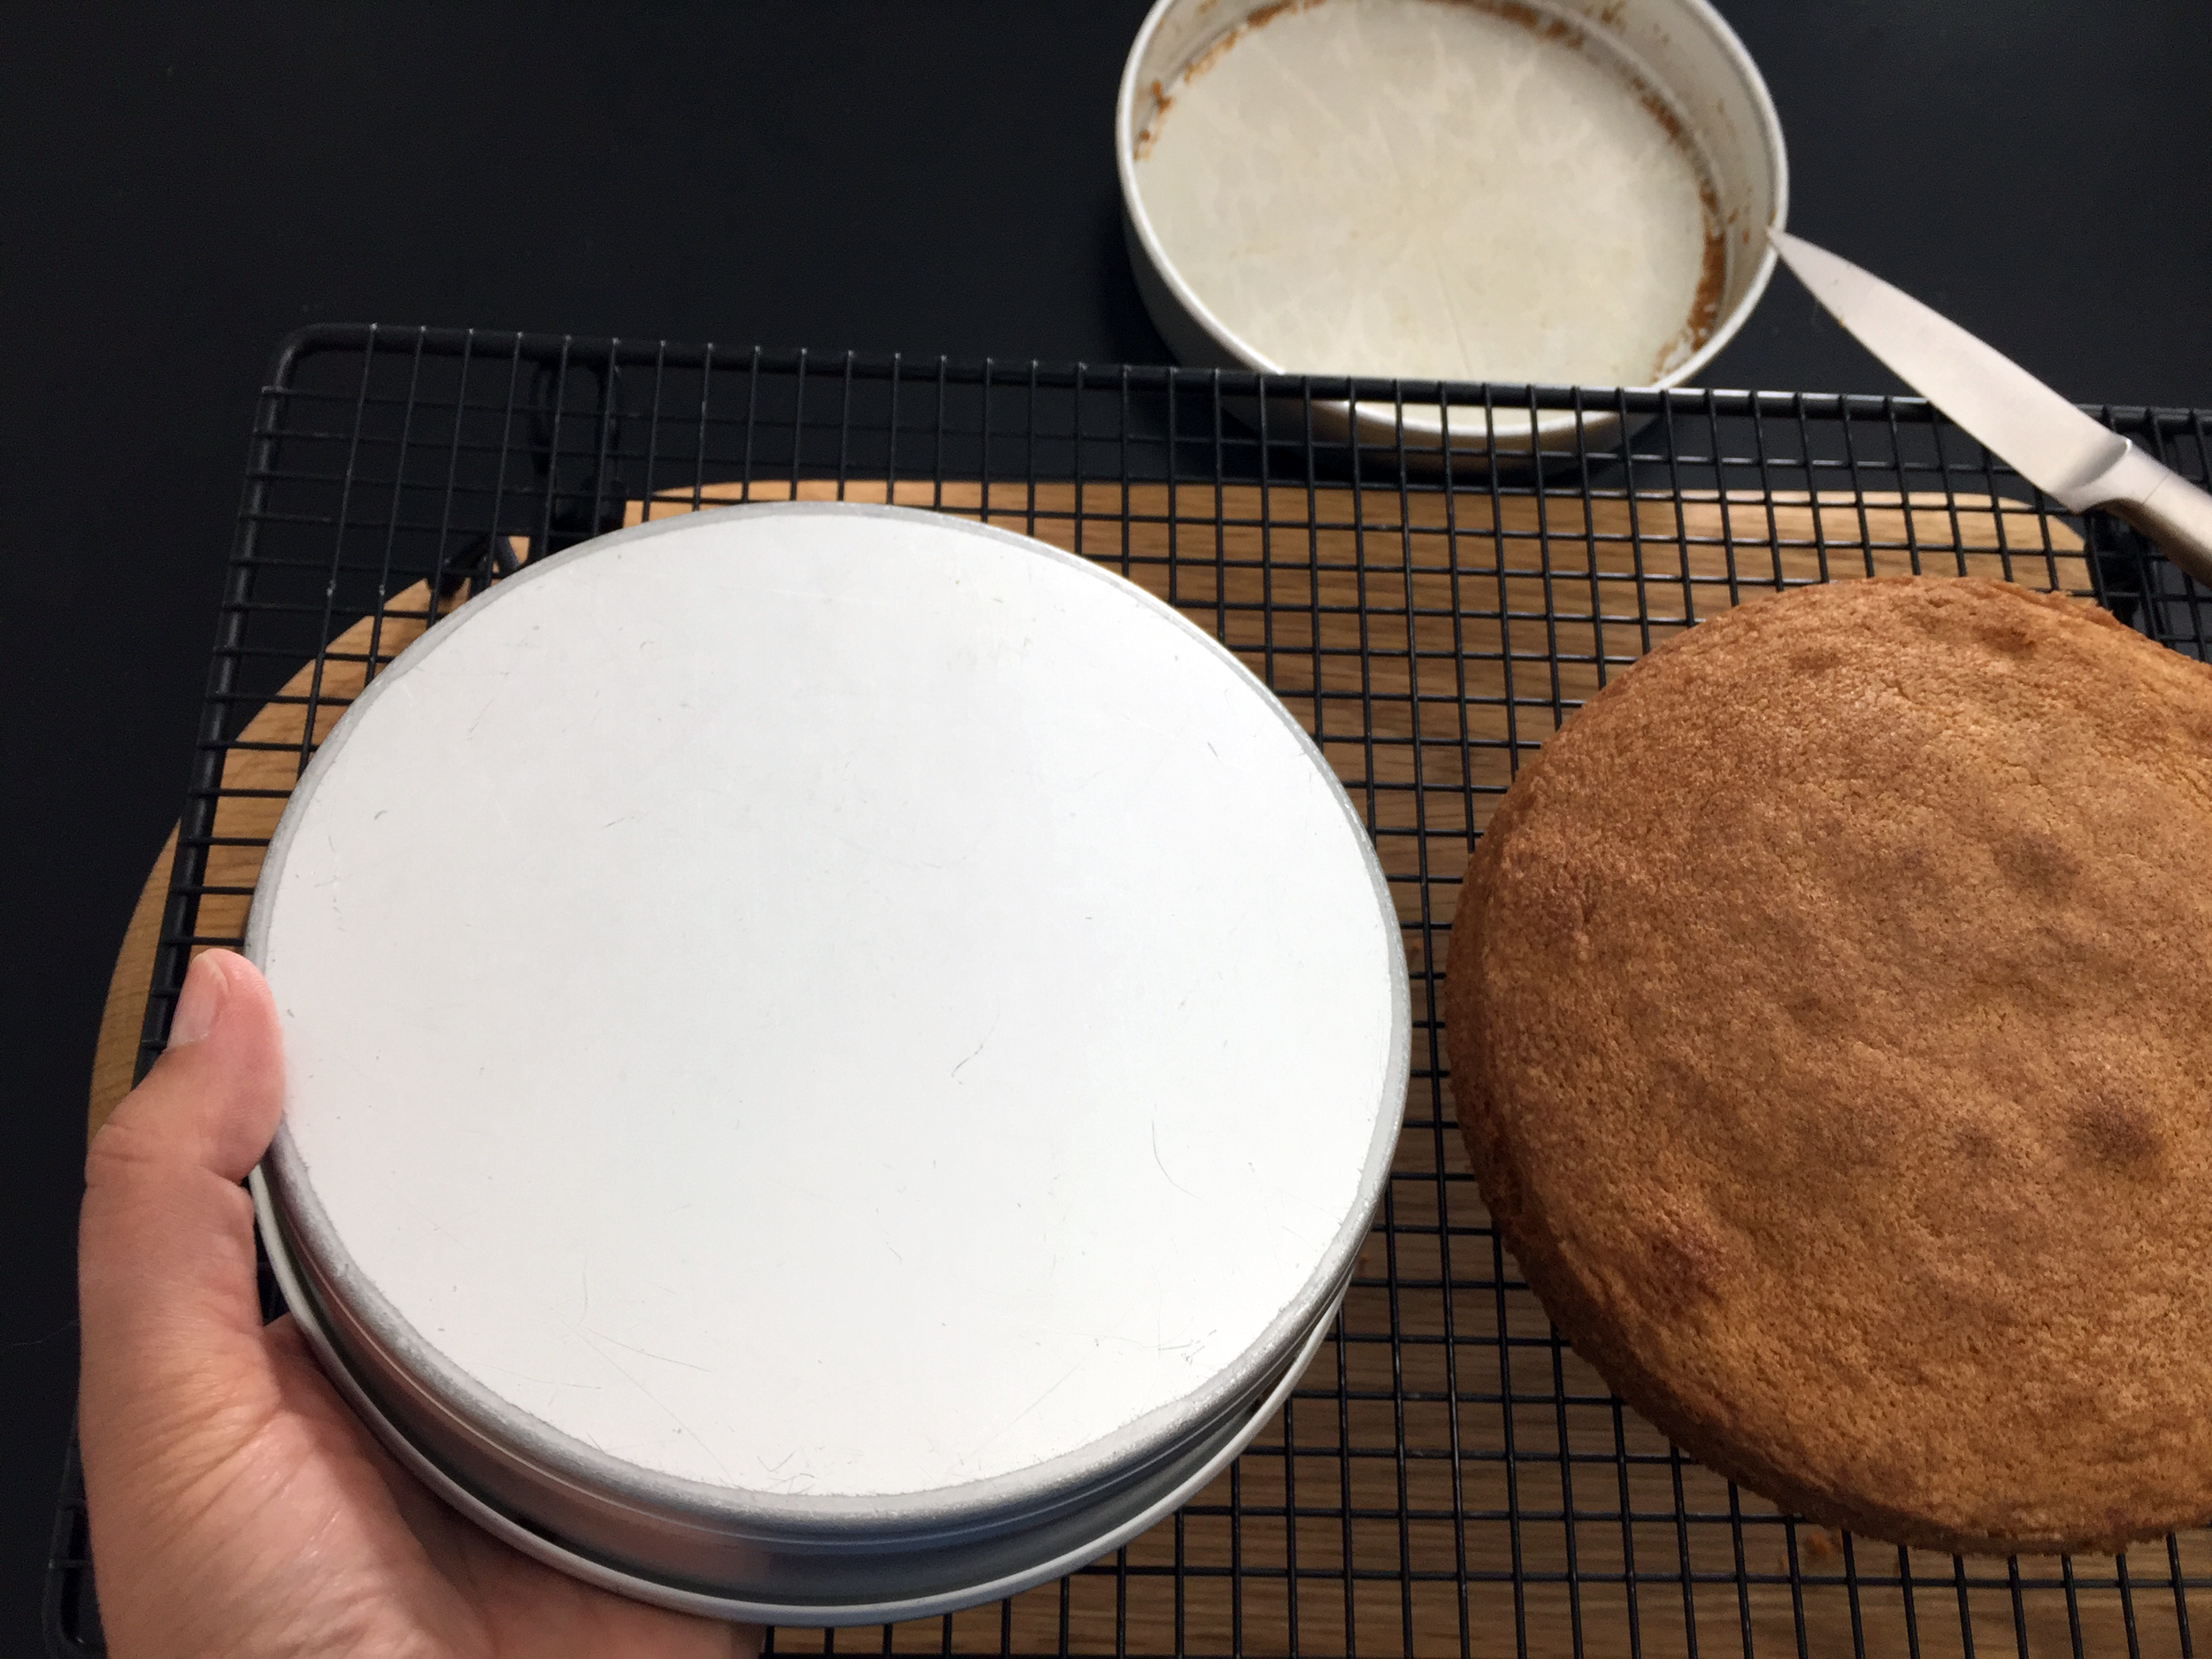
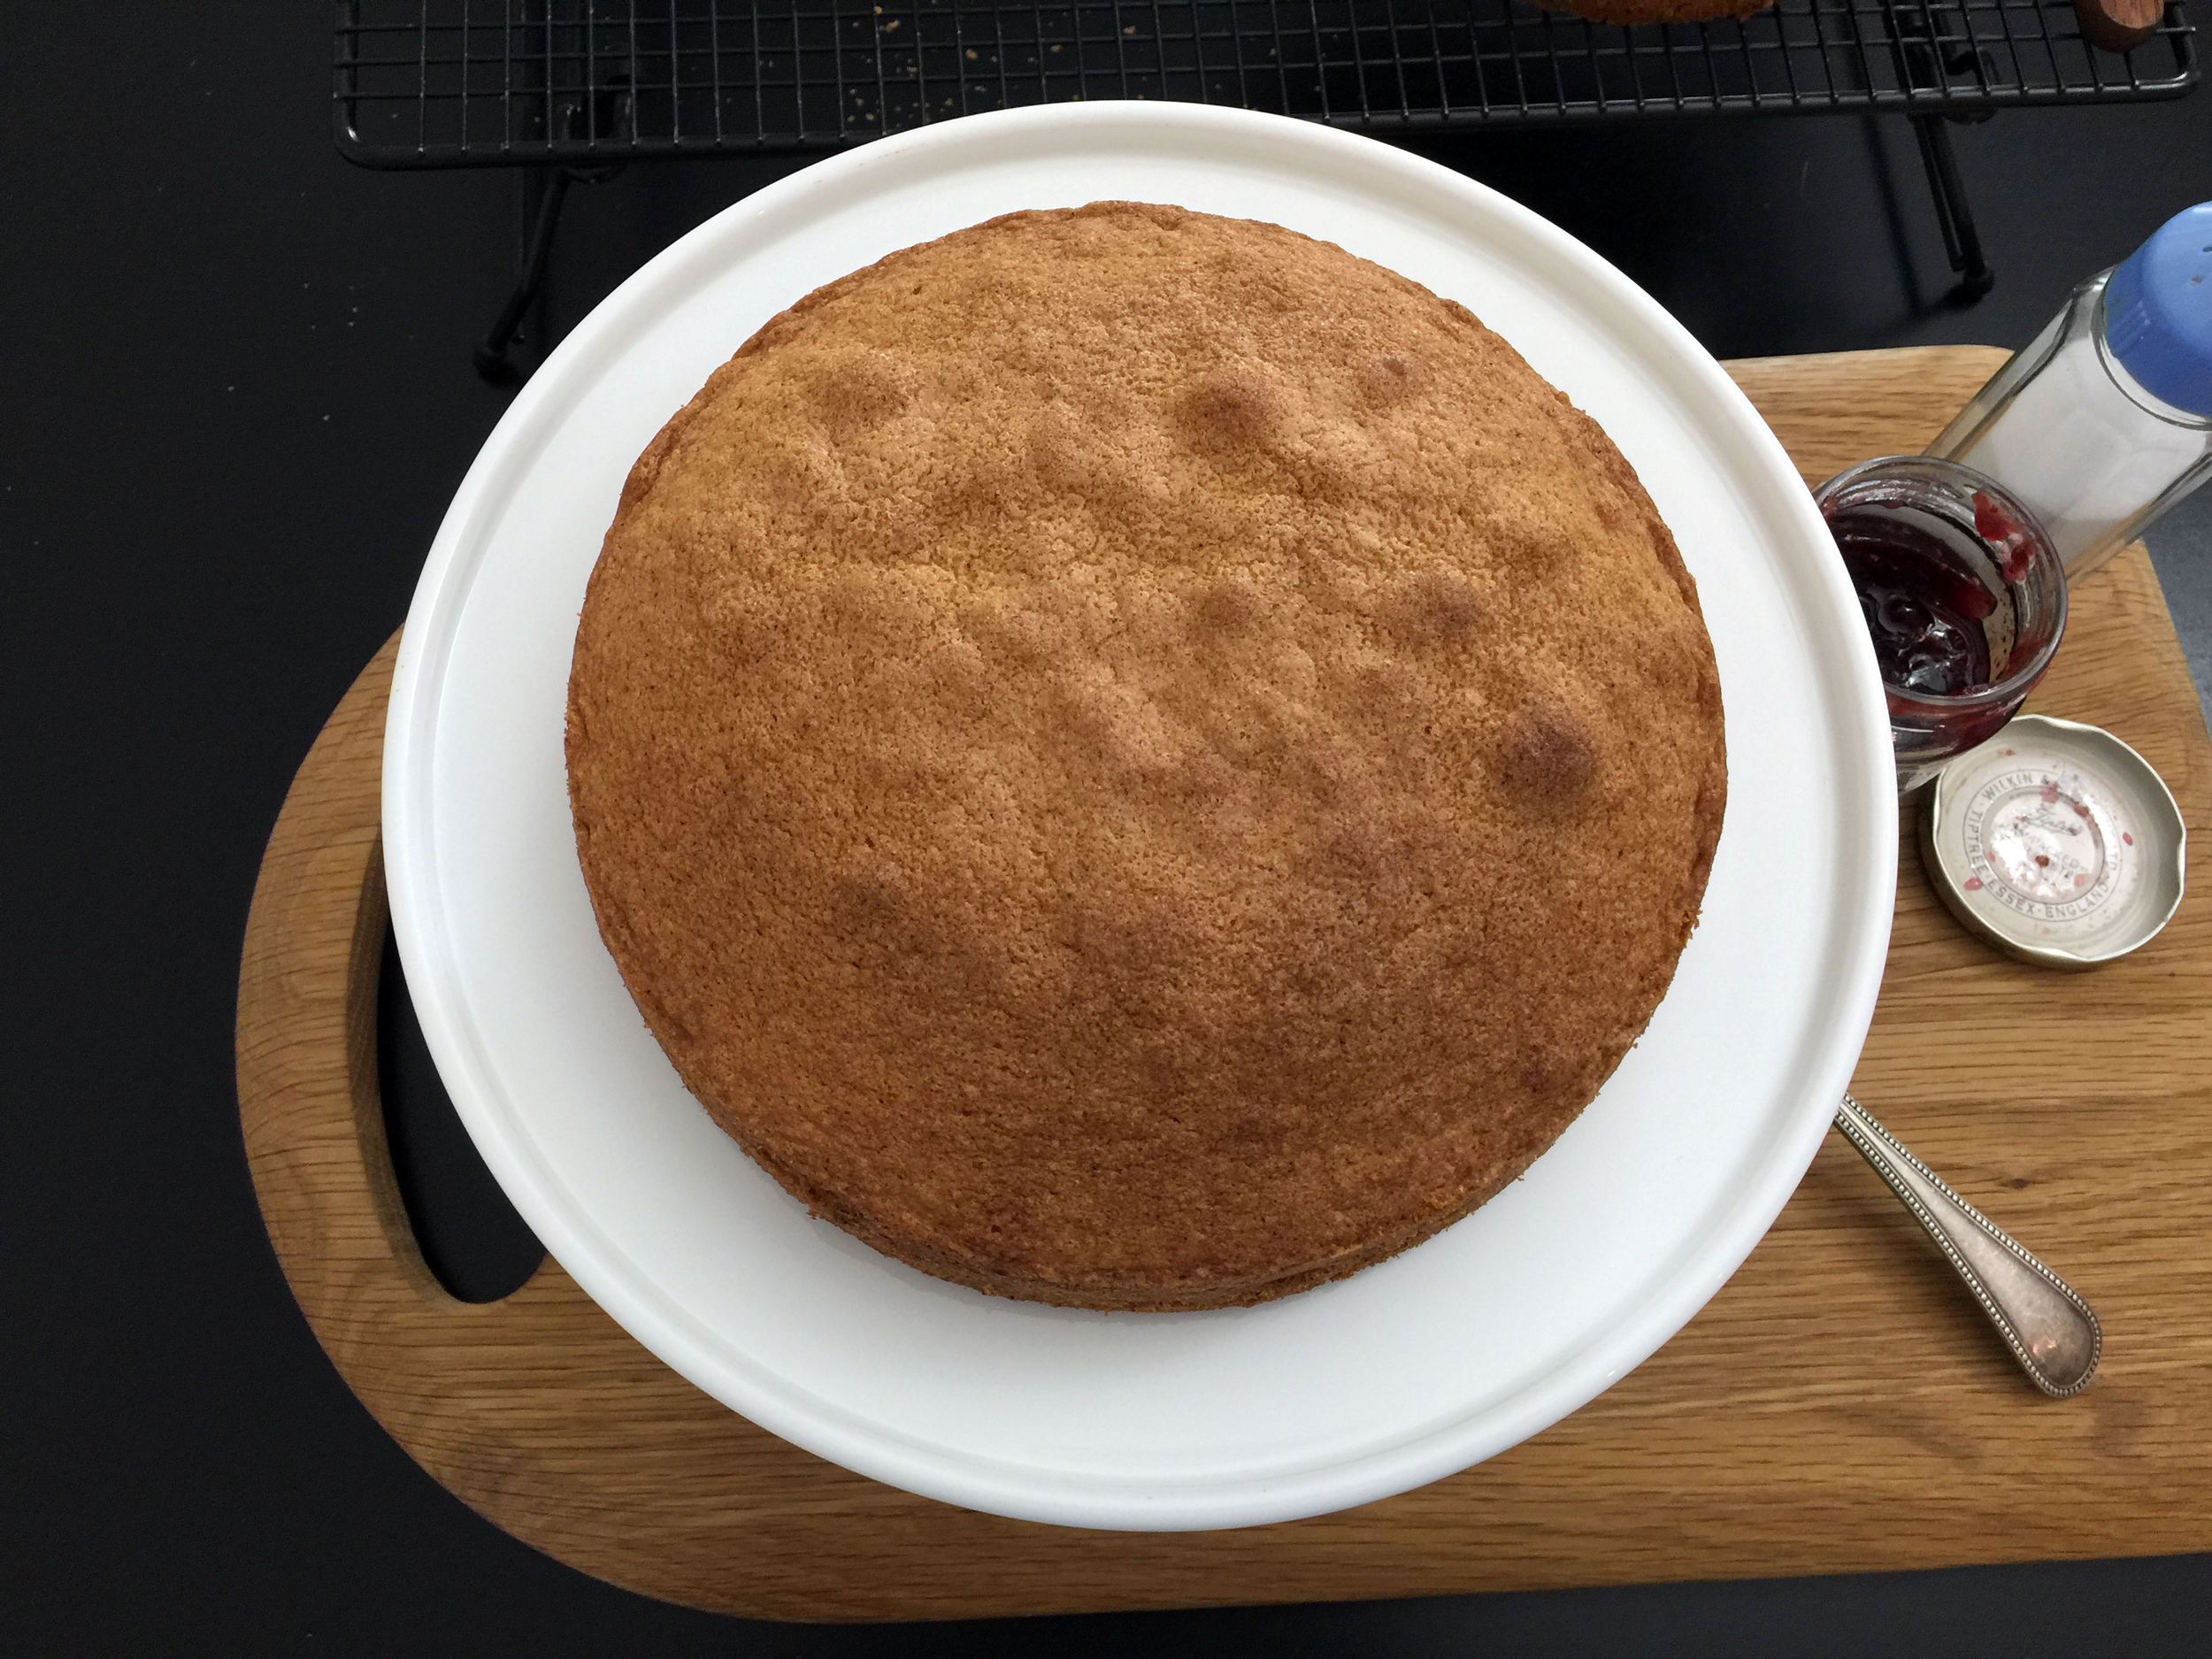
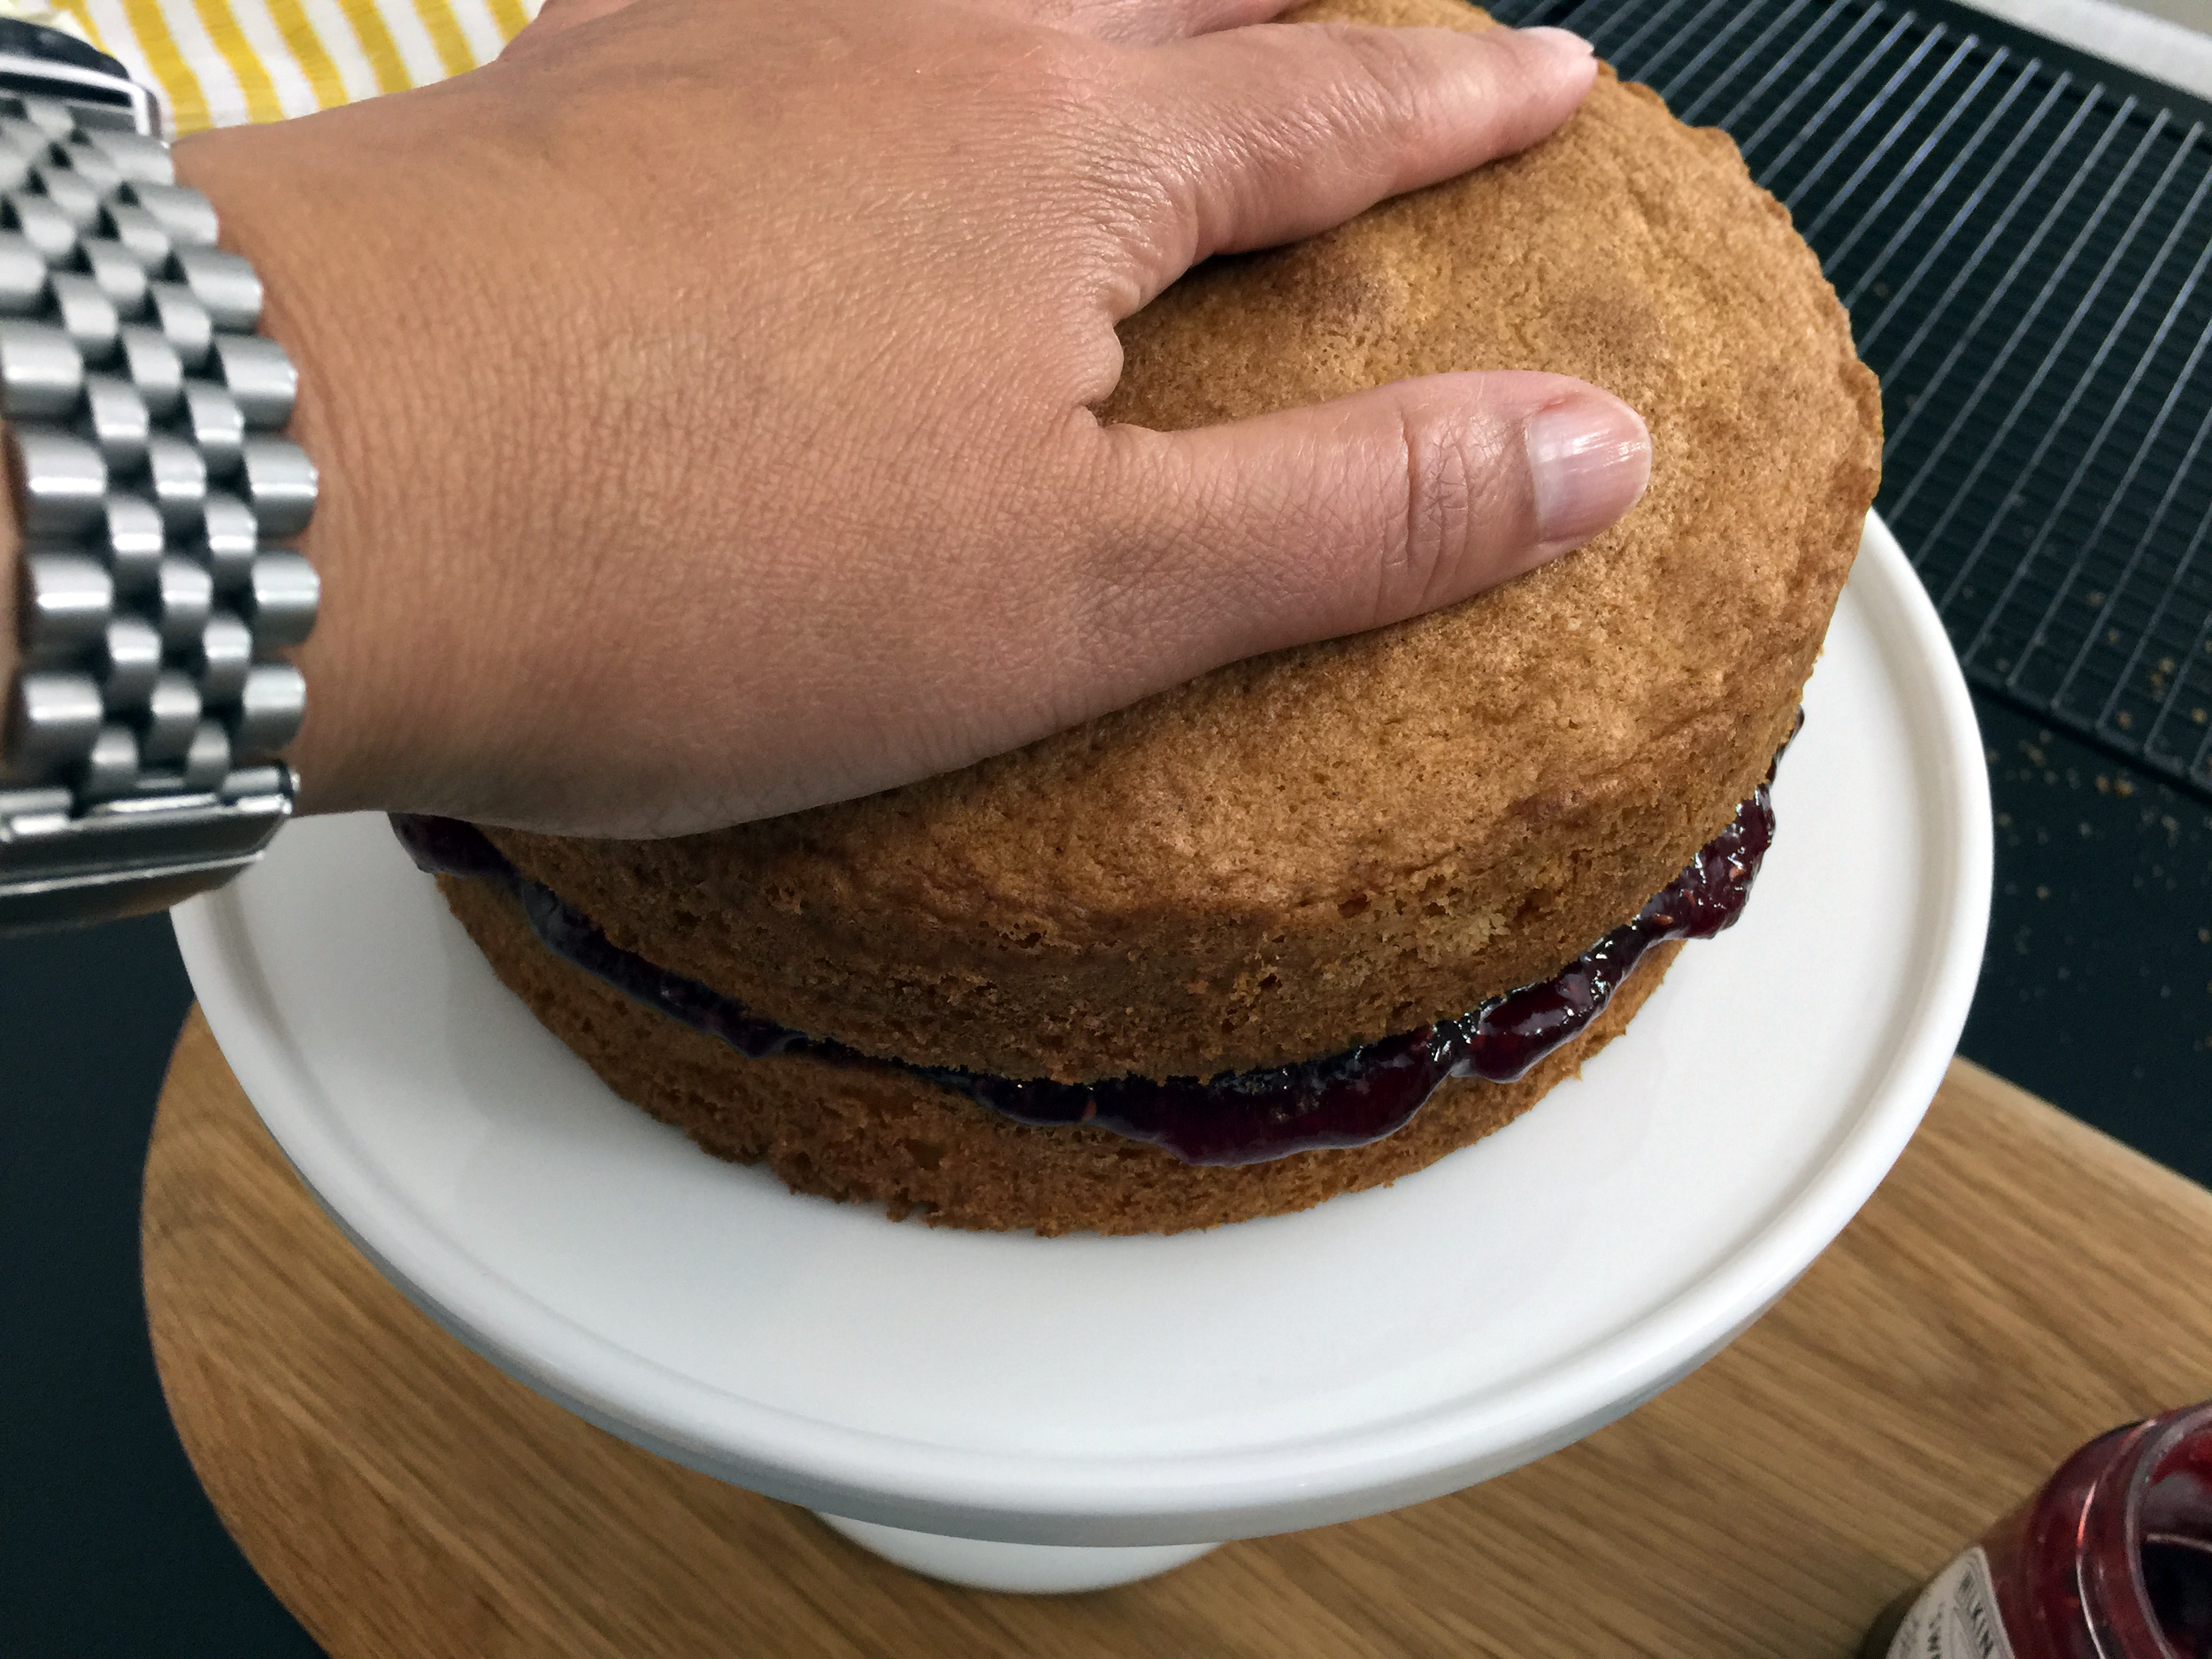
7. Place the cake pans on a wire rack, set a timer for 10 minutes. Then run a sharp knife carefully around the inside of the cake pan, then invert the cake onto your hand then transfer onto the wire rack (Consider how you are going to decorate the cake as this will determine which way you place the cake on the wire rack).
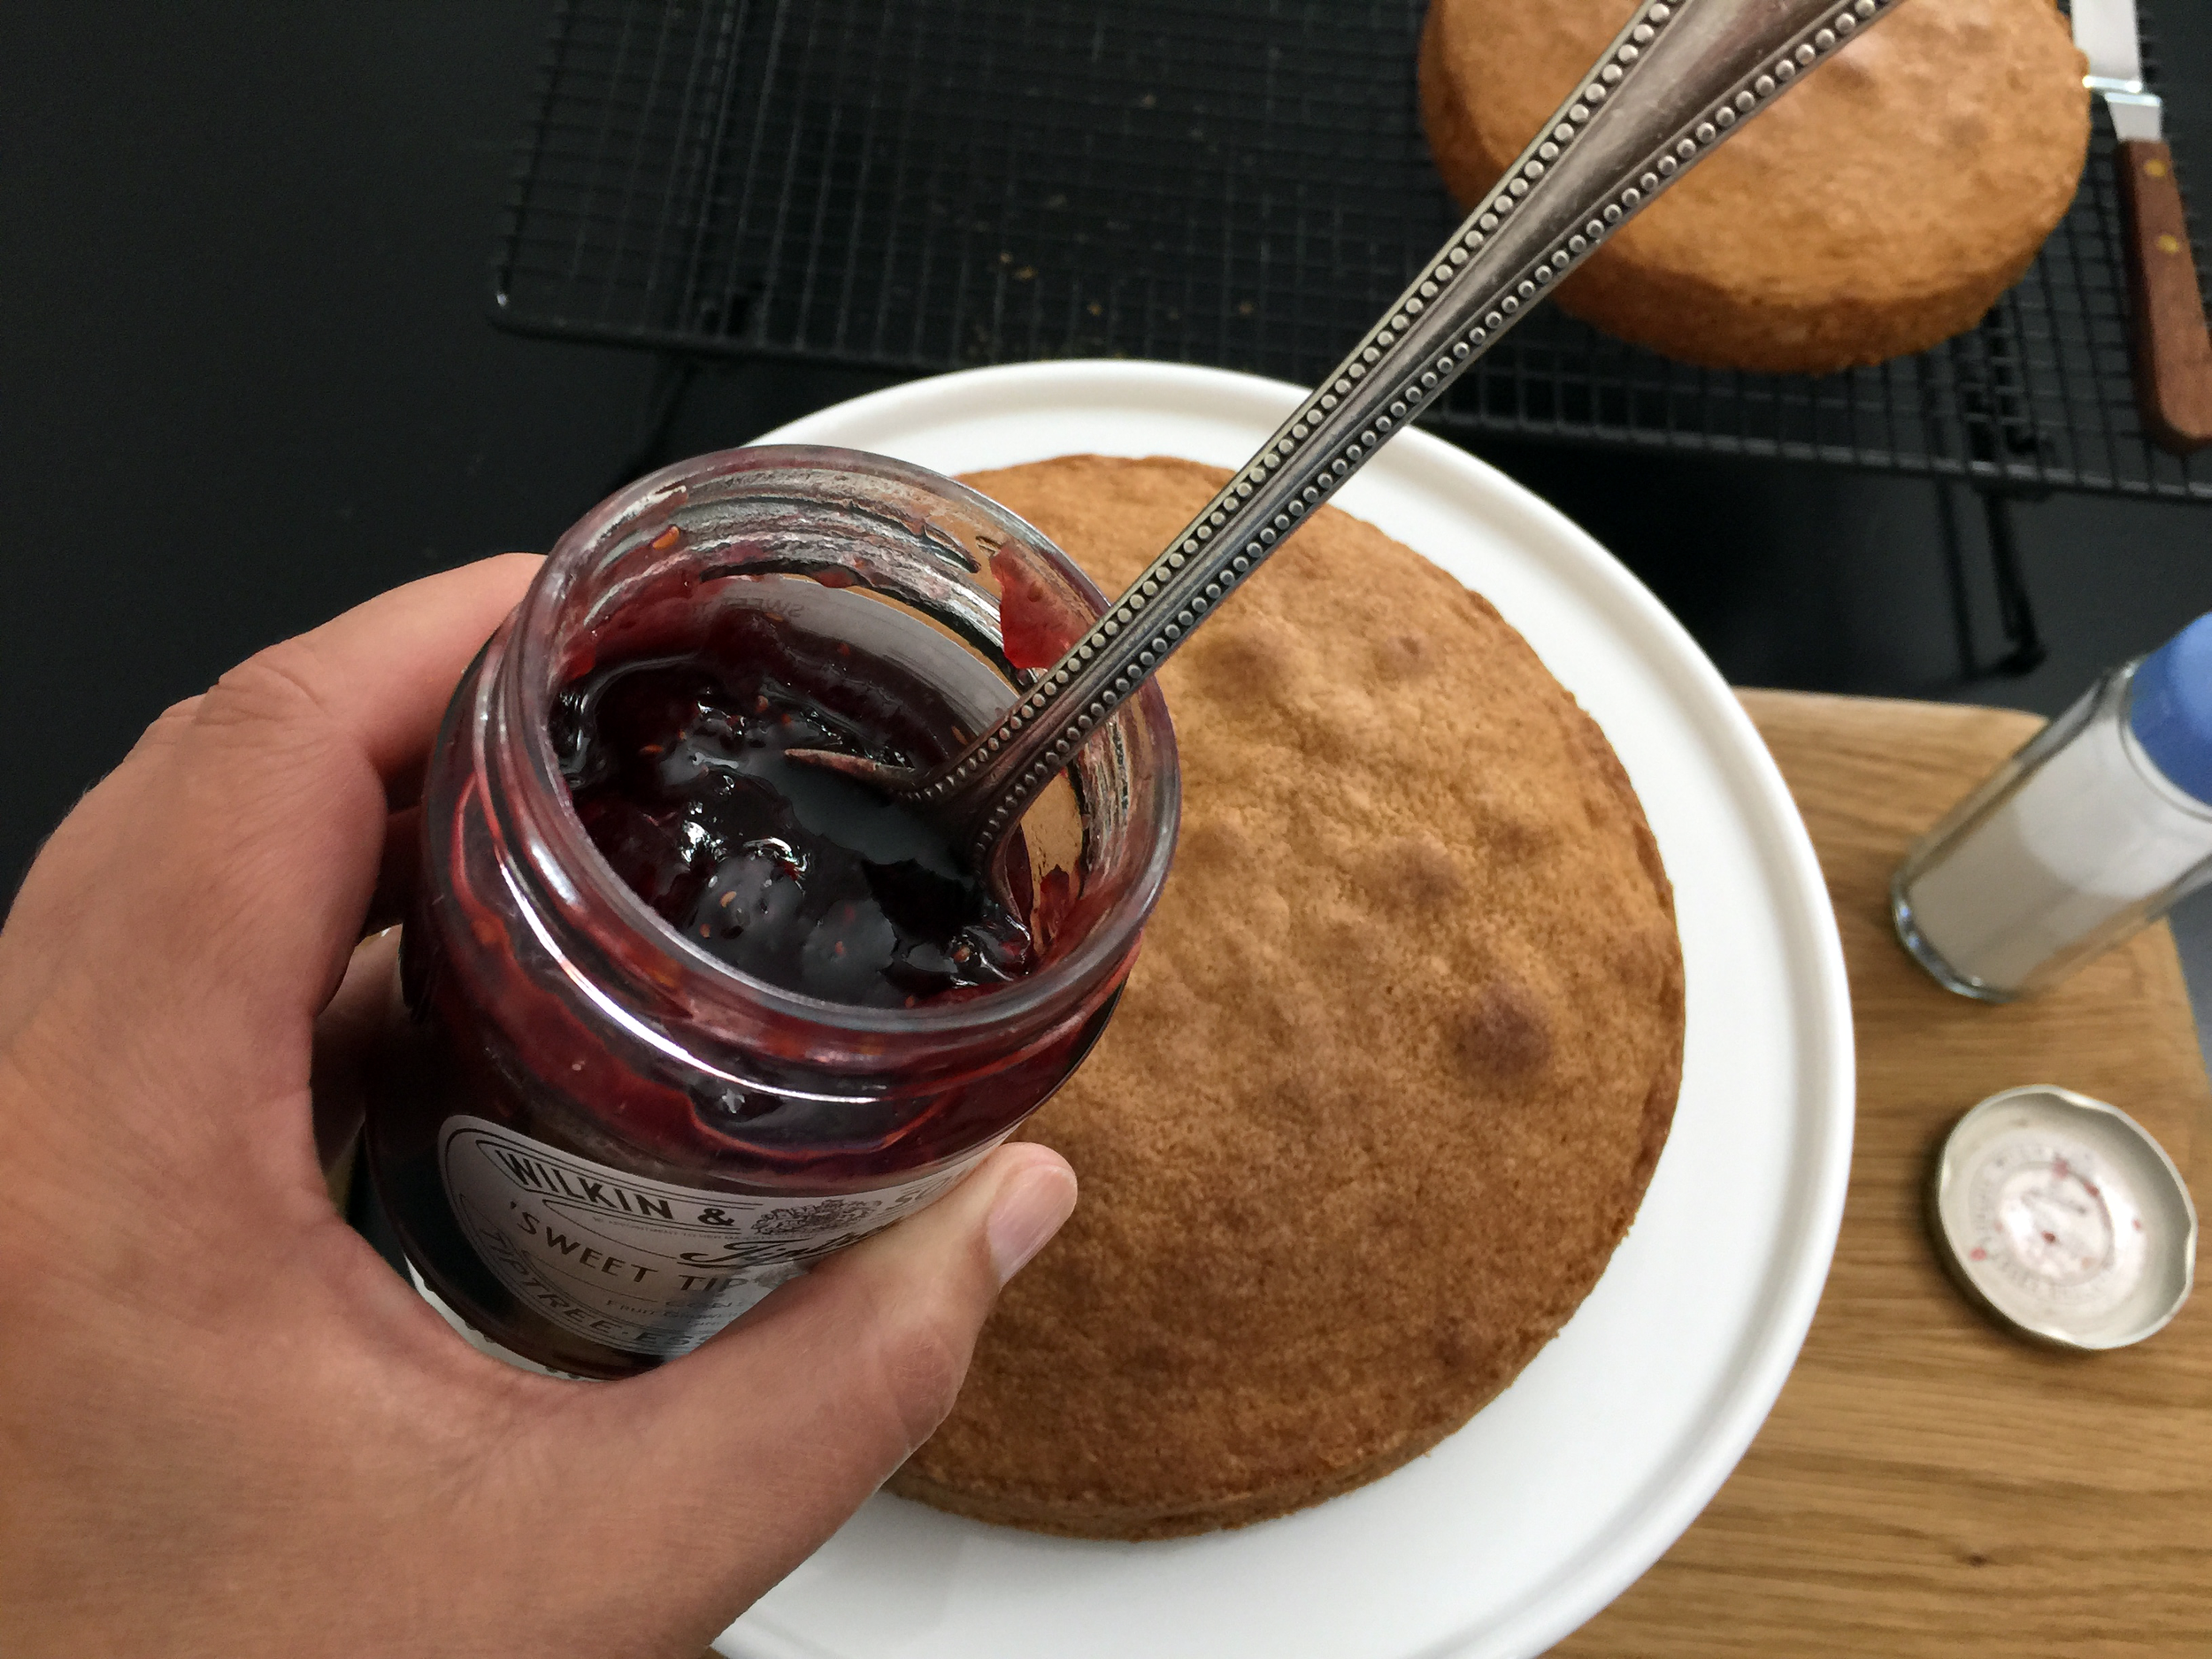
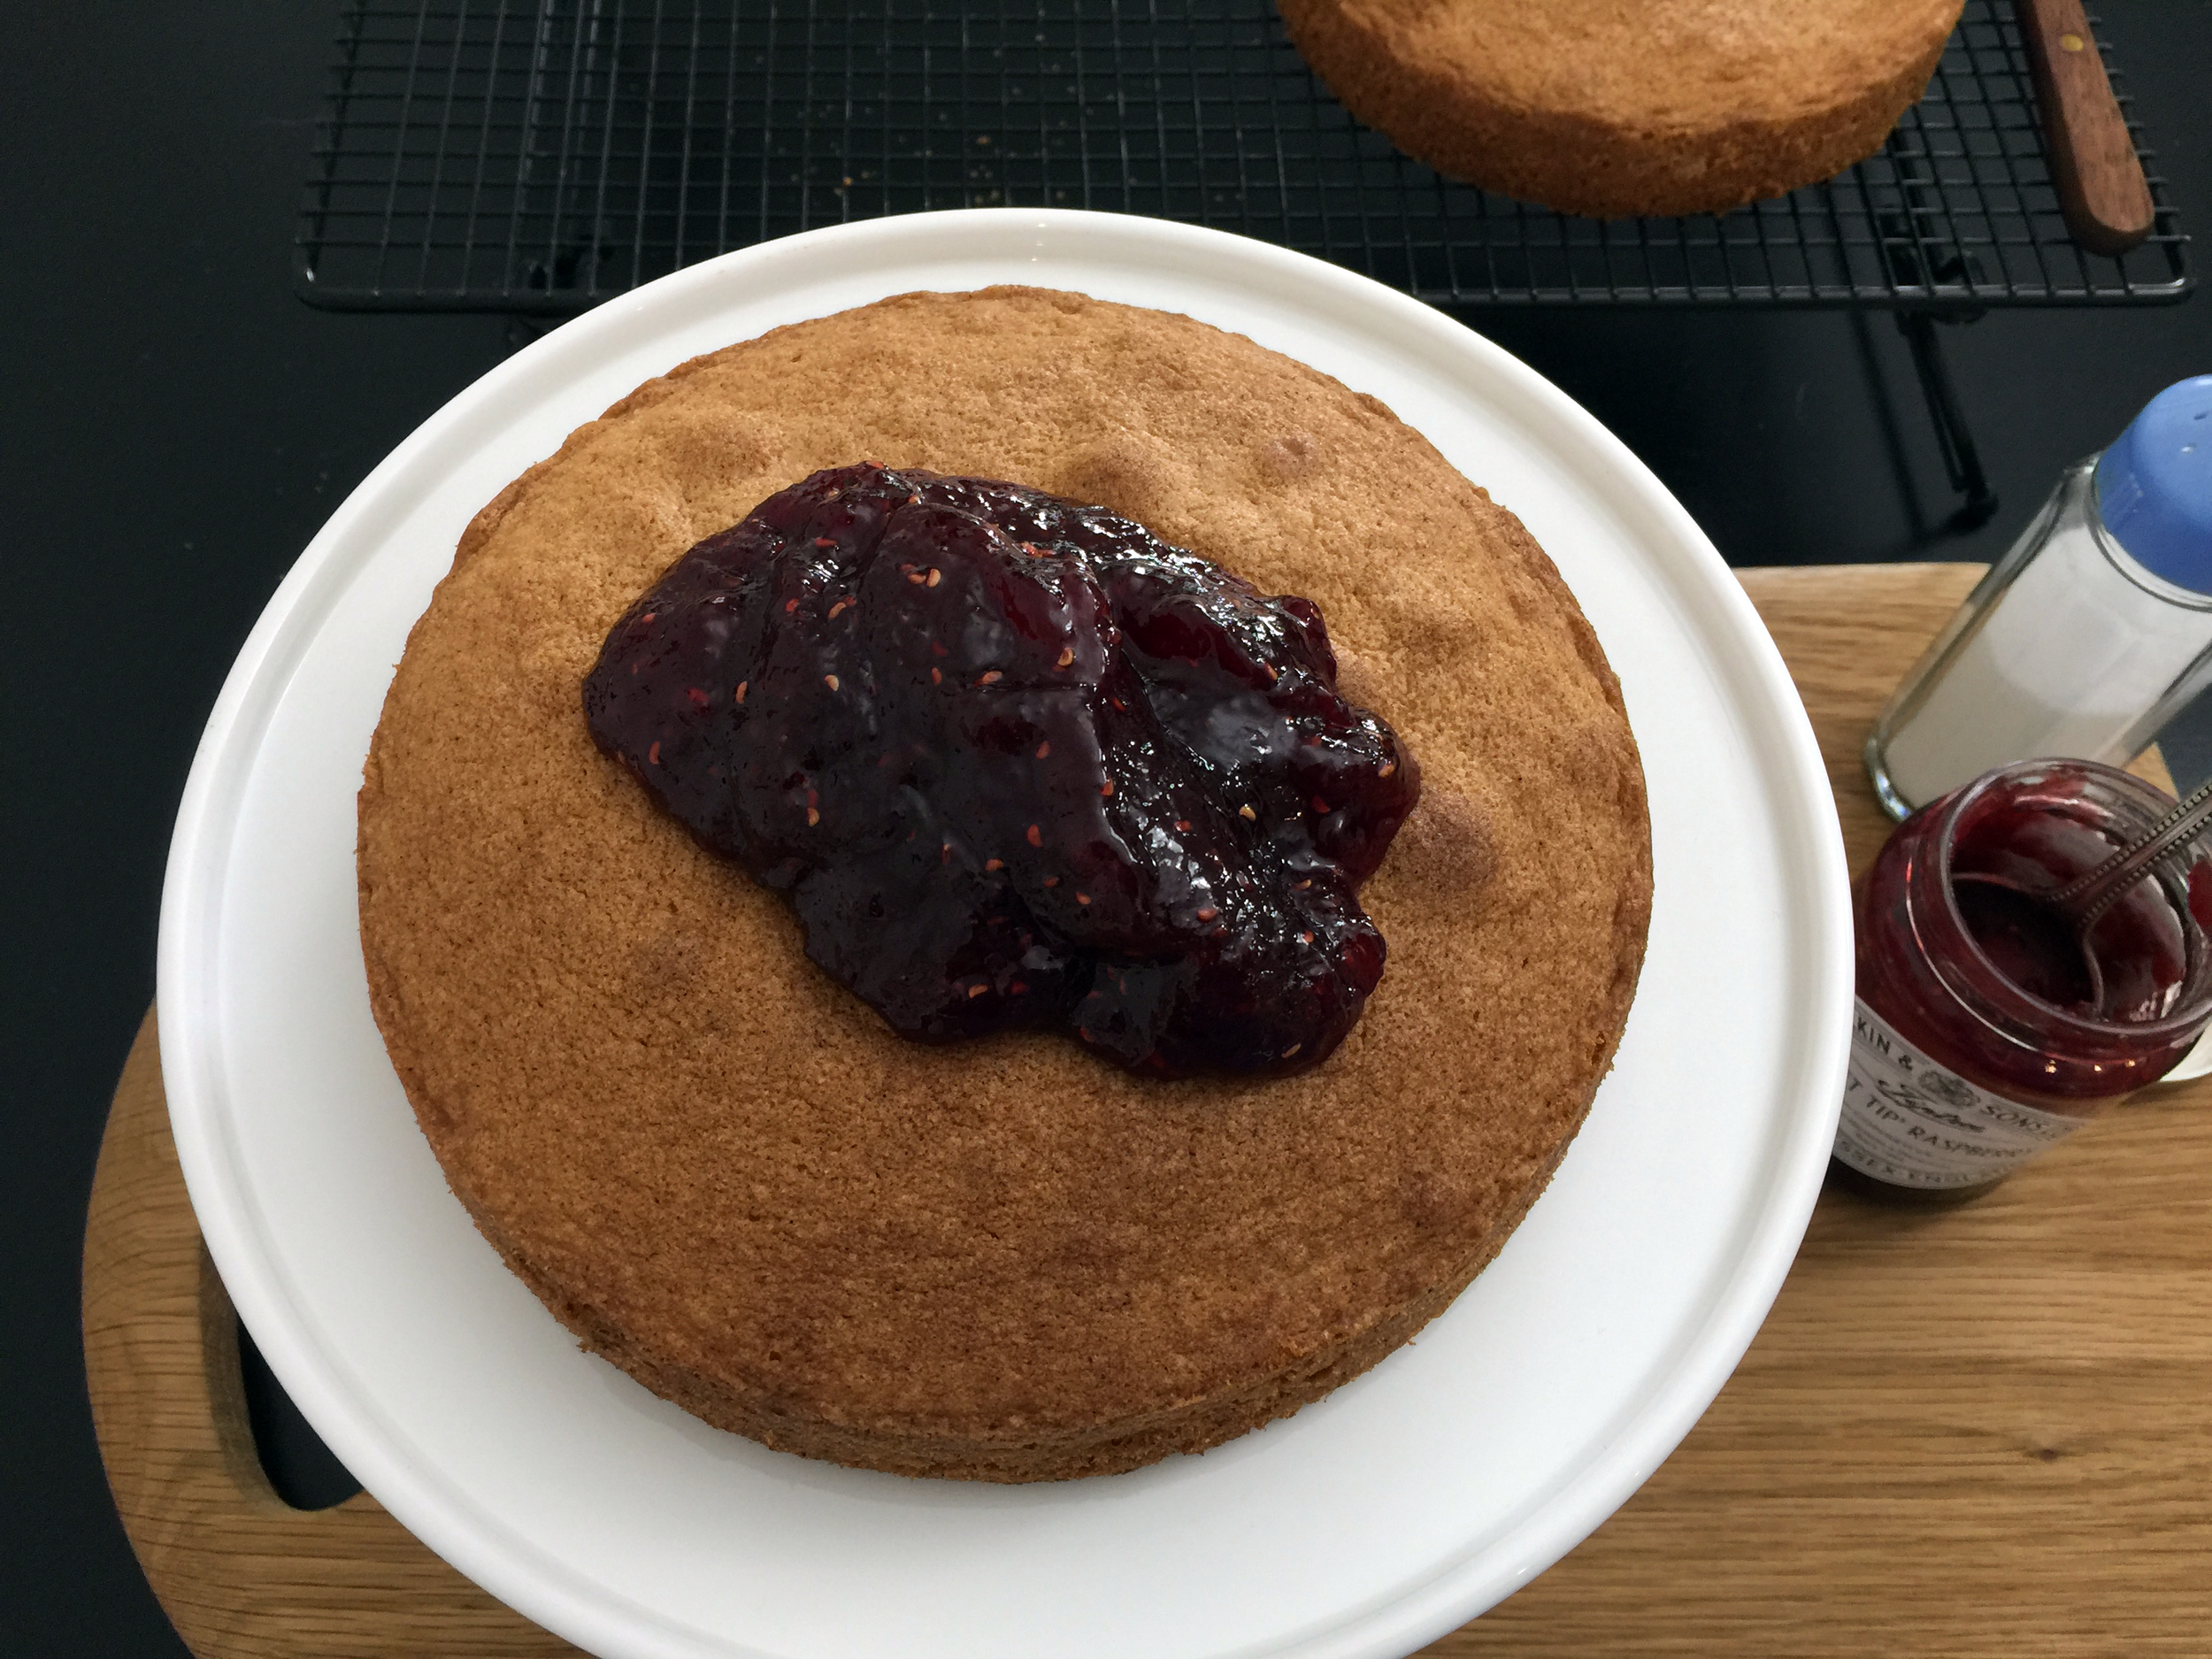
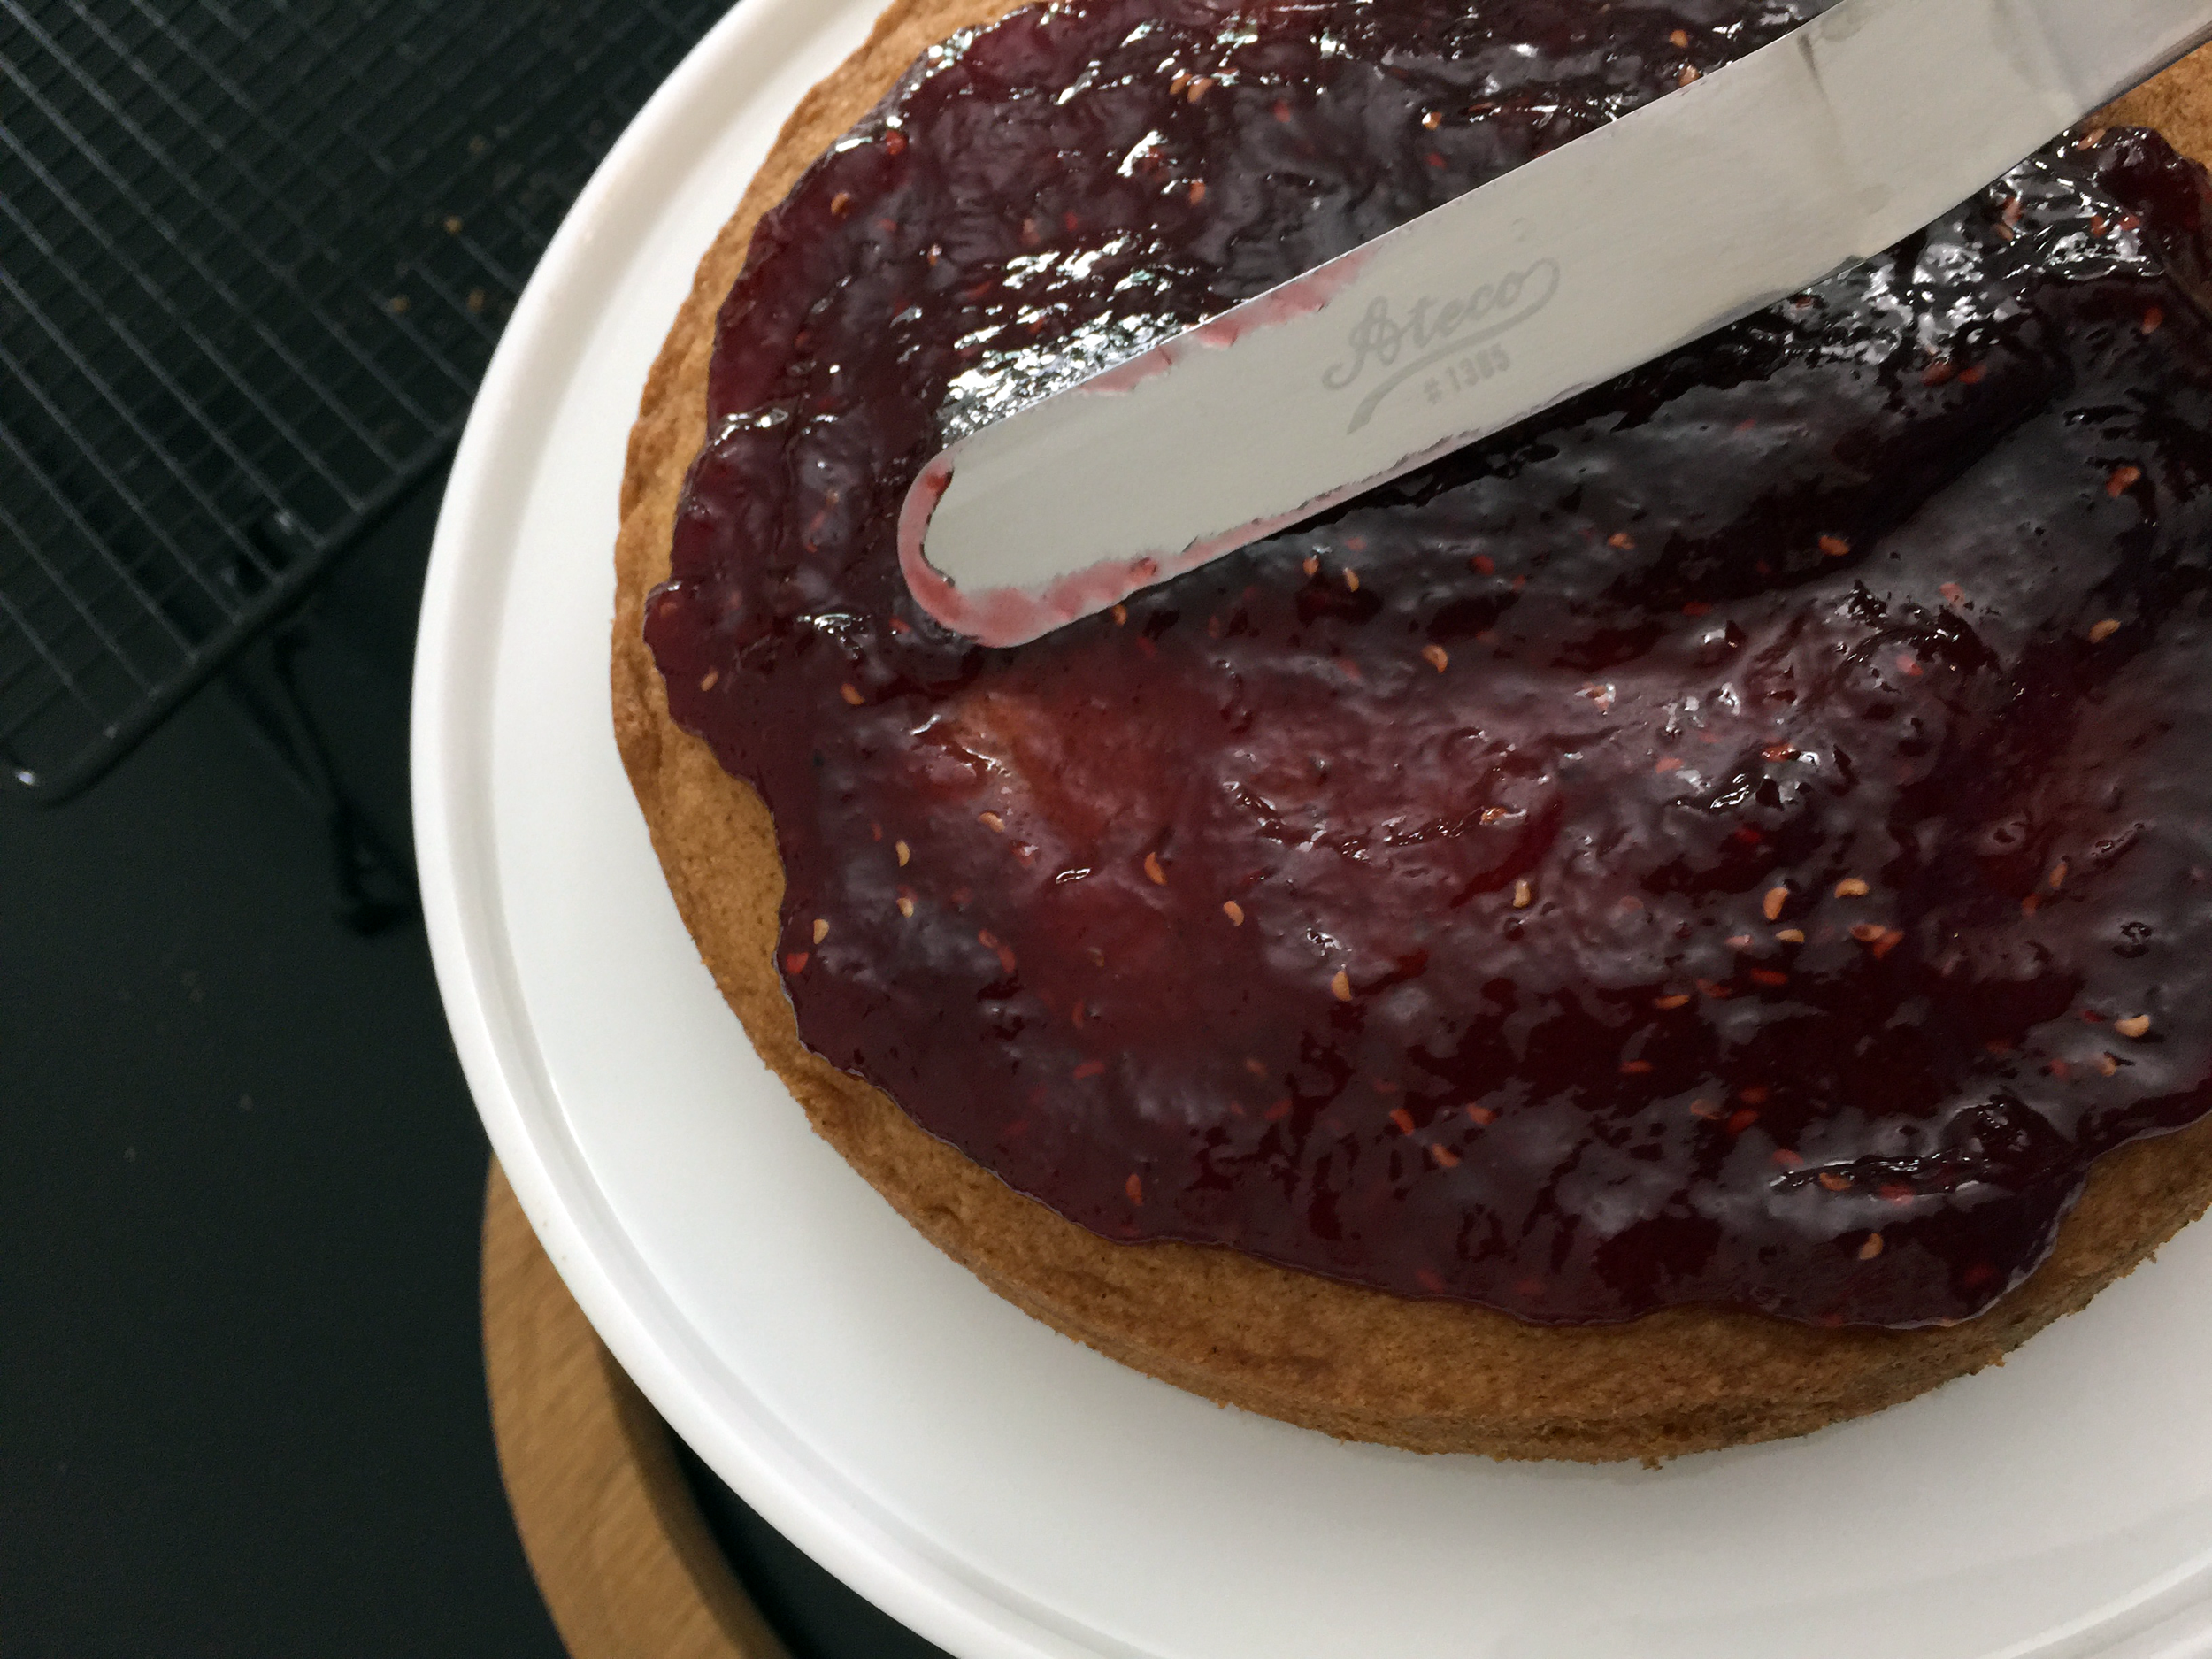
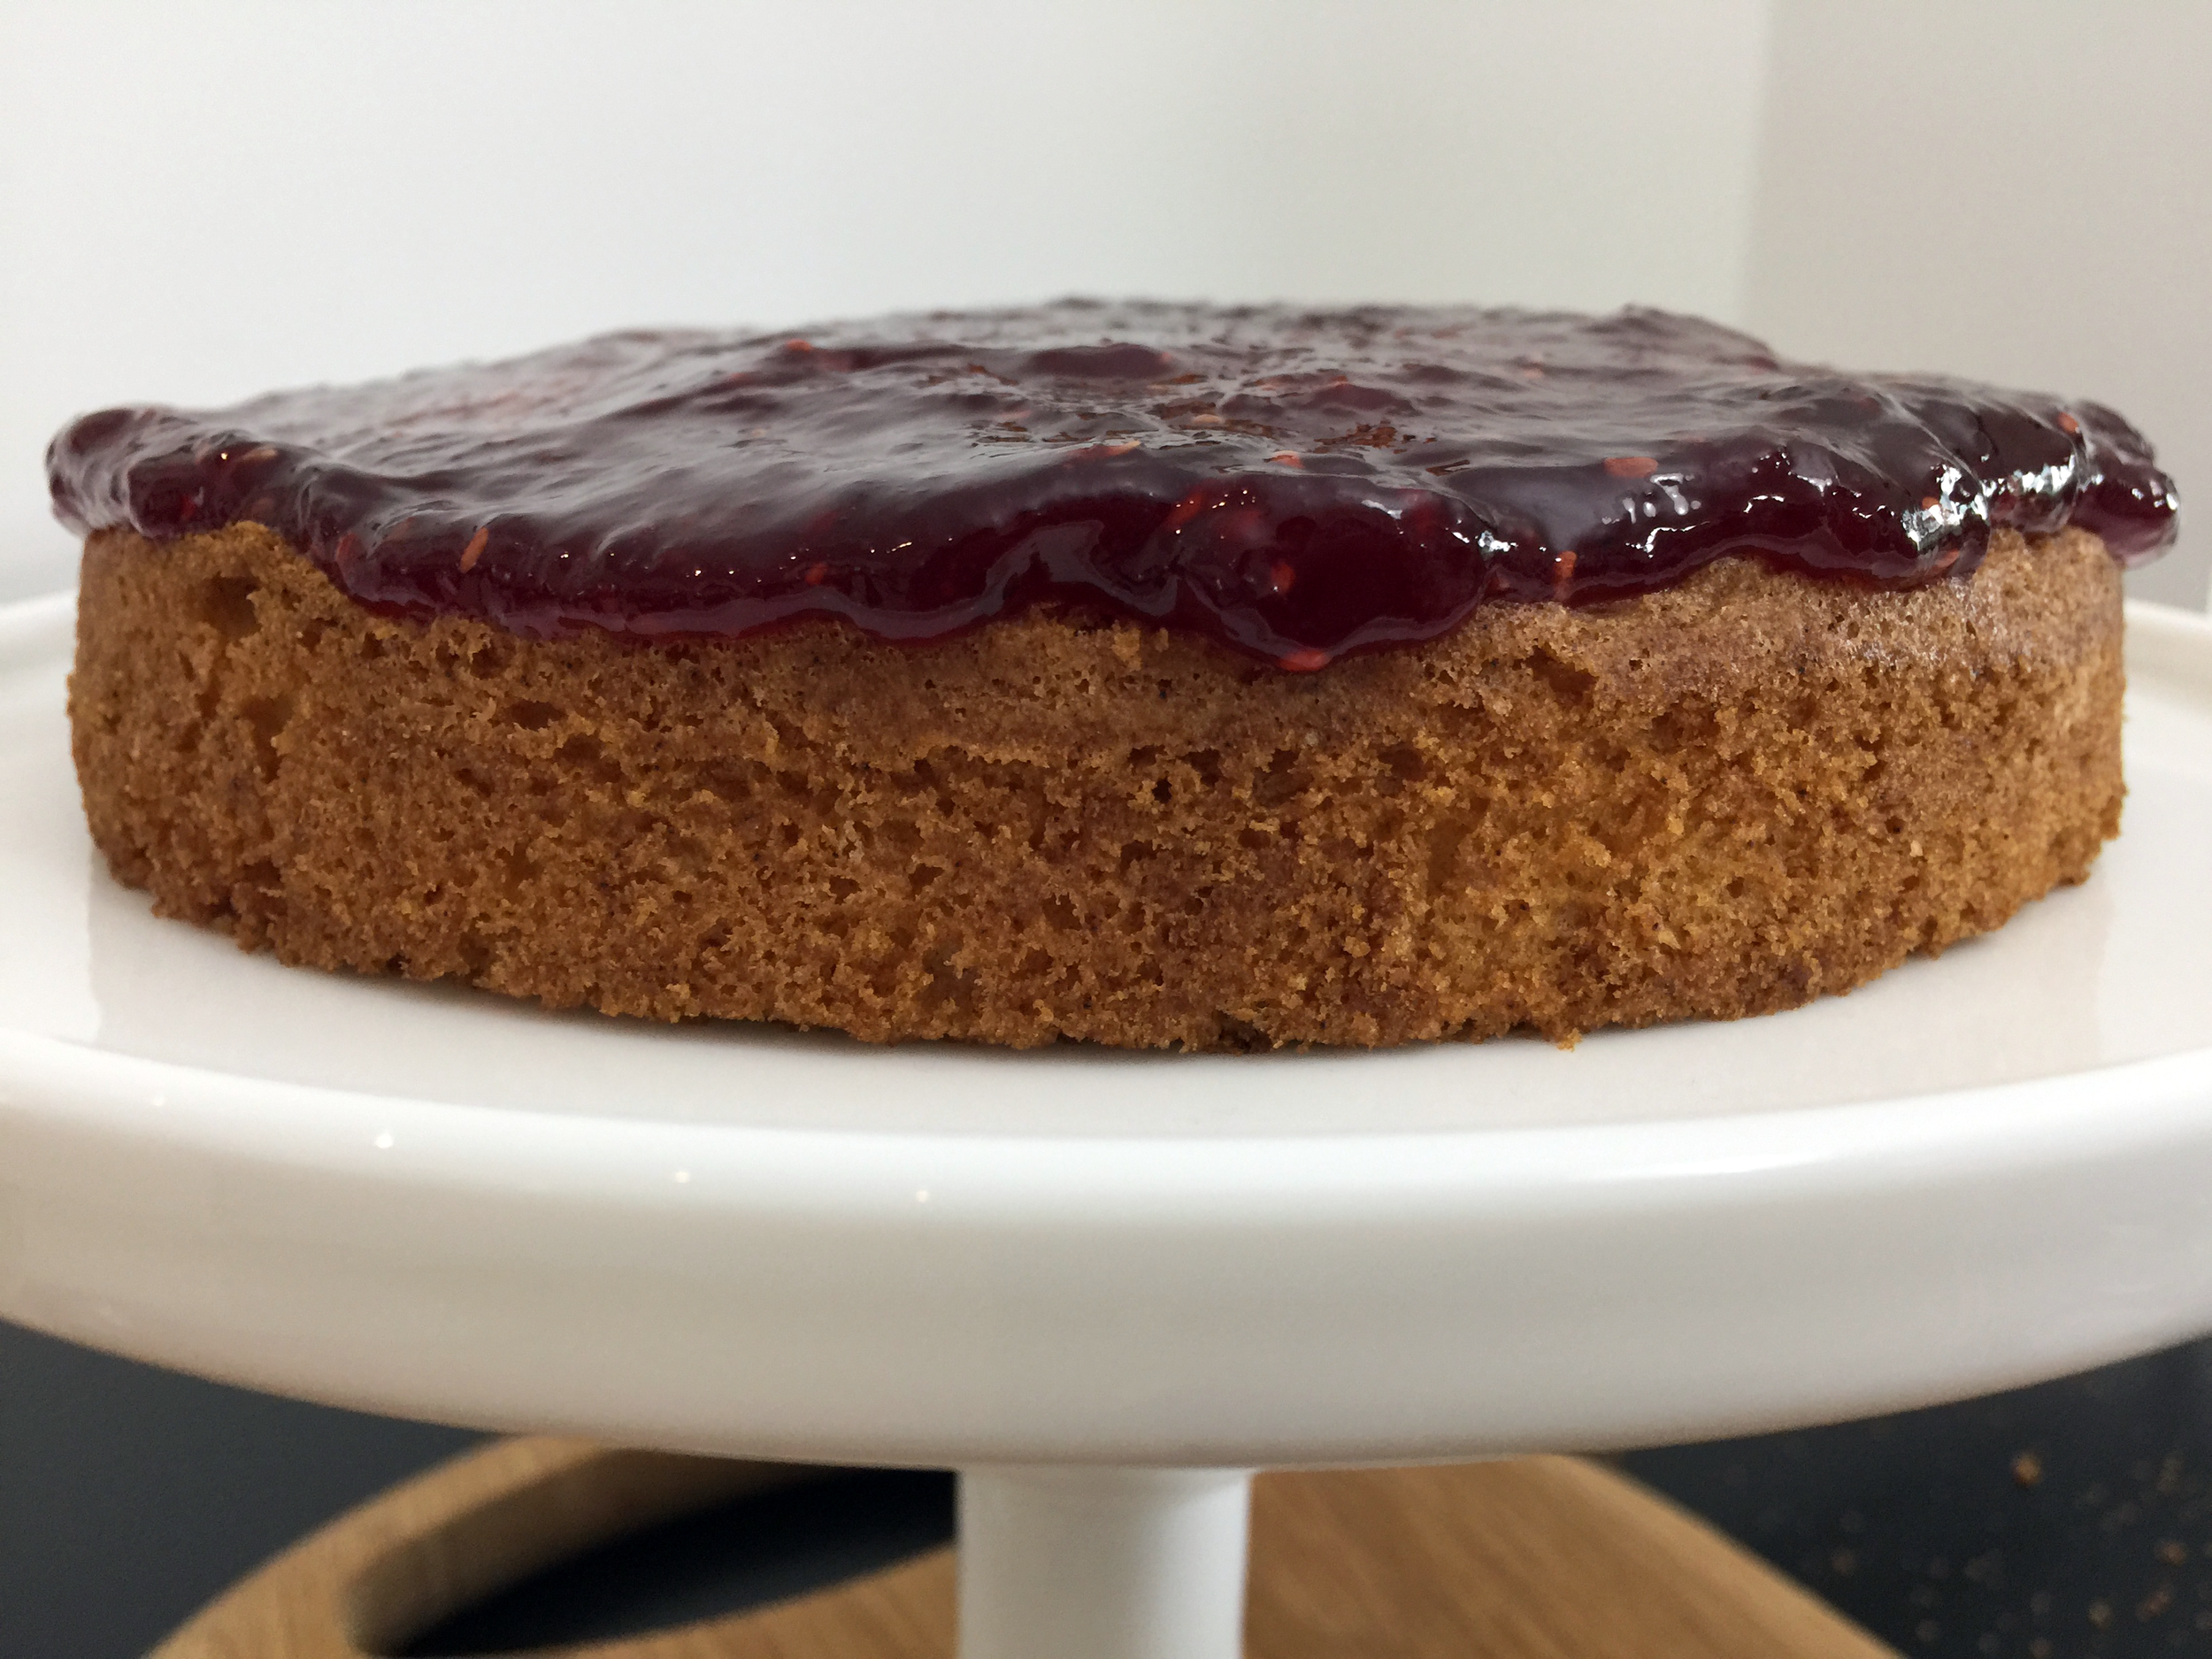
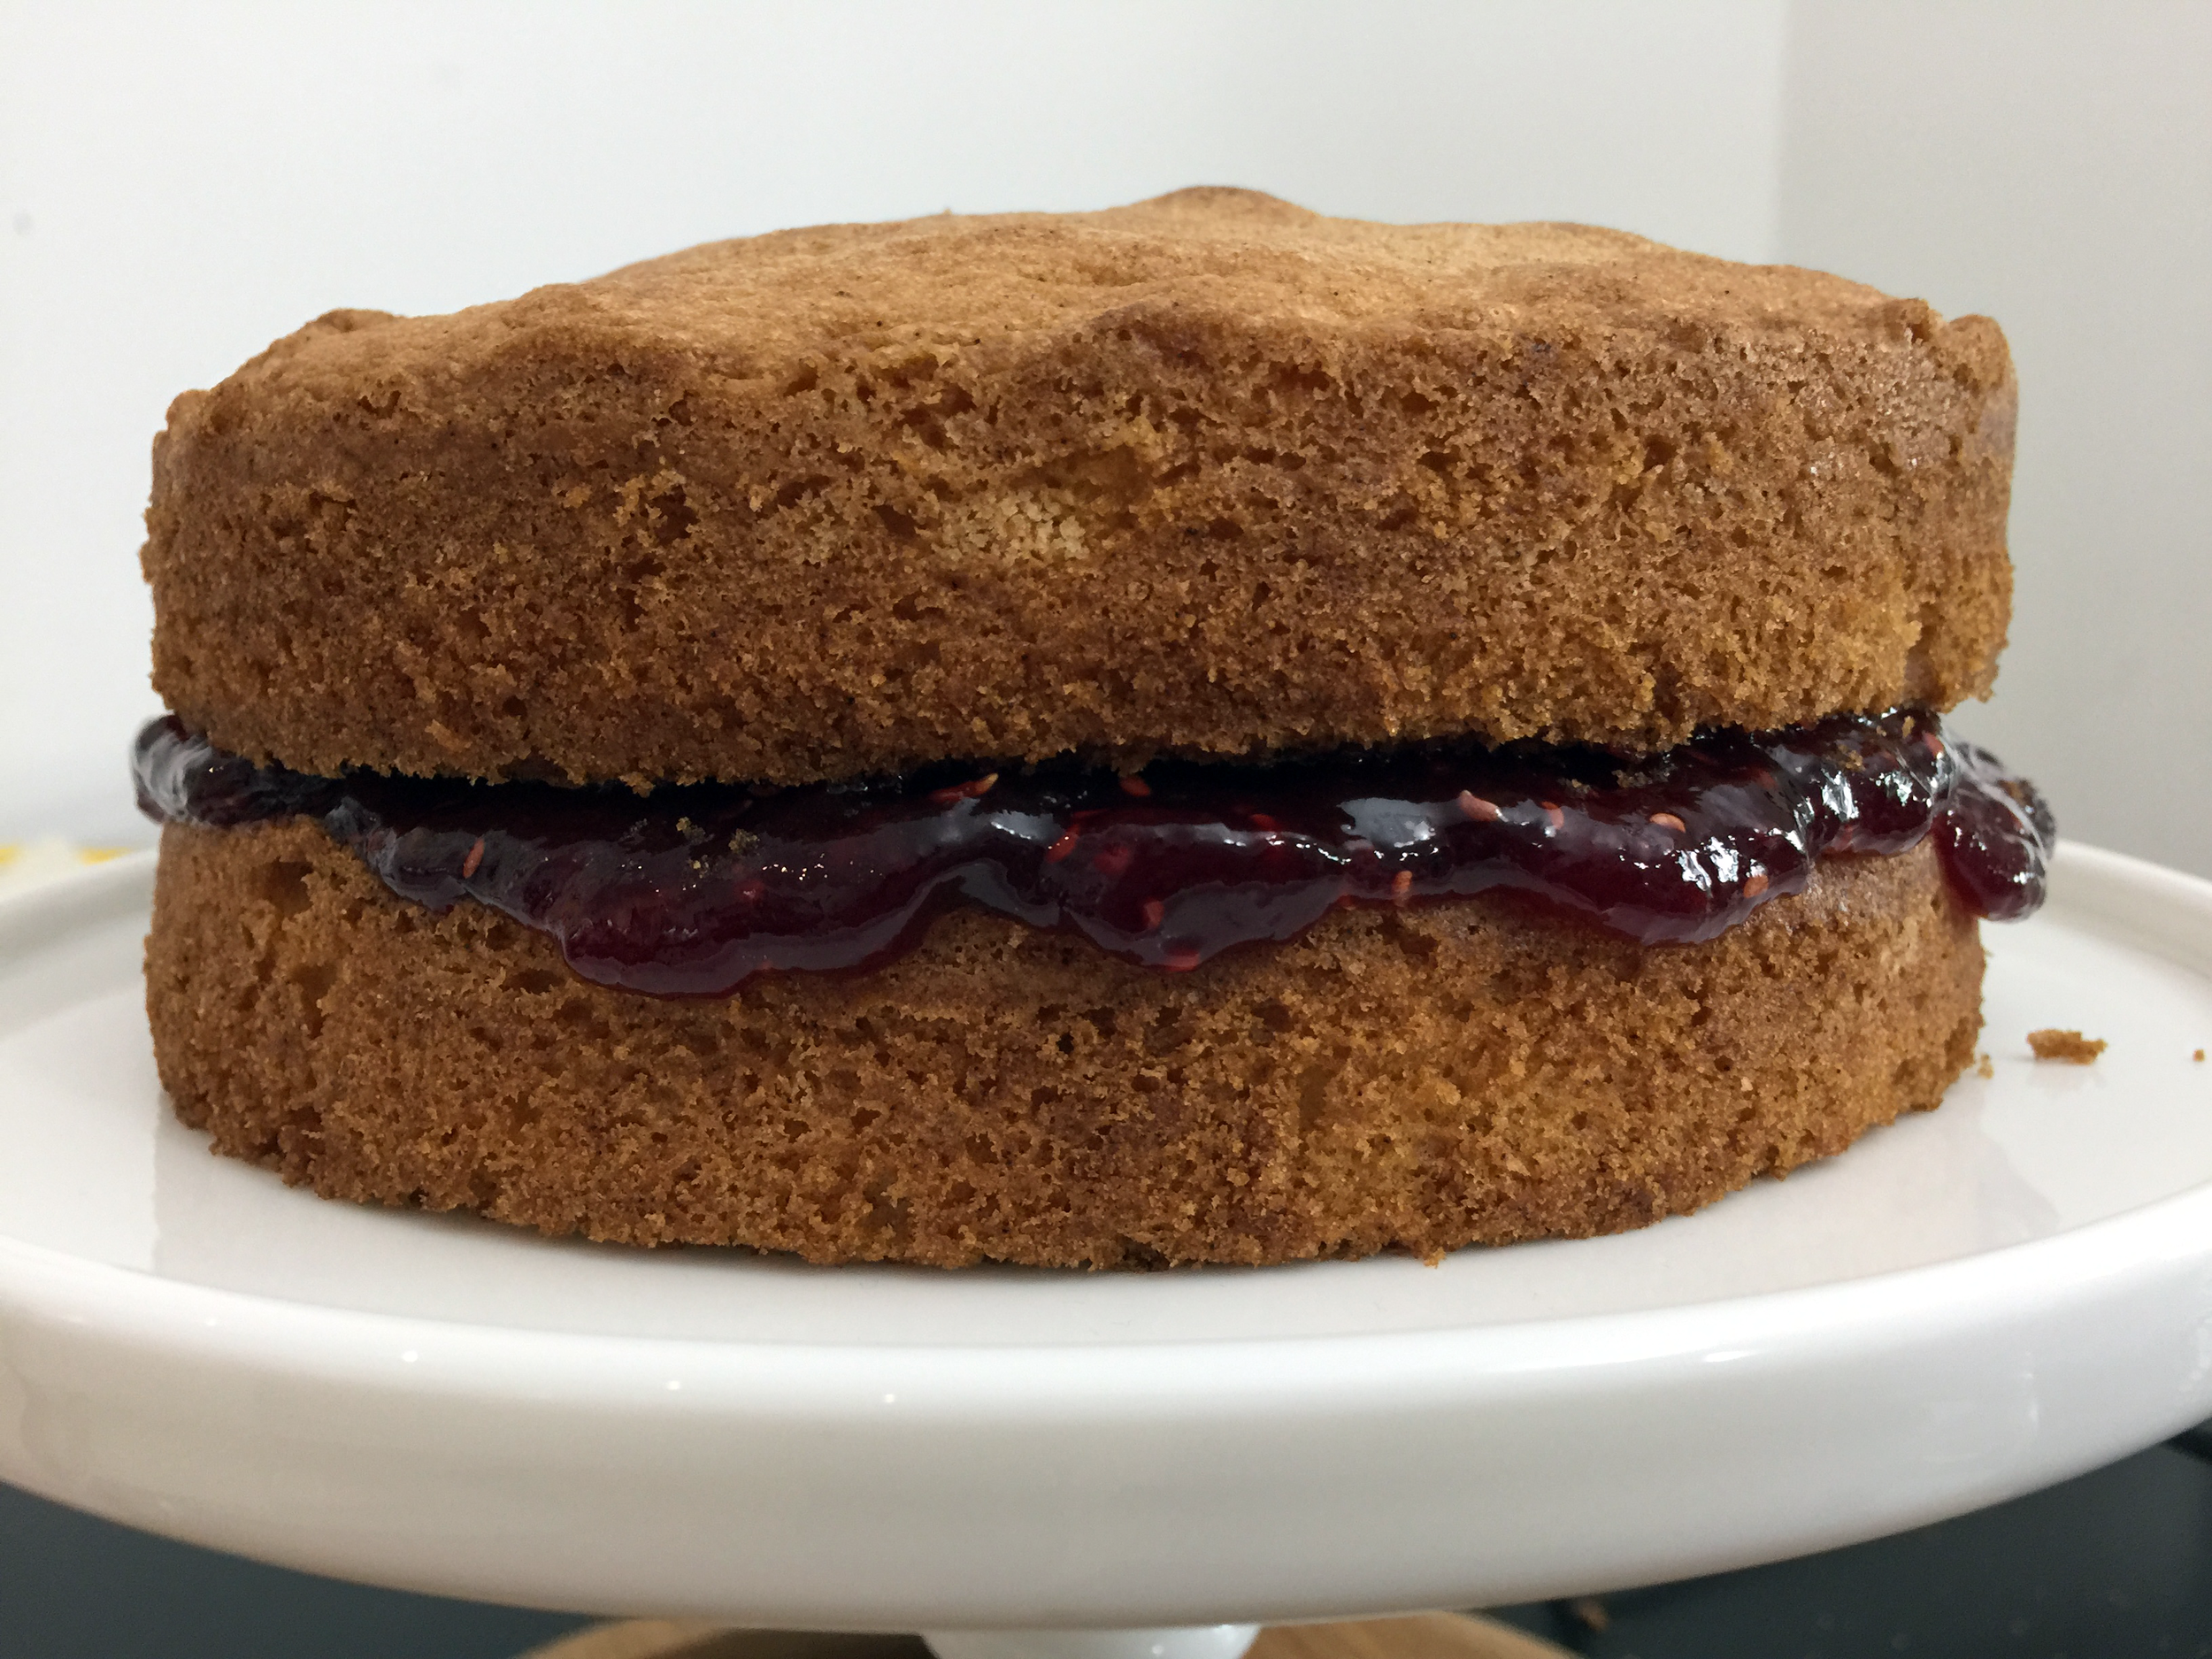
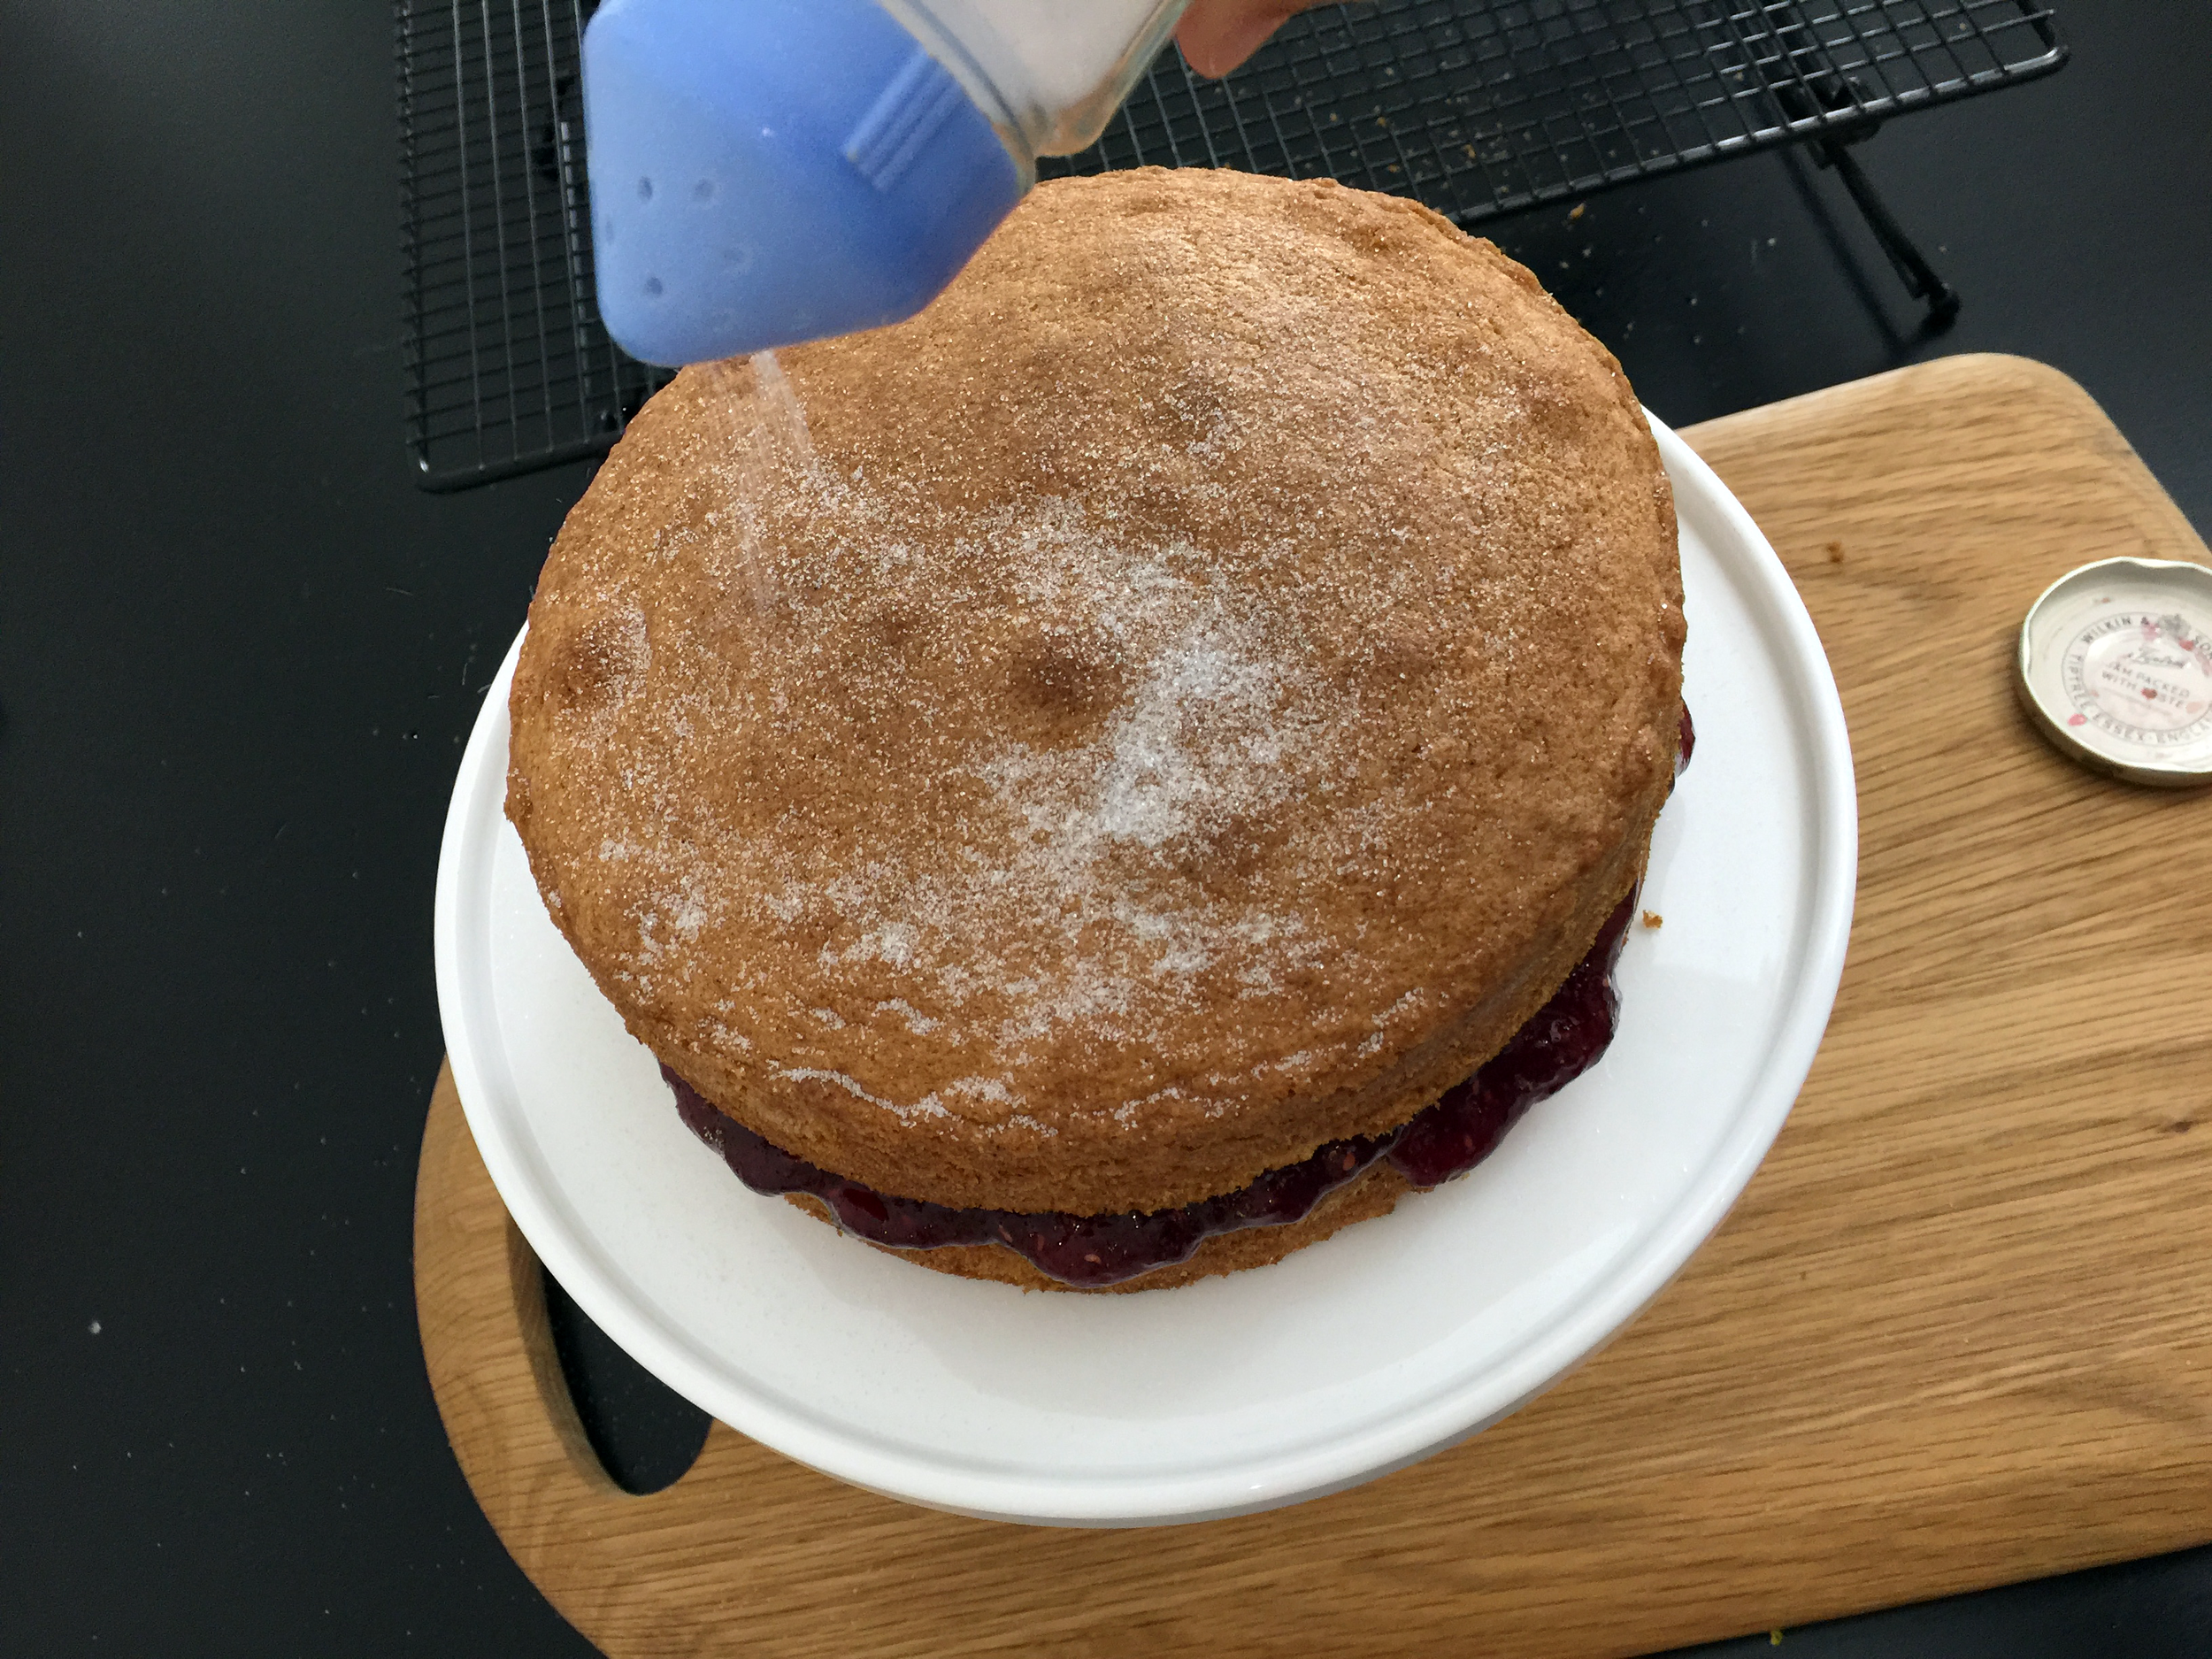
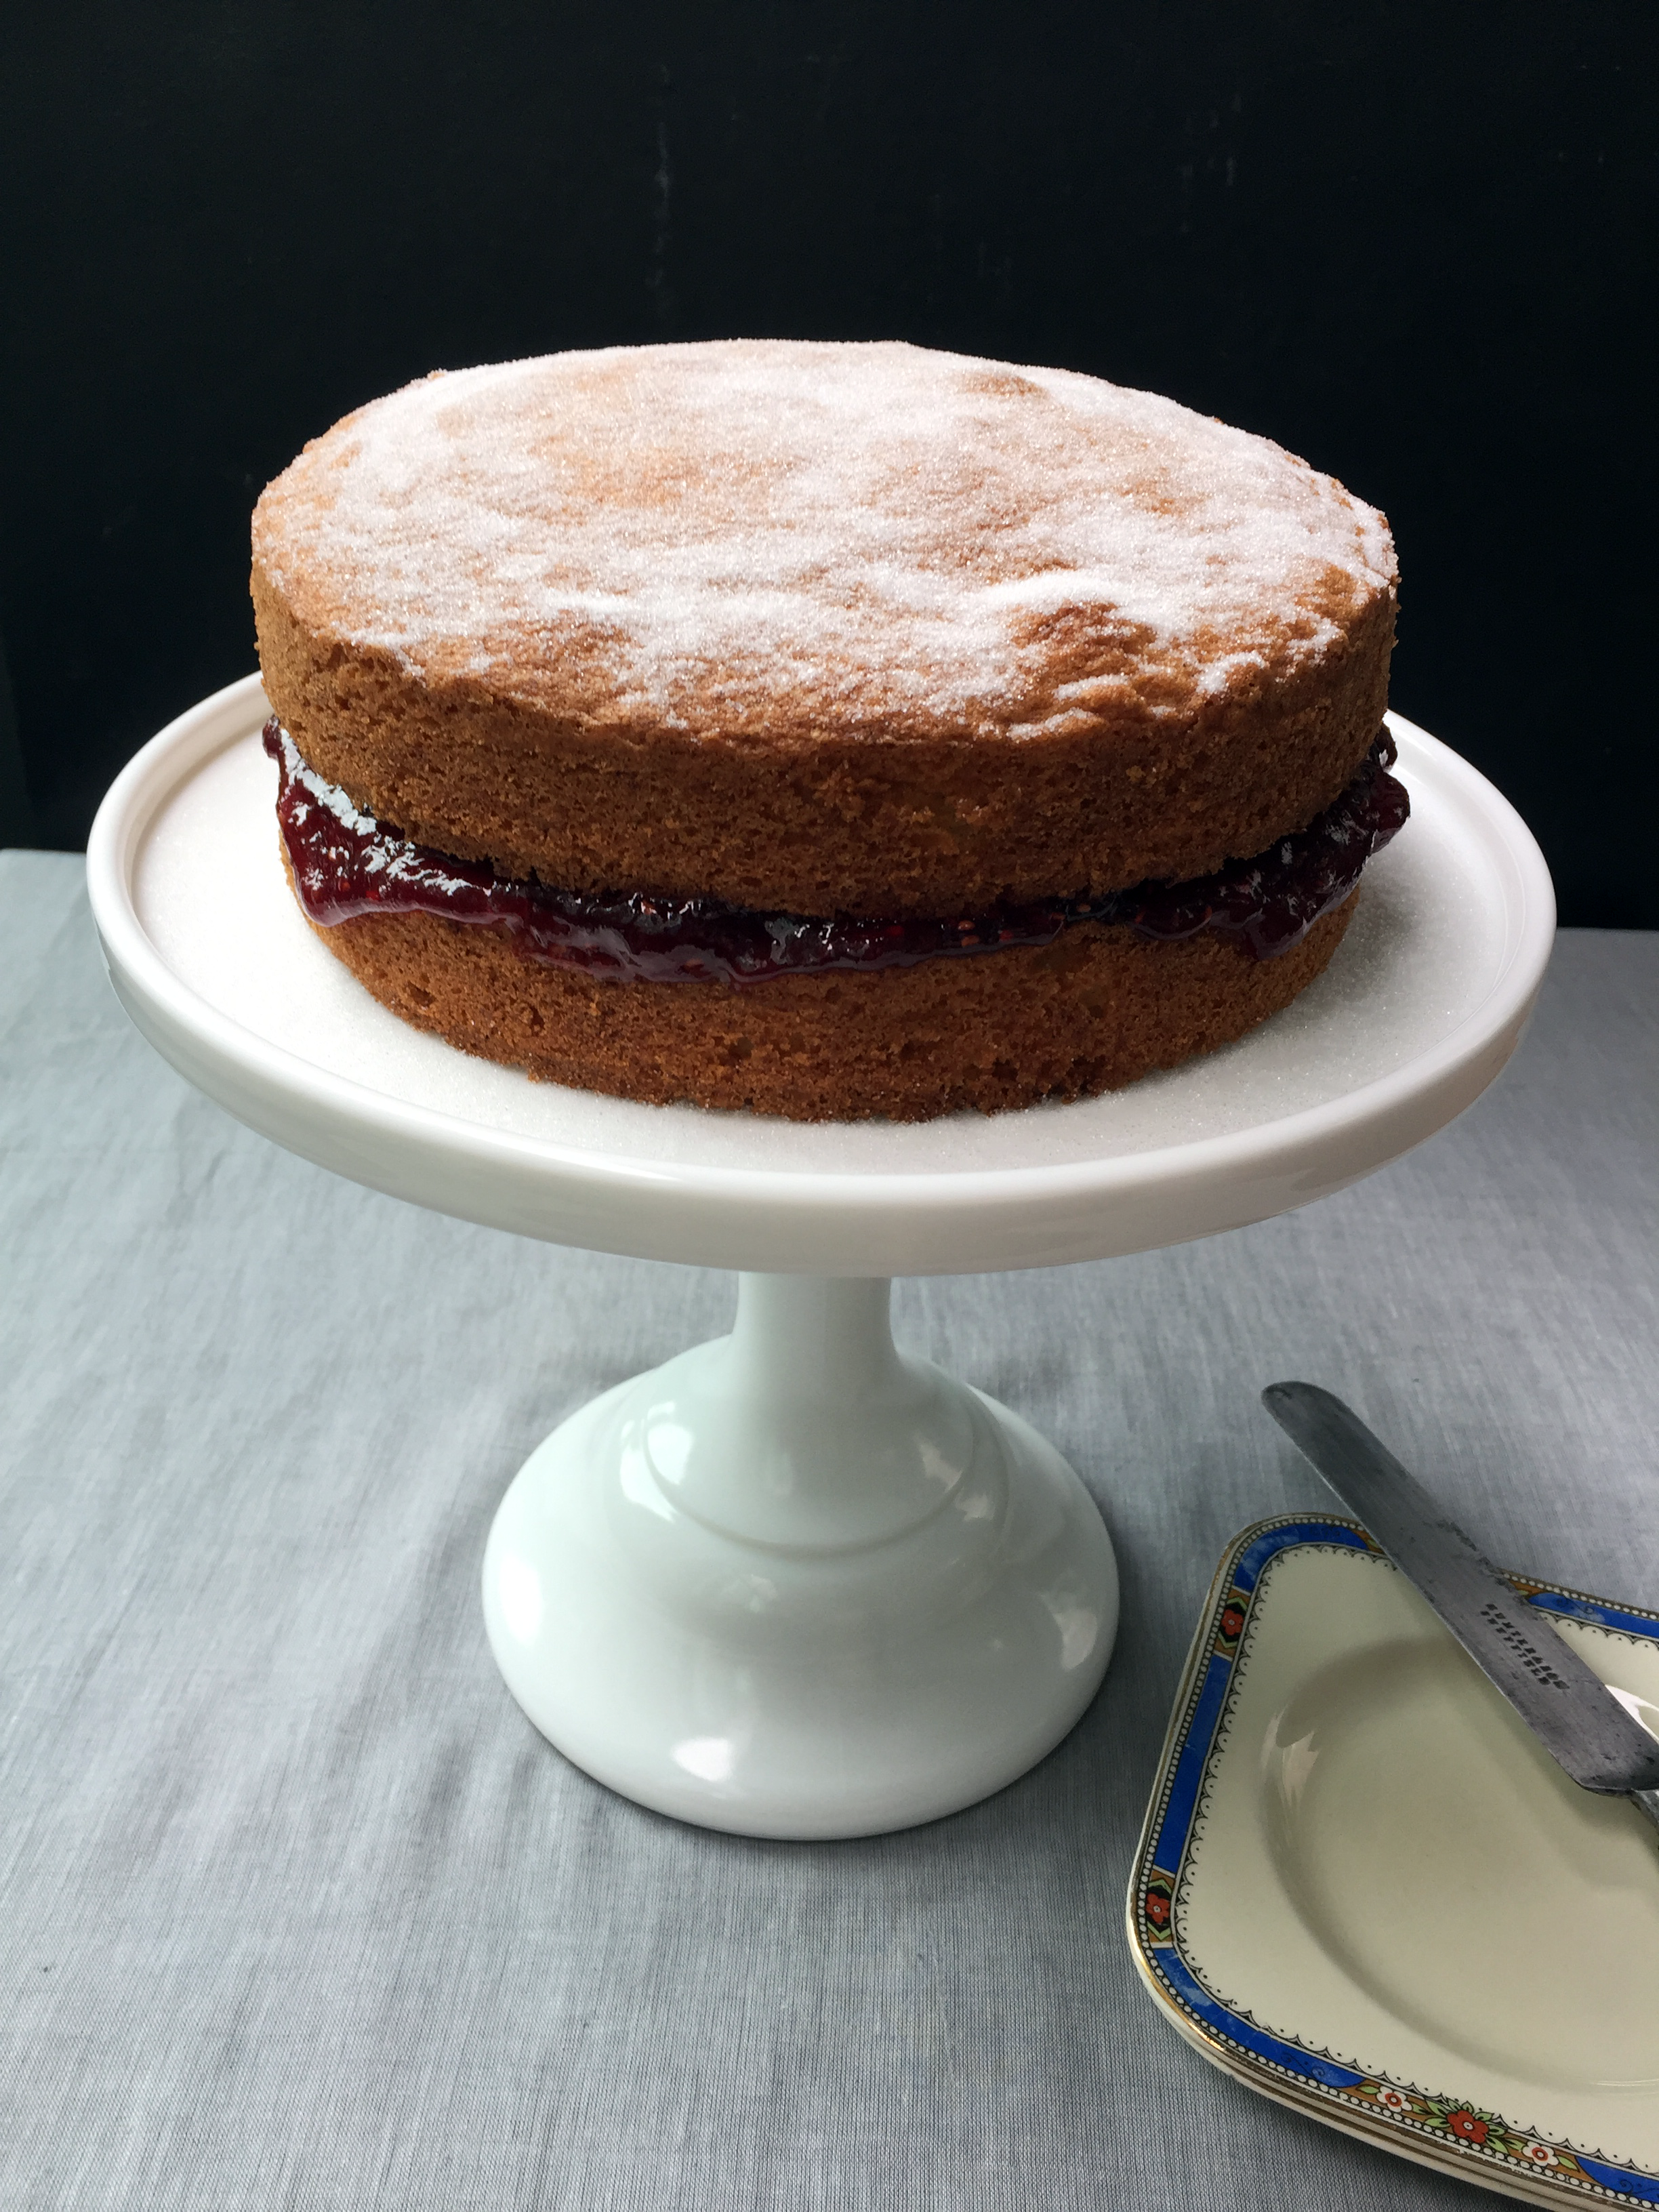
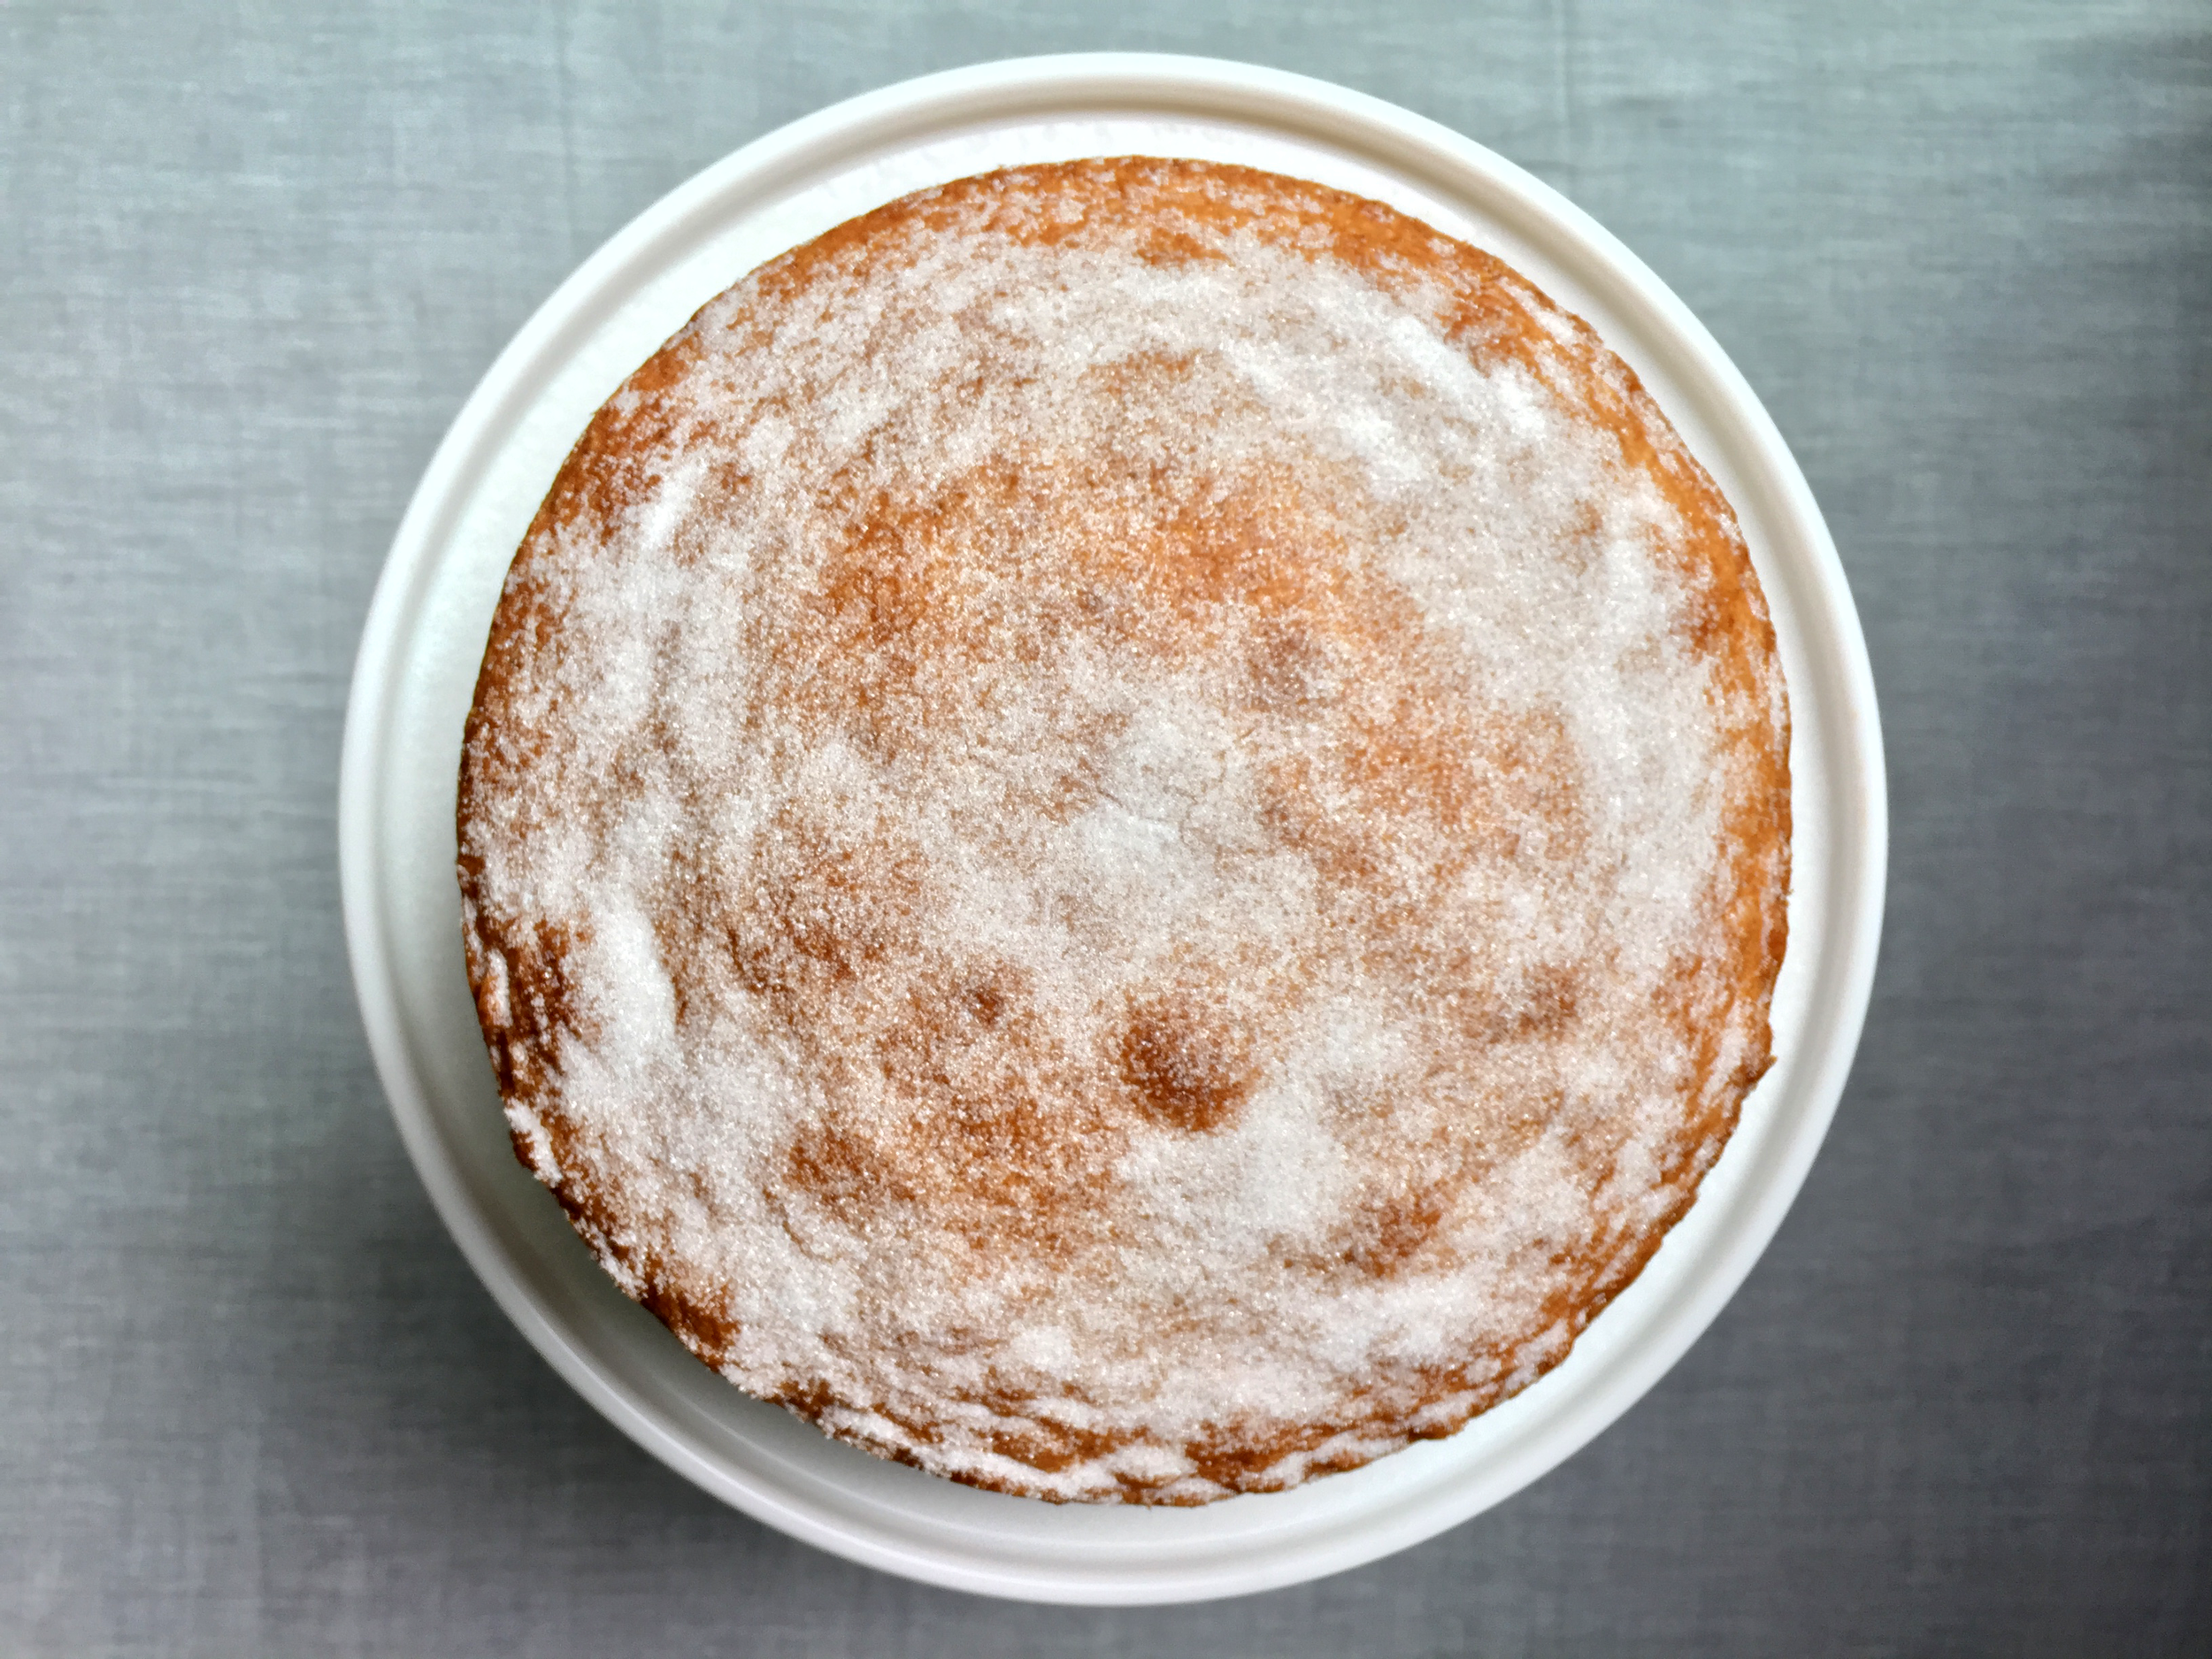
8. Whilst the cake is slightly warm, add the jam. The warmth will help the jam to set and stick the two layers together (If the bottom layer of the cake is significantly domed you can trim the bottom layer with a serrated edge knife to flatten the top before adding the jam). Spread the jam evenly, then add the top sponge then sprinkle with caster sugar.
Enjoy!
Store the cake in an airtight container. It will keep 4-5 days although it will start to dry out. If you add fresh cream you will need to cover and refrigerate the cake.
Top Tips
- Once you decide on the cake size you will have a rough idea of how many eggs. Example; For 2 x 7” sponges you will need 180g of free range eggs approximately.
- Scaling the cake pan is very important to ensure you have sufficient cake batter and also the correct cooking time.
- If your eggs weigh more than the suggested total. For example your 3 eggs weigh 210g and you are baking 2 round 7 inch cakes, simply use the additional cake batter to bake a few cupcakes once the cake has completed baking. Do not over fill the cake tins as this can have an impact on the cakes.
- The wire racks will leave an impression on your cake, so leave the cake the way you wish to serve it.
- If the bottom layer of the cake has domed, you can trim this to flatten it out. If you do not flatten the bottom cake, you will end up with very little jam in the centre and loads of jam on the outside. It will be more noticeable when you serve the cake as it will not sit flat.
- Once baked and cooled, the cakes can be trebble wrapped in cling film and frozen. Once thawed you will find the cake easy to carve. and decorate.