
Banana Cake

As a passionate baker, I often find myself in pursuit of that ultimate recipe - cake perfection.
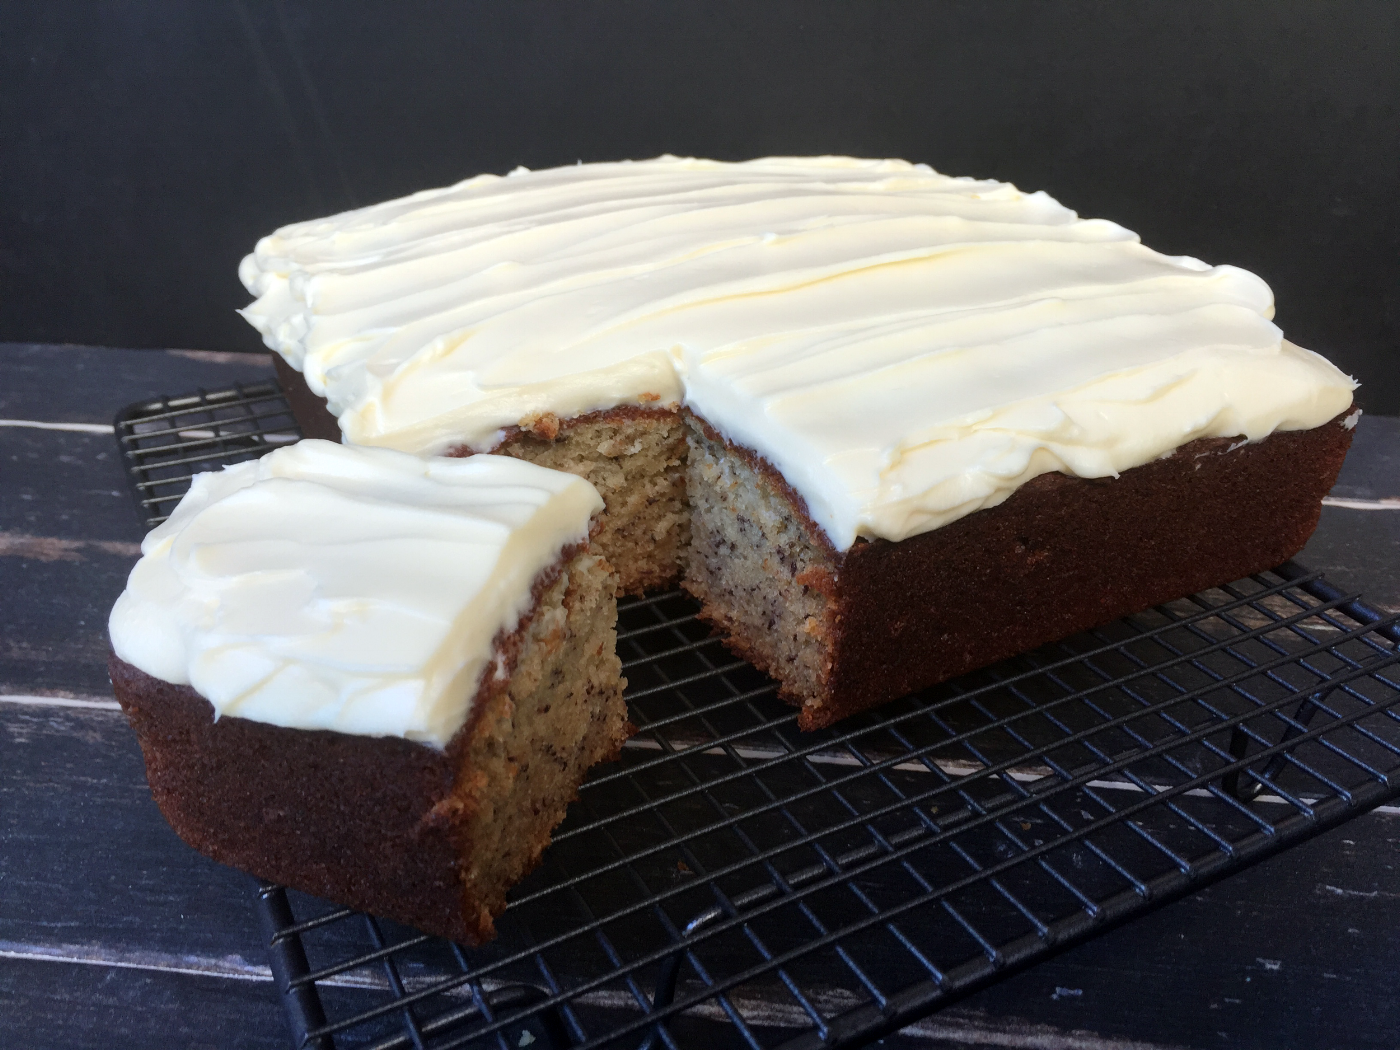
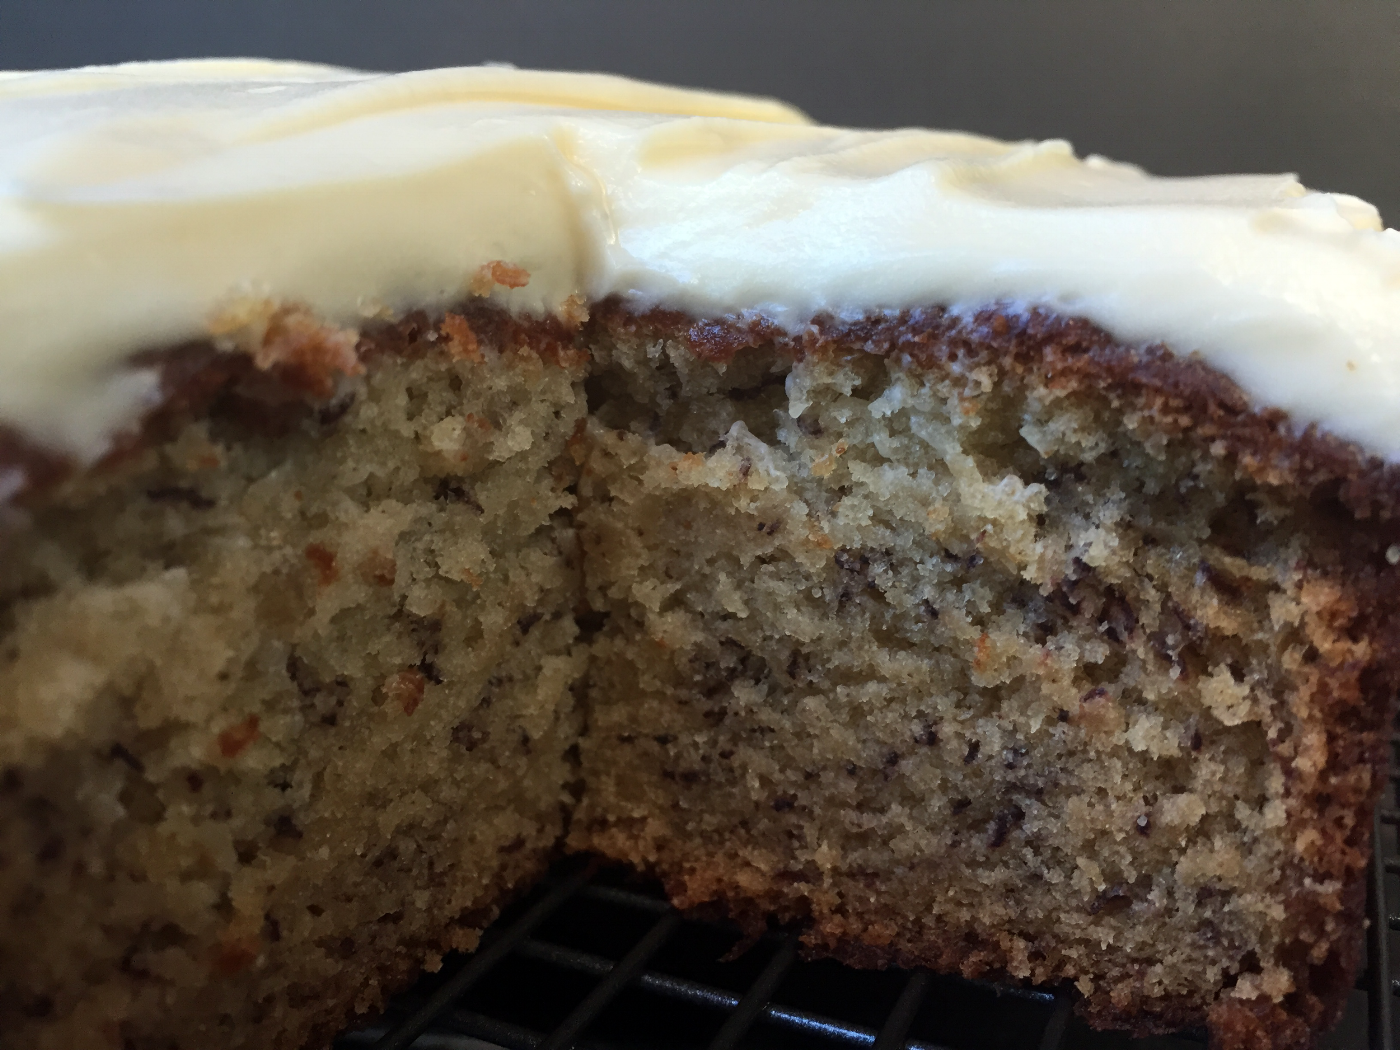
I have tried so many Banana Cake recipes over the years and this is hands down my all-time favorite, I have stopped searching. The overripe bananas combined with the buttermilk give the cake a moist, silky smooth texture with a beautiful crusty exterior. Dressed with cream cheese frosting, served naked or with lashings of vanilla ice cream or freshly whipped cream and toffee sauce - the cake is divine!
The recipe was inspired by Stephanie Alexander's AO Banana Cake pg 77 of the 'The Cook's Companion'. Stephanie is an incredibly talented Australian cook, restaurateur, food writer and food educator.
This is a great recipe to make with the kids. My two love mashing the bananas and making the faux buttermilk, they are always intrigued by the reaction when it curdles... It's a wonderful example for children to see how fruit can be used to make cake. It's a wonderful example for children to see how fruit can be used to make cake. It's also a fabulous way to use up tired old bananas!
Gluten Free Banana Cake? By simply substituting the plain flour you can also make the cake gluten free. I use Doves Farm plain white gluten free flour available here in the UK (which is a gluten free flour blend). The remaining ingredients and method are exactly the same – it tastes just as good. Most people would not know the difference. Click here for the recipe.
This recipe will make;
1 x 20cm square cake, baked at 180°C/350F for 40-45 minutes
16-18 muffin size cupcakes baked at 180°C/350F for 16-18 minutes
3 x 7” round cakes baked at 180°C/350F for 23-26 minutes
Cream Cheese Frosting Ingredients
90g softened unsalted butter (must be unsalted butter)
90g icing sugar
180g Philadelphia full fat cream cheese (must be full fat cream cheese)
optional 1tsp vanilla extract
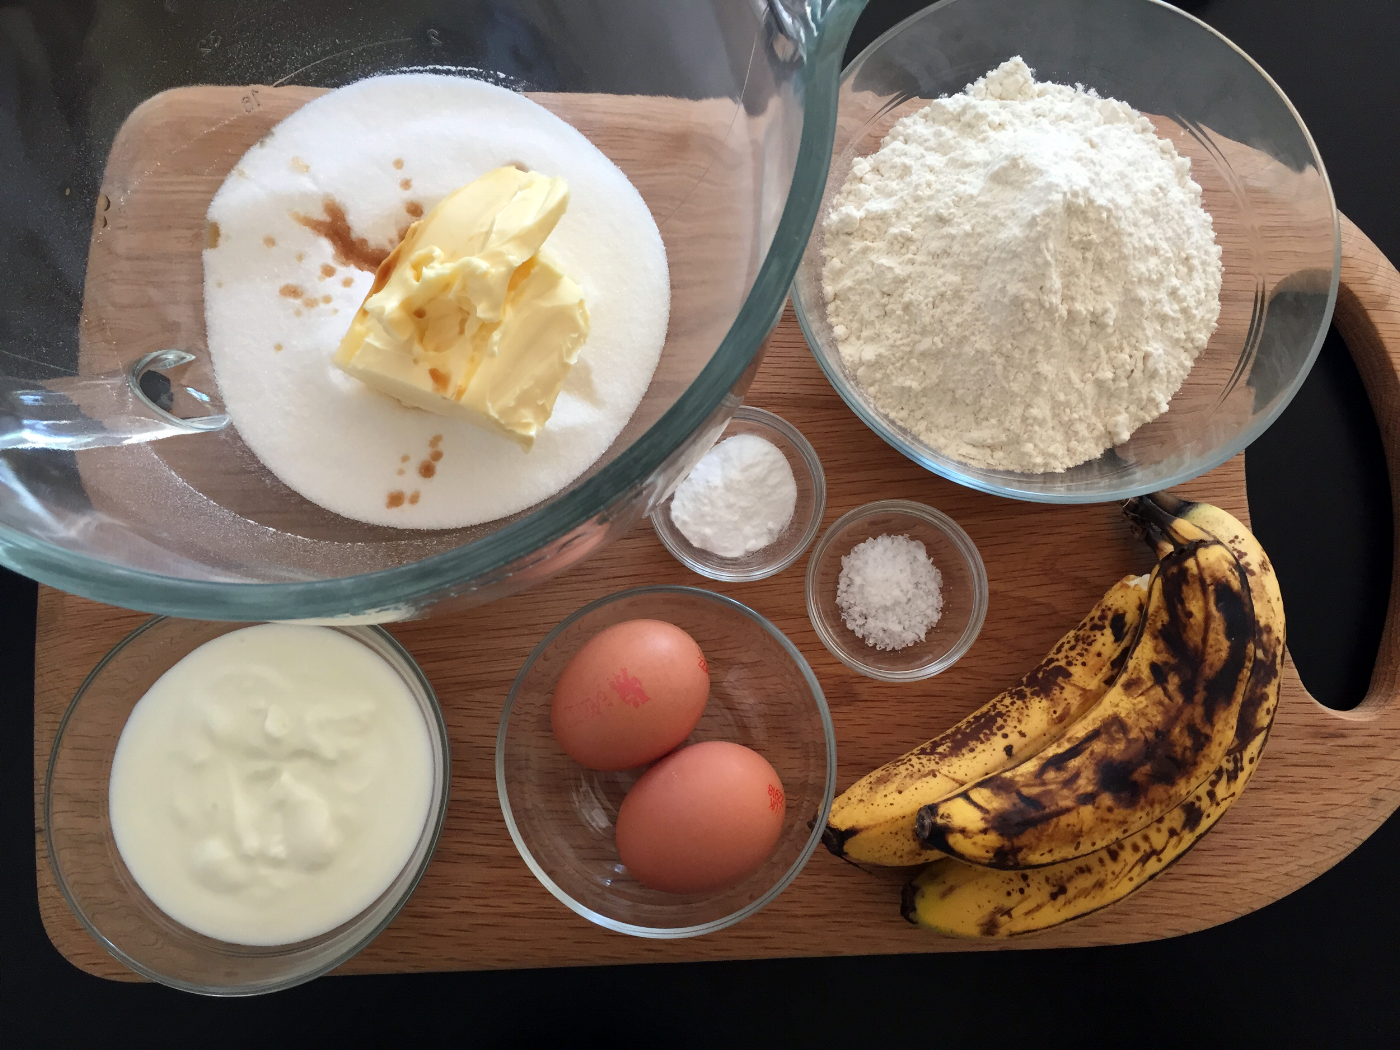
Cake Ingredients
300g caster Sugar
125g softened unsalted butter
½ teaspoon of vanilla extract
2 large free range eggs
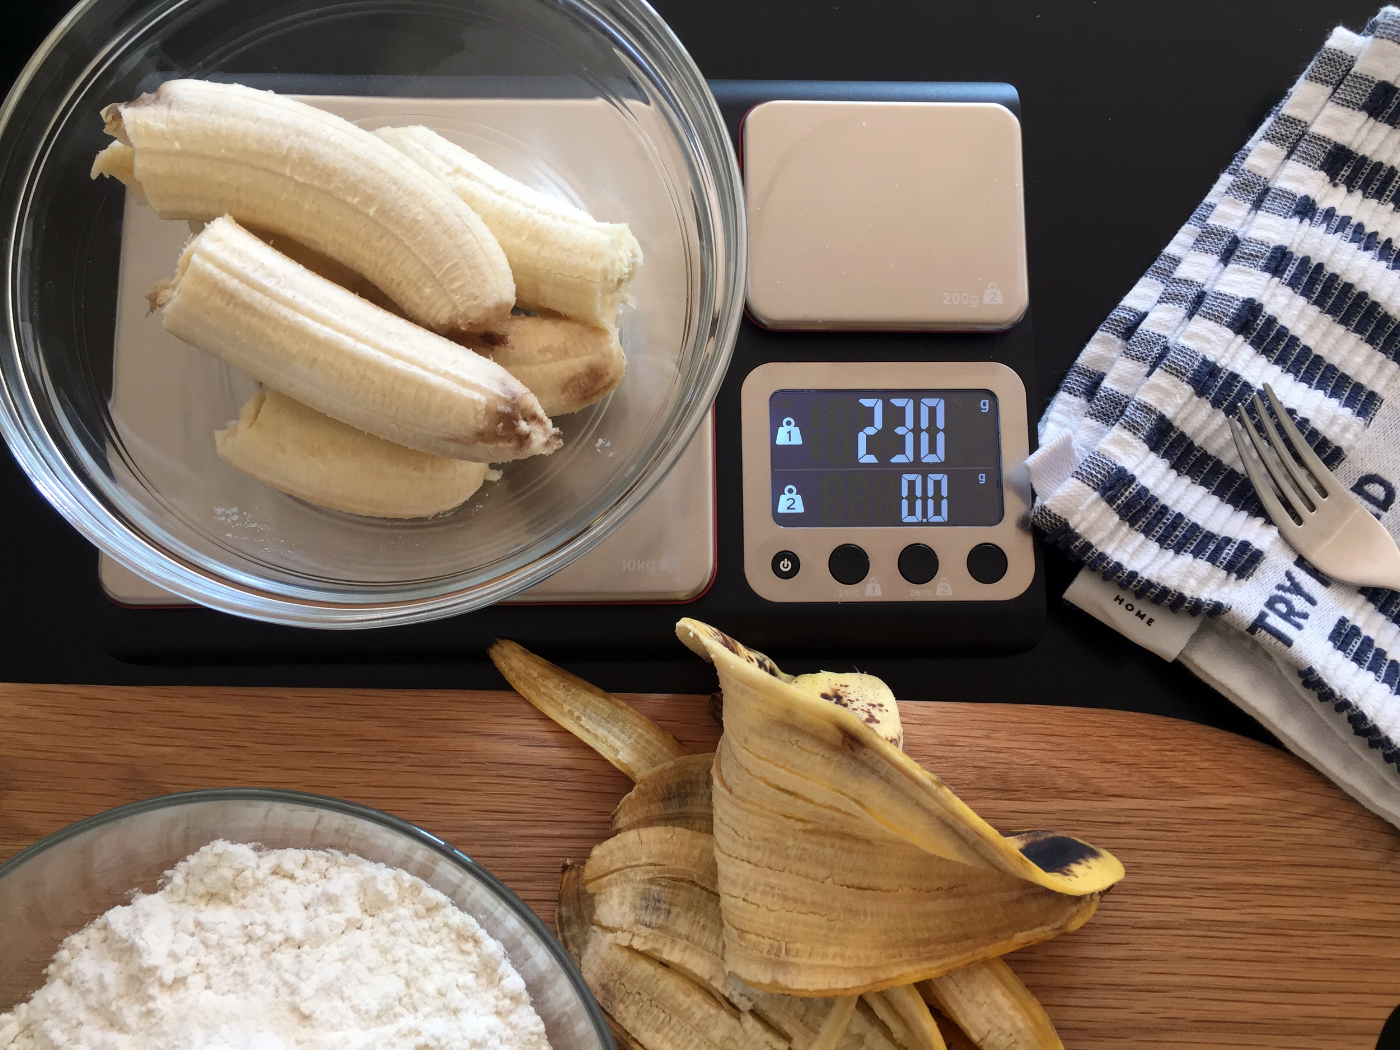
250g over ripe bananas mashed (3-4 medium bananas)
250g plain flour (all purpose flour)
1 tsp bicarbonate soda (baking soda)
½ teaspoon salt (I use finely crushed Maldon Seat salt)
125ml buttermilk (or mix 120ml of whole milk with 1 tsp of white wine vinegar or 1 tsp strained lemon juice)
Optional spices
1/2 tsp ground cinnamon
1/8 tsp ground allspice


Cake Method
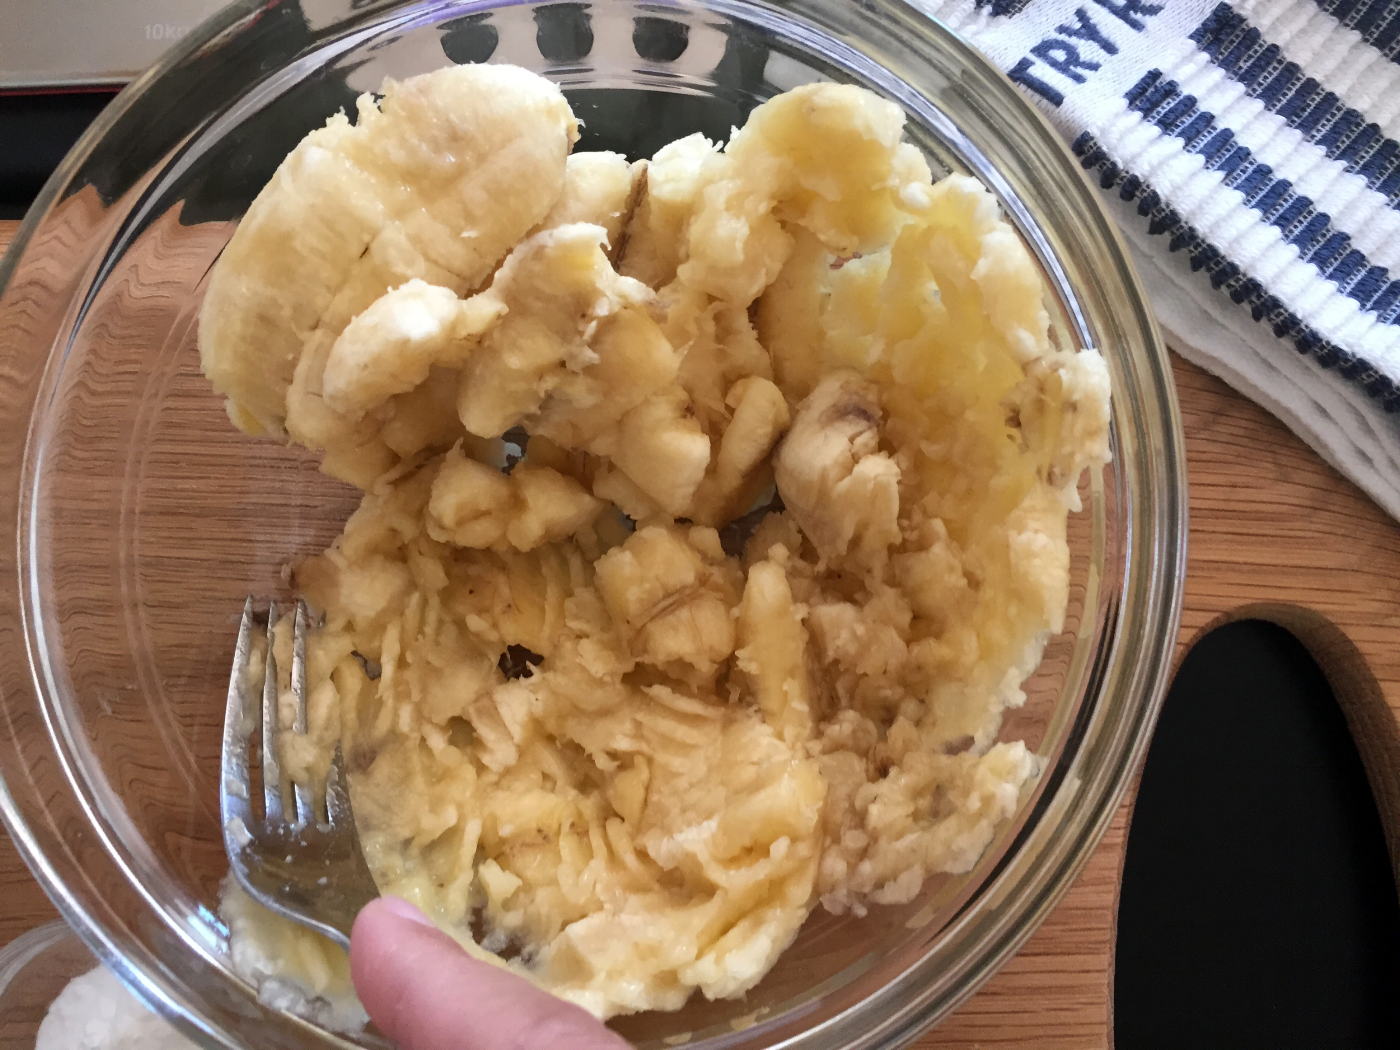
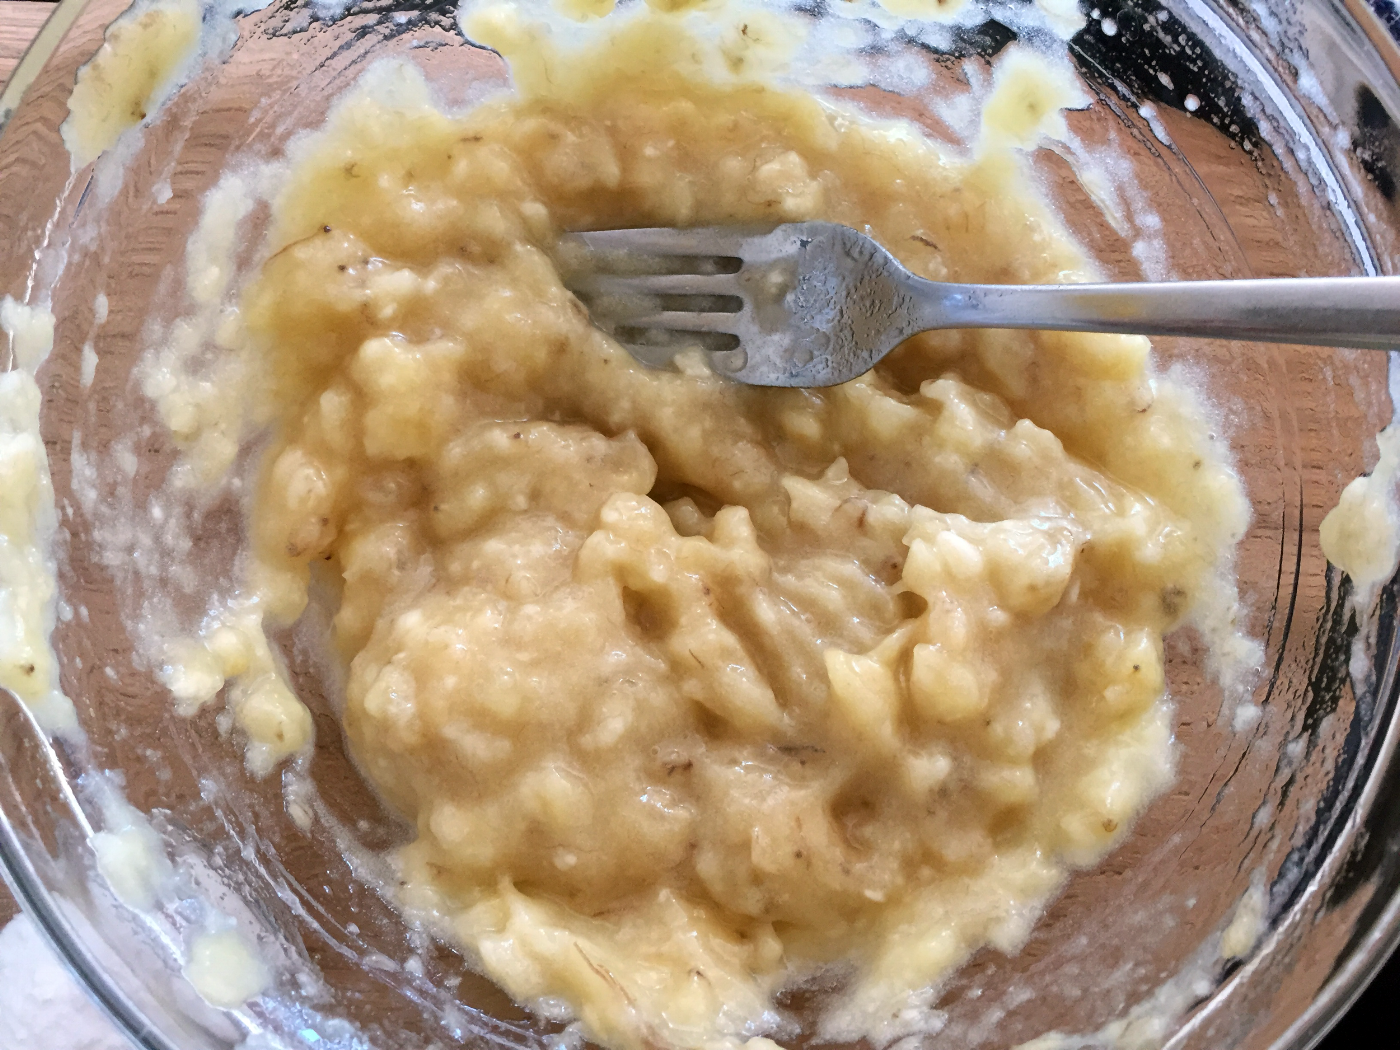
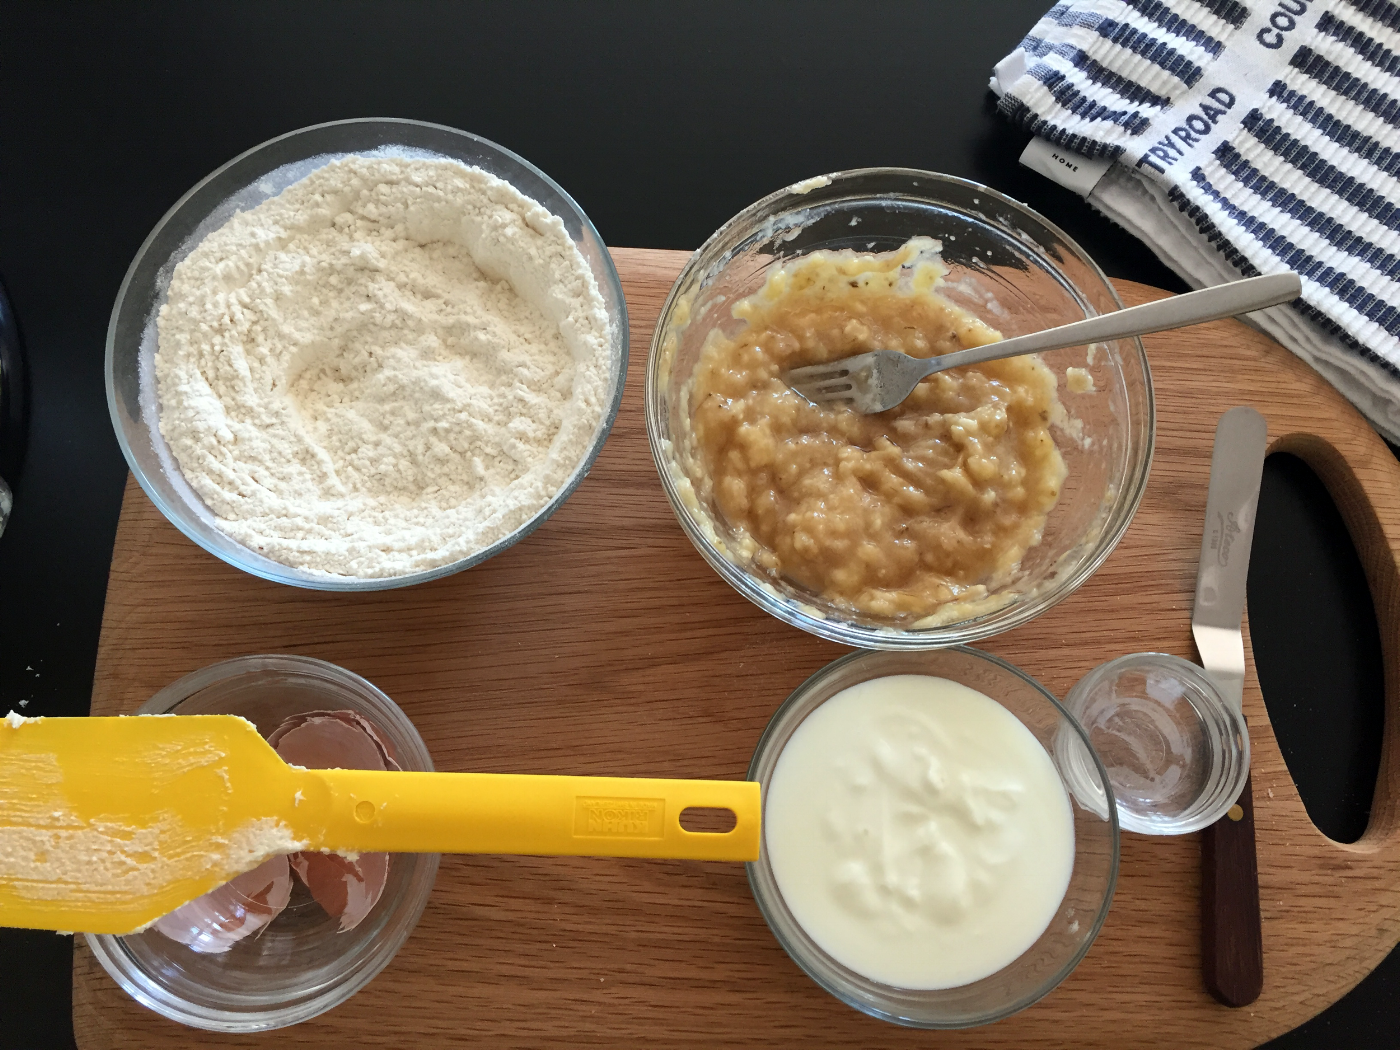
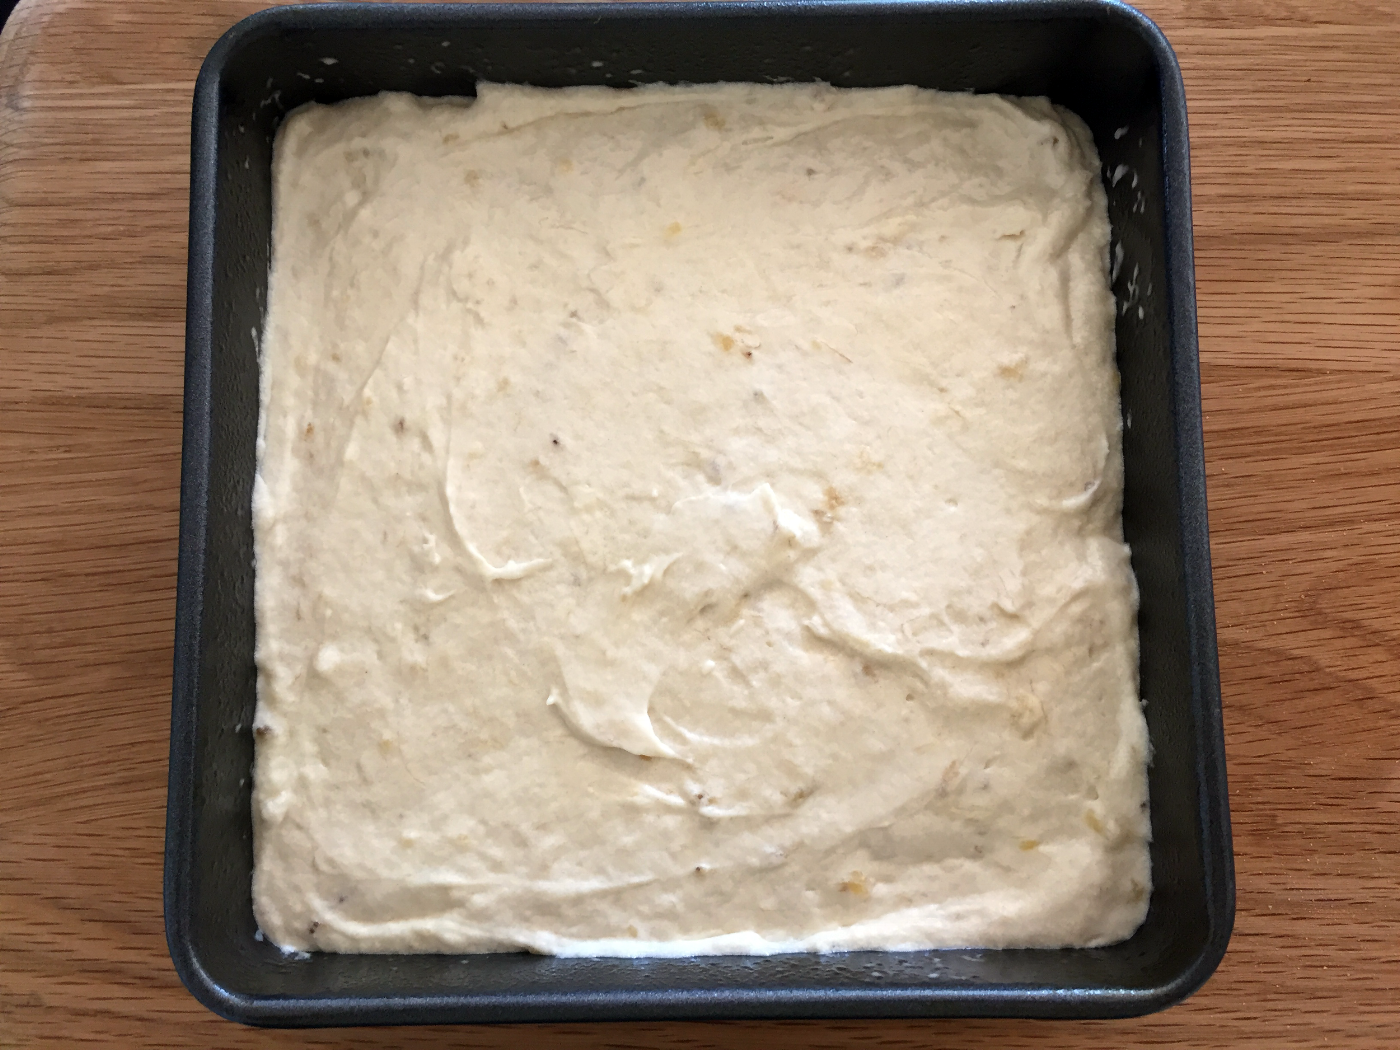
1. Preheat oven to 180°C/350F. Grease and line cake tins or prepare cupcake cases in your muffin tin. Make your faux buttermilk (if you are making it), weigh out all of your ingredients, mash your bananas using a fork against the side of the bowl, set aside.
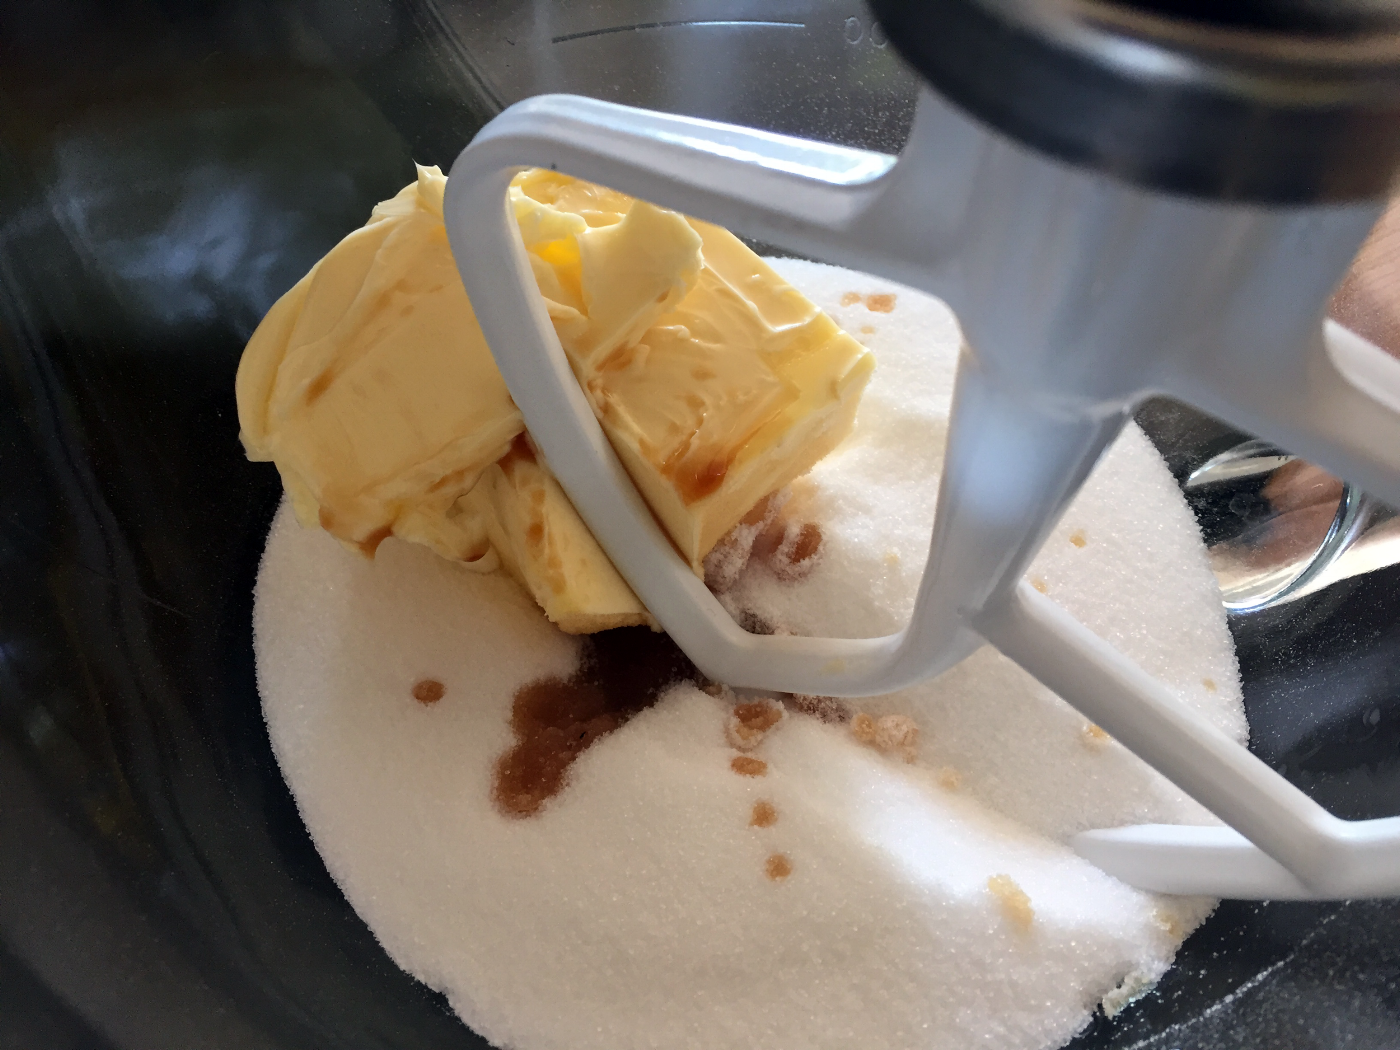
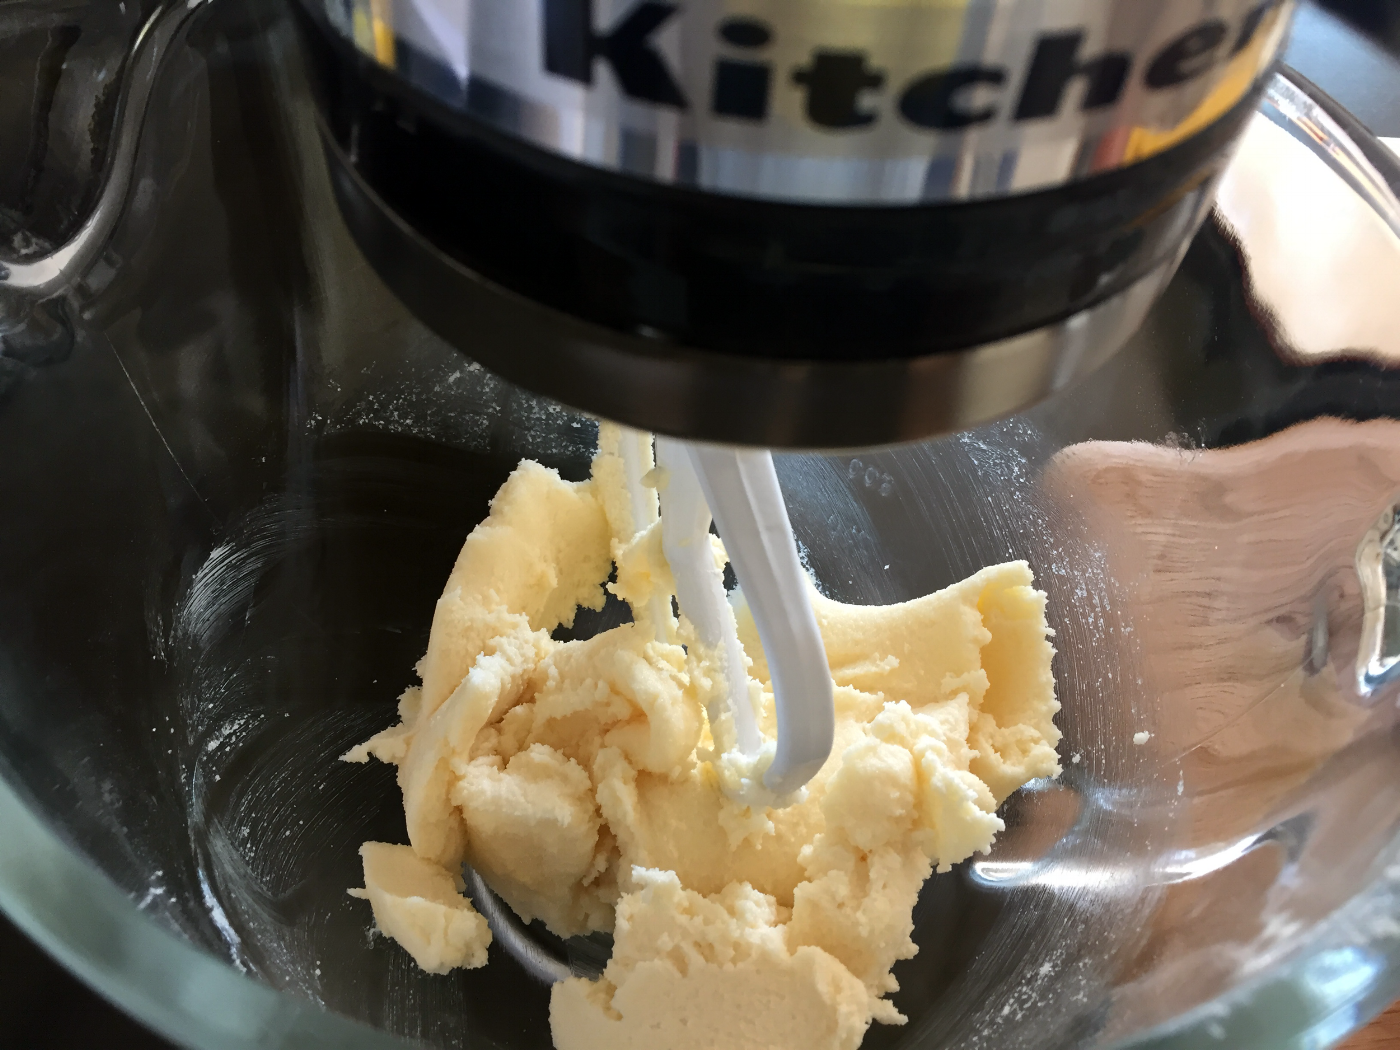
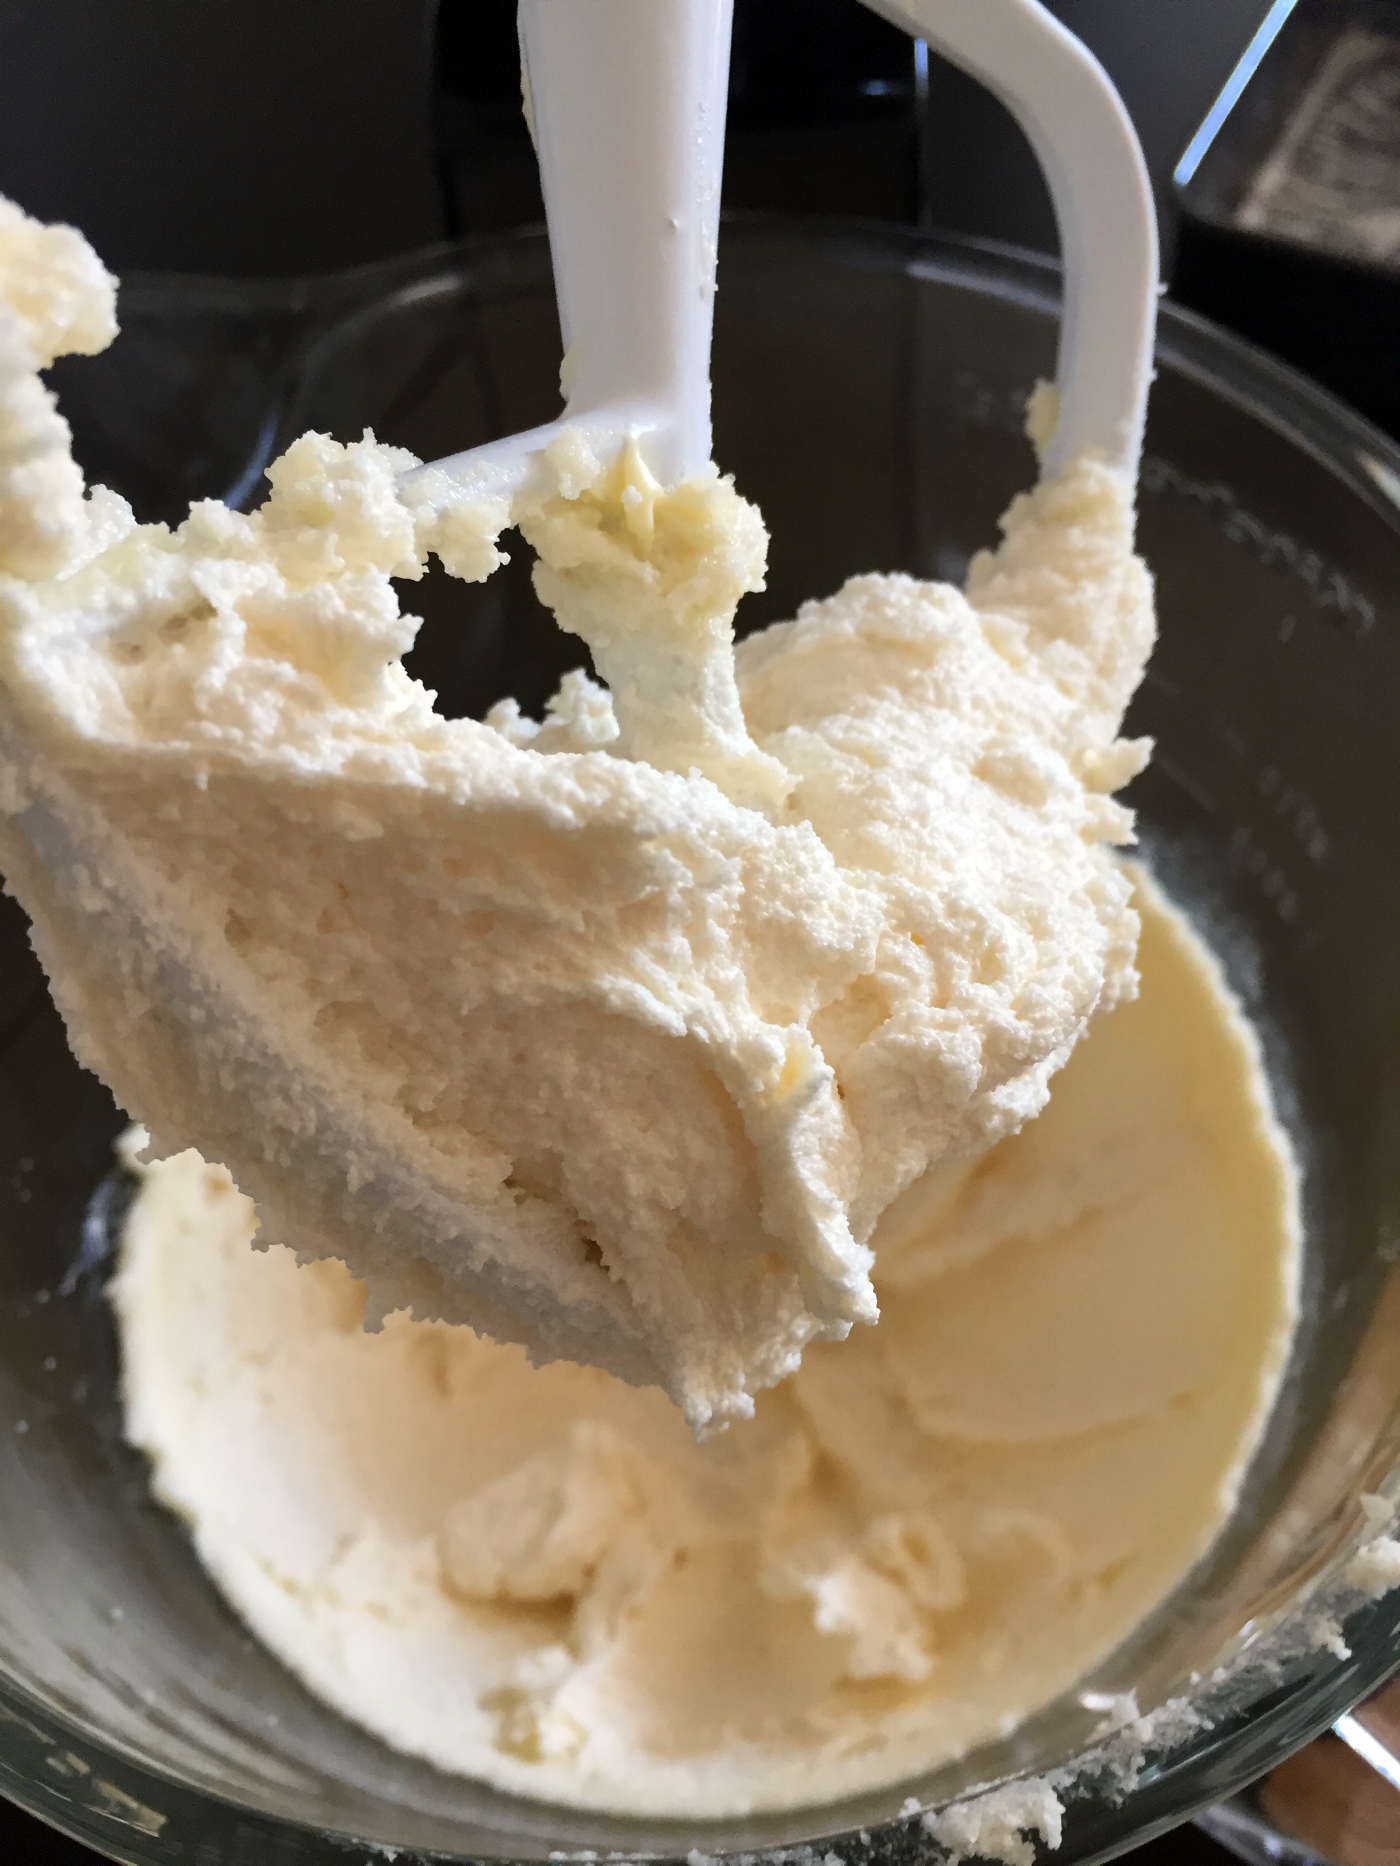
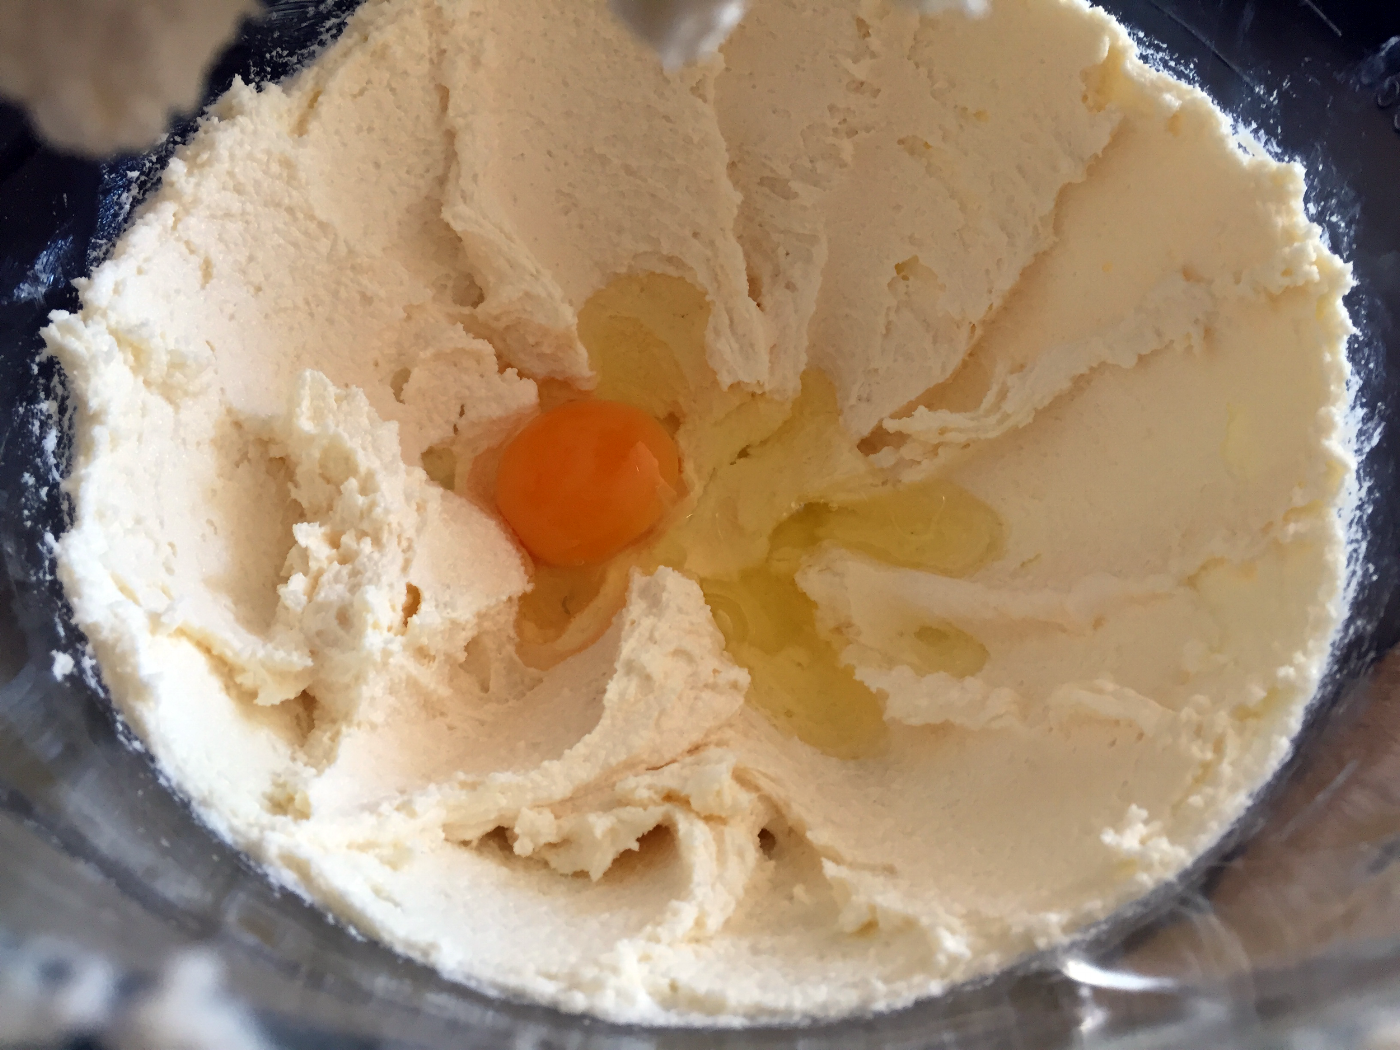
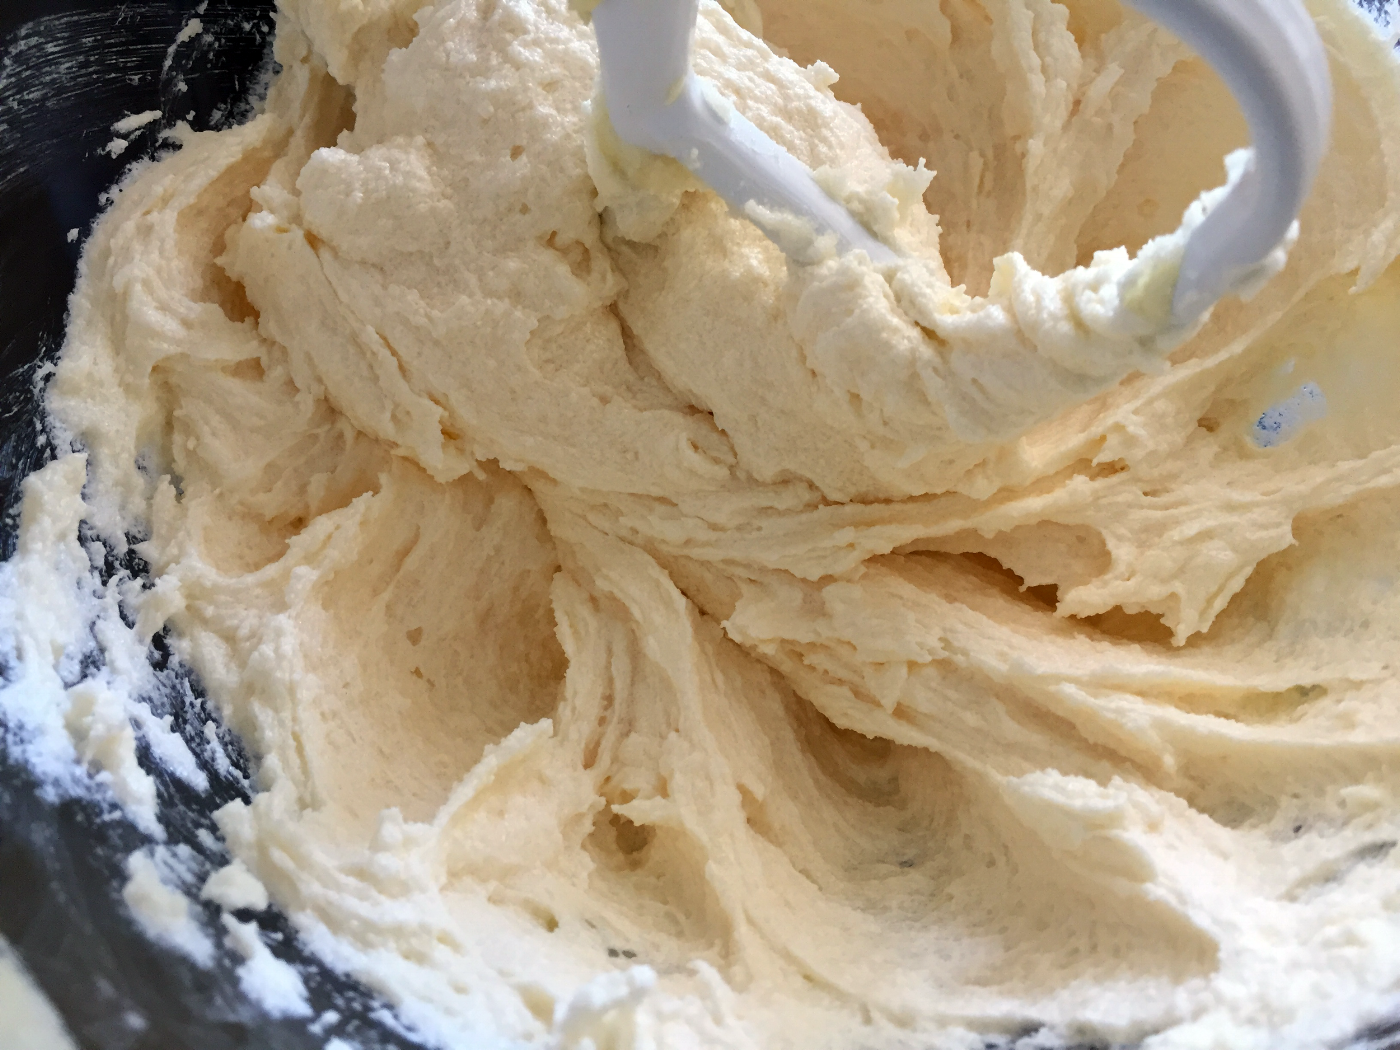
2. Cream butter, sugar and vanilla extract on a medium speed. Use a spatula to clear down the sides of your bowl and beater occasionally. Depending on your mixing method, the creaming time will vary. Cream until the mixture appears pale in colour, increased in volume and mousse like in texture (it may take longer if the butter is not at room temperature or if your kitchen is cold, take your time, this step is important).
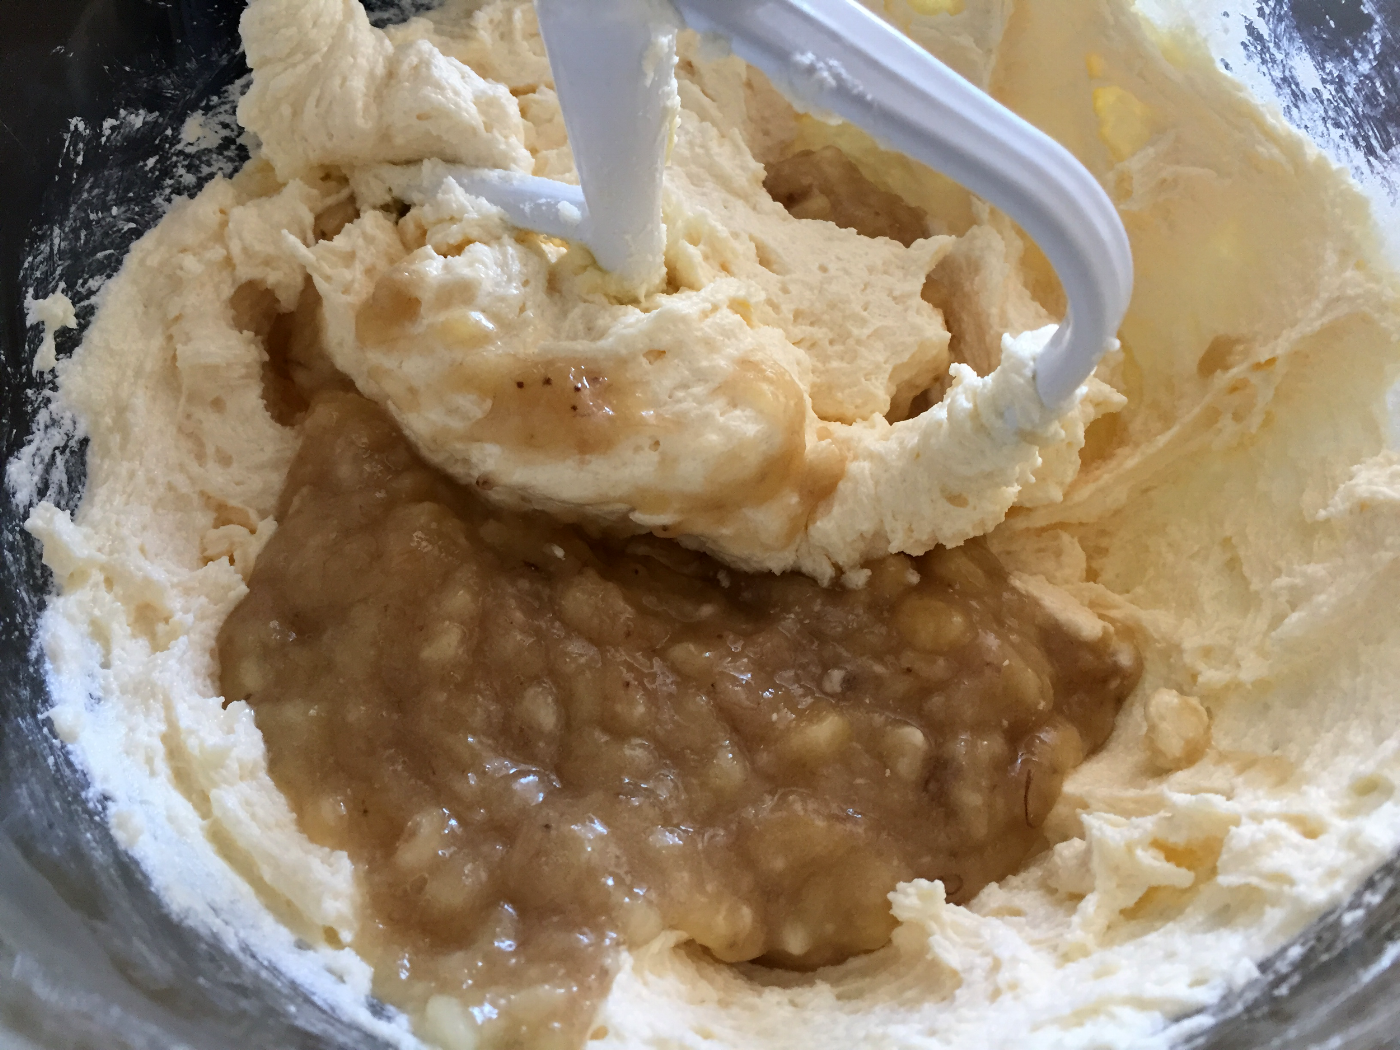
3. Crack the eggs and beat them in one at a time, ensuring the egg is fully incorporated before adding the second egg. Then add the mashed banana and mix till incorporated, the mixture will appear slightly curdled, this is normal.
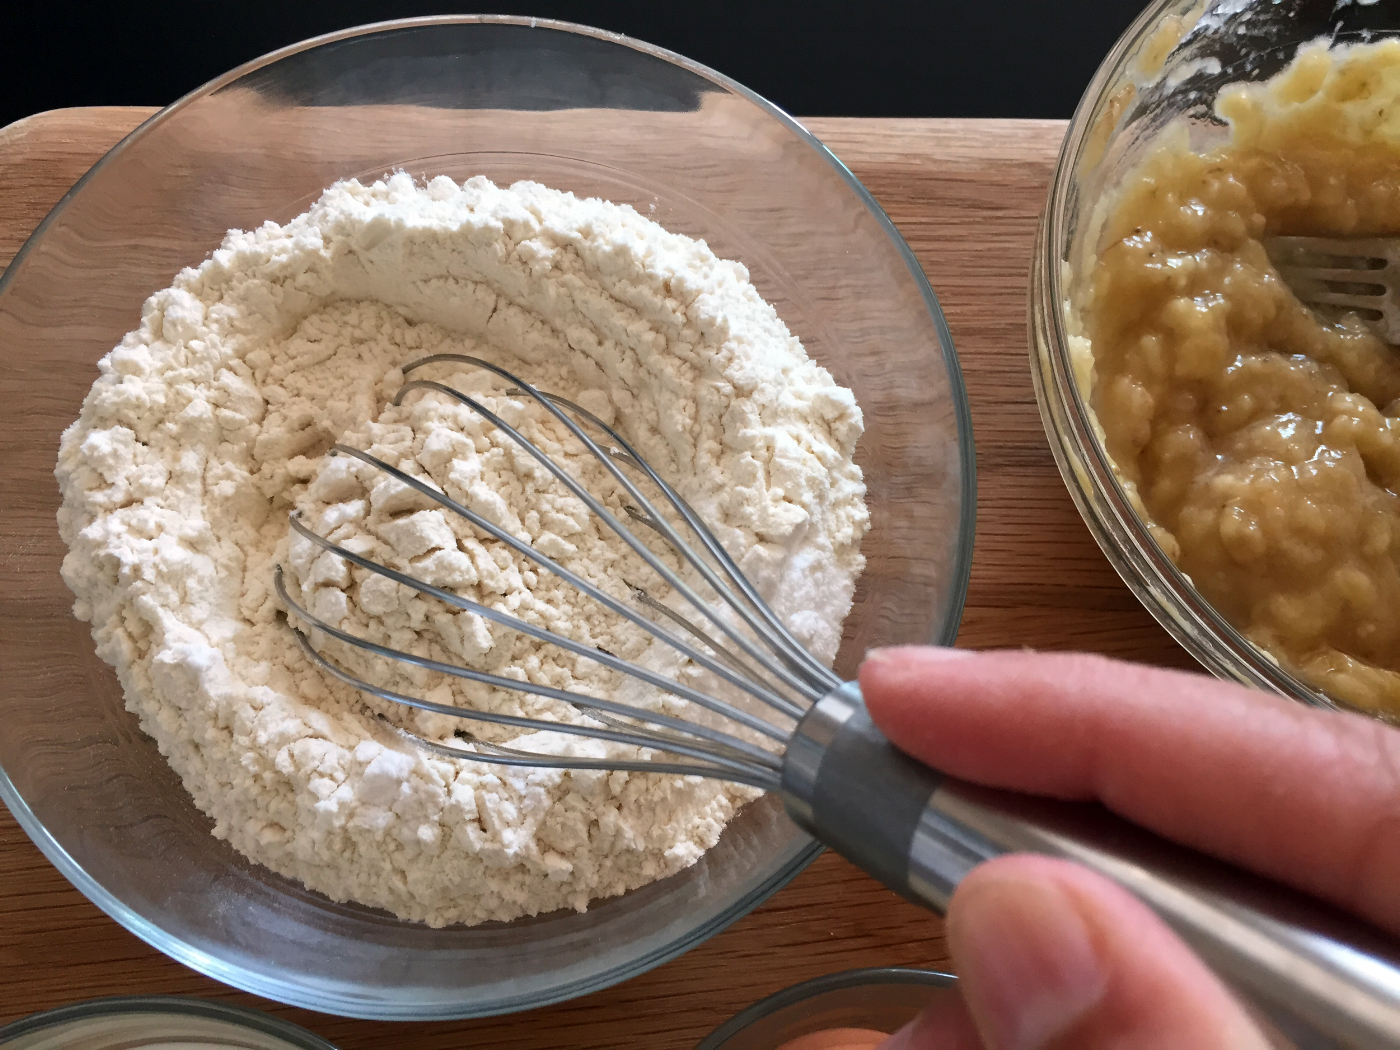
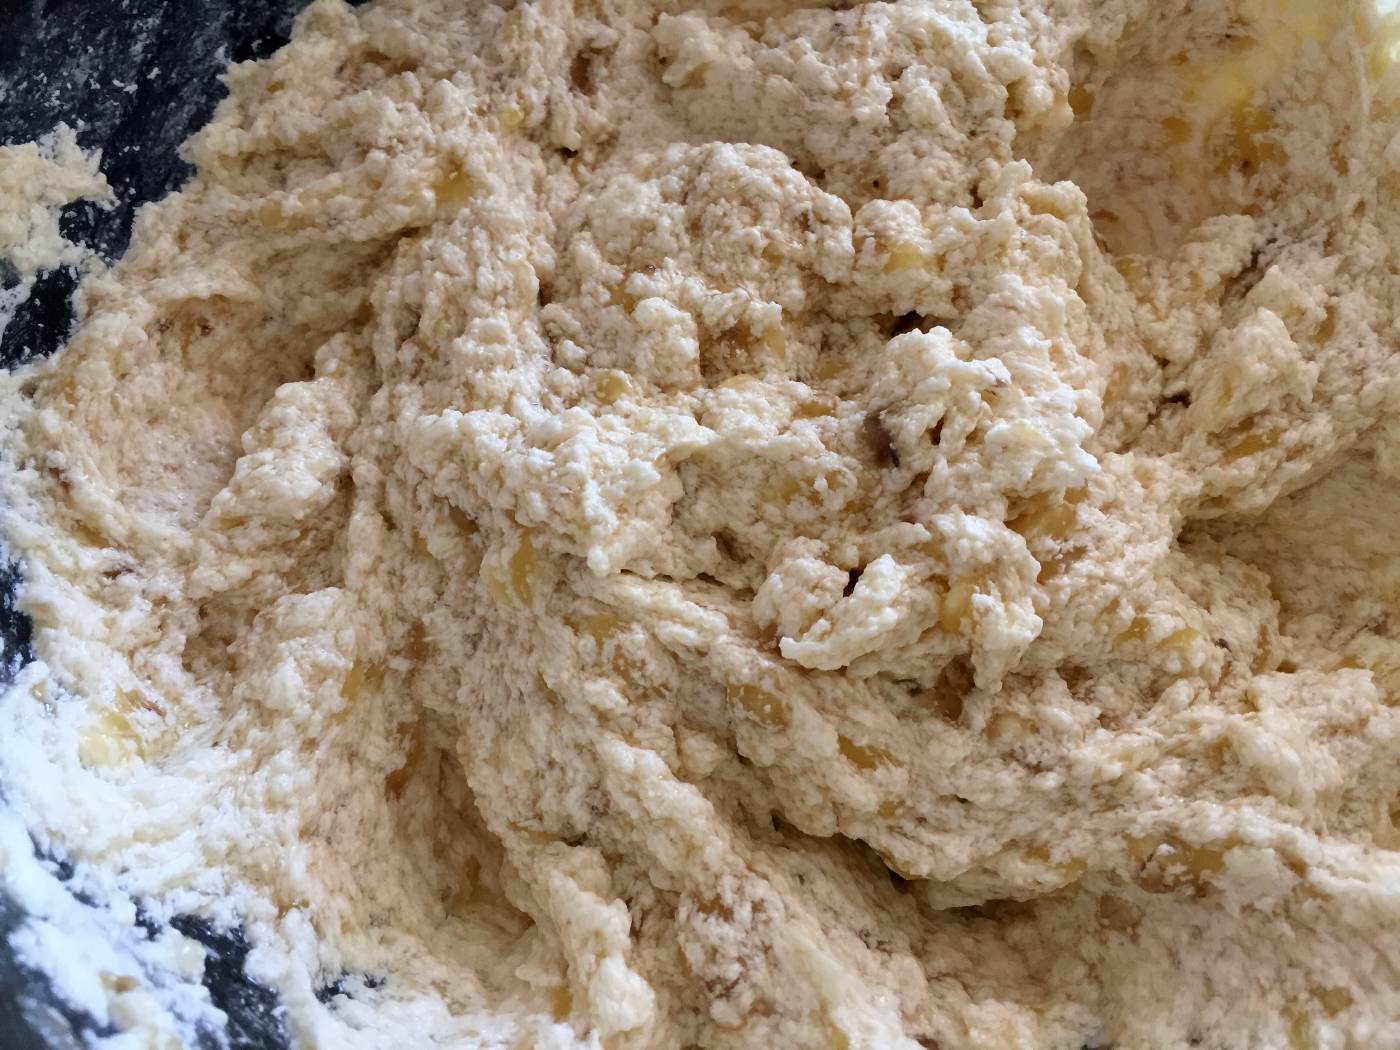
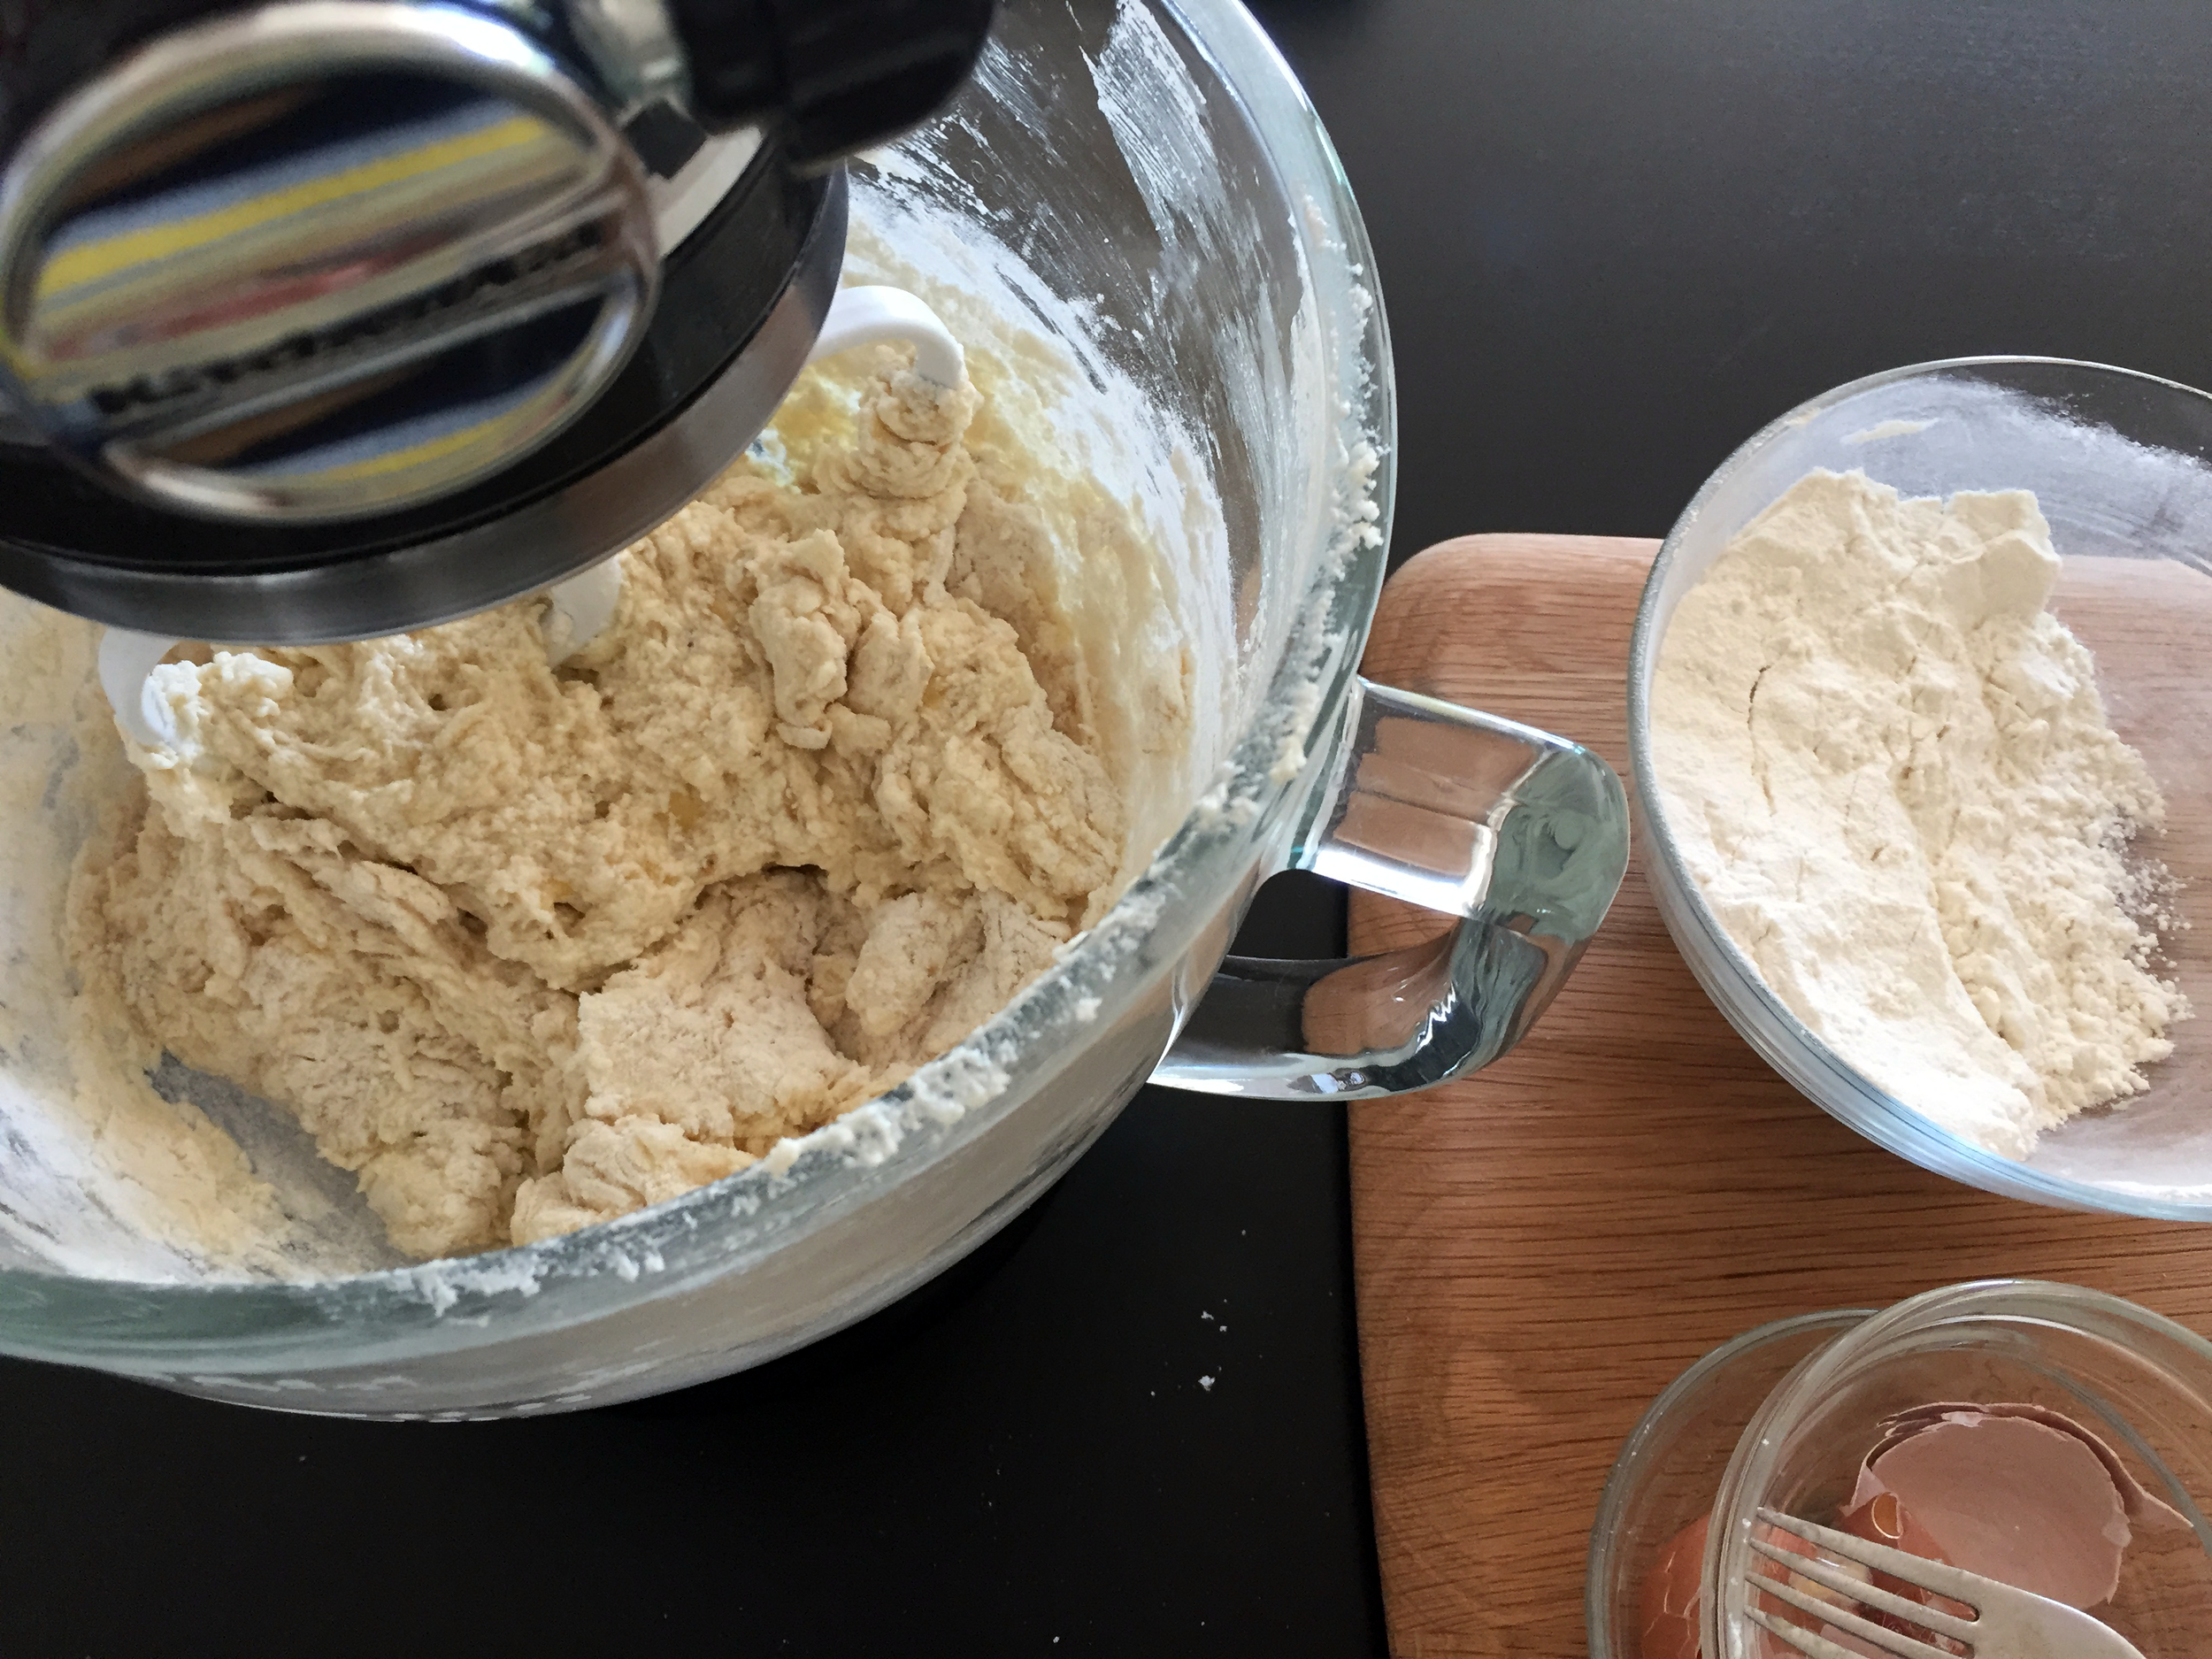
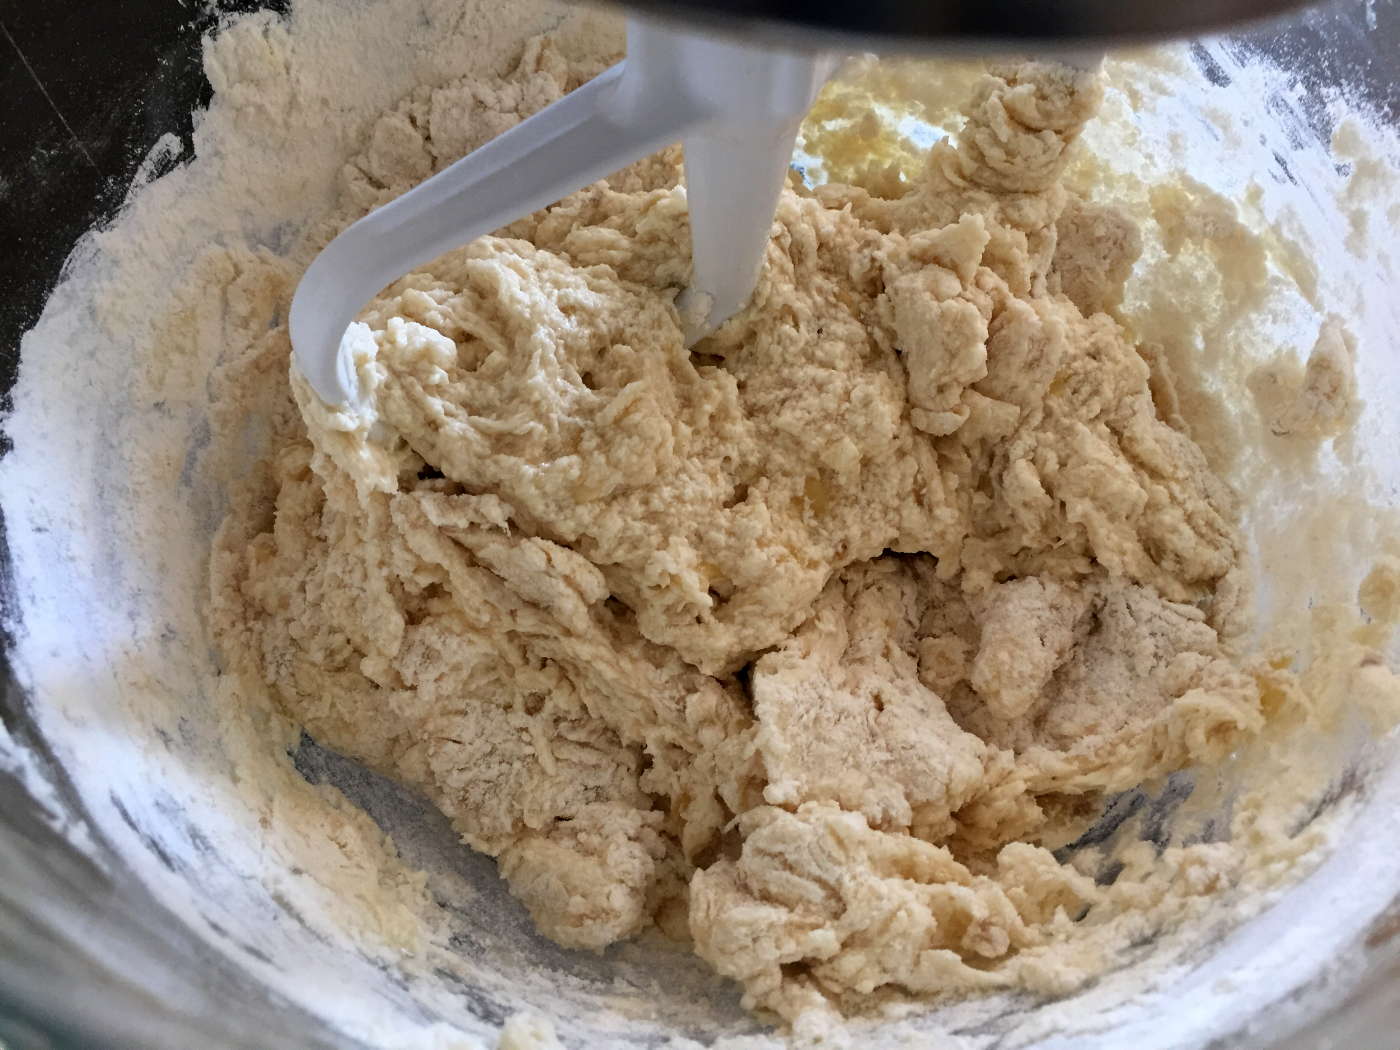
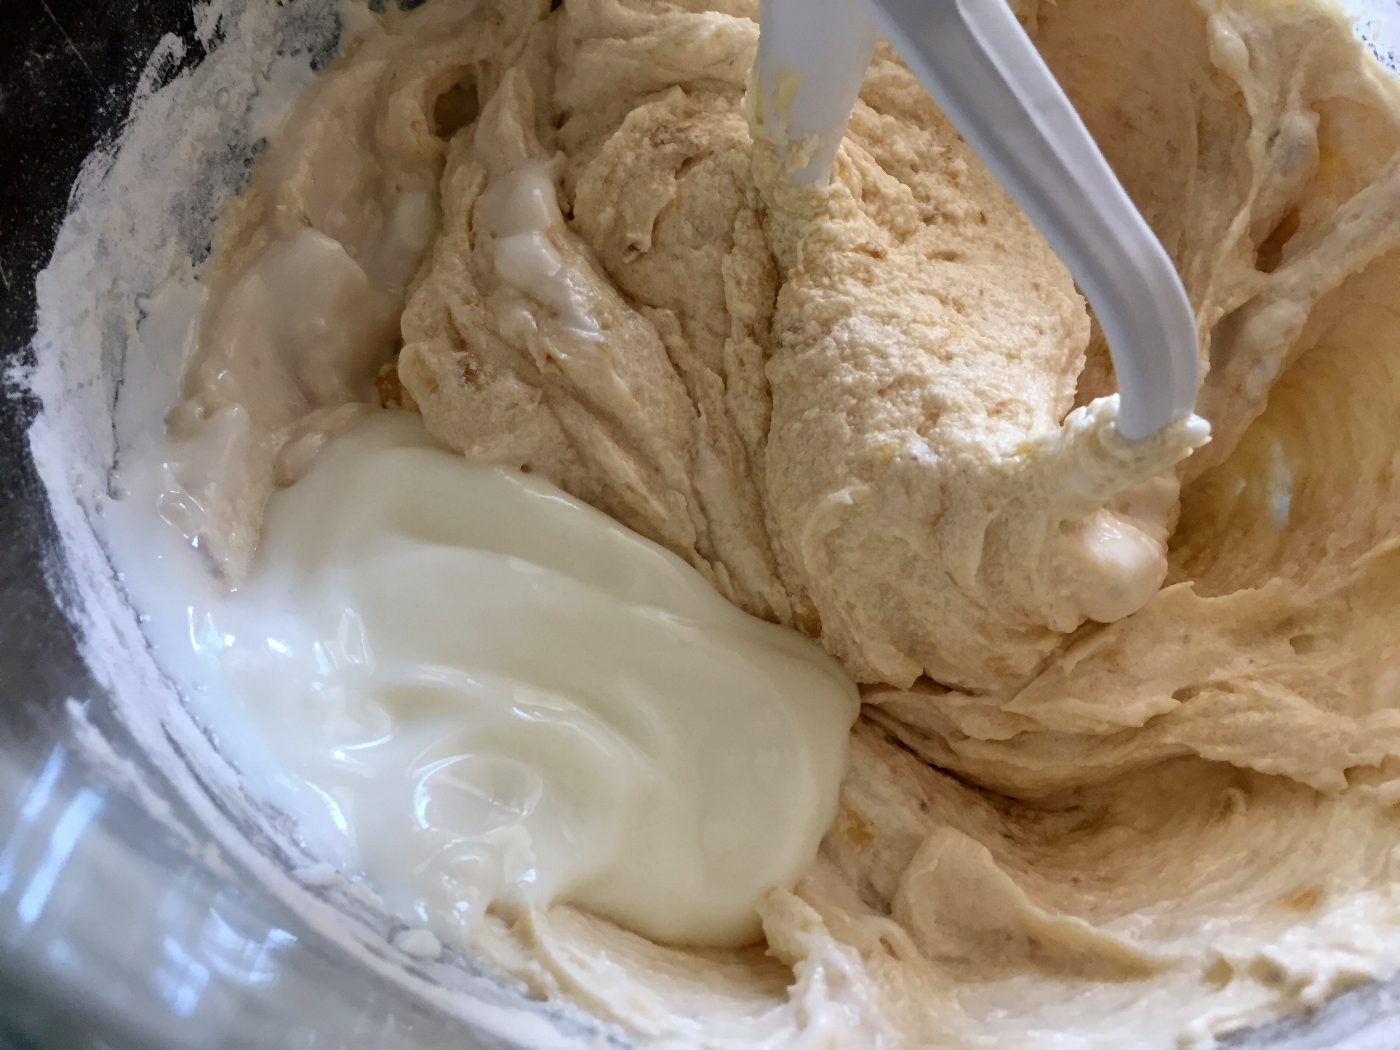
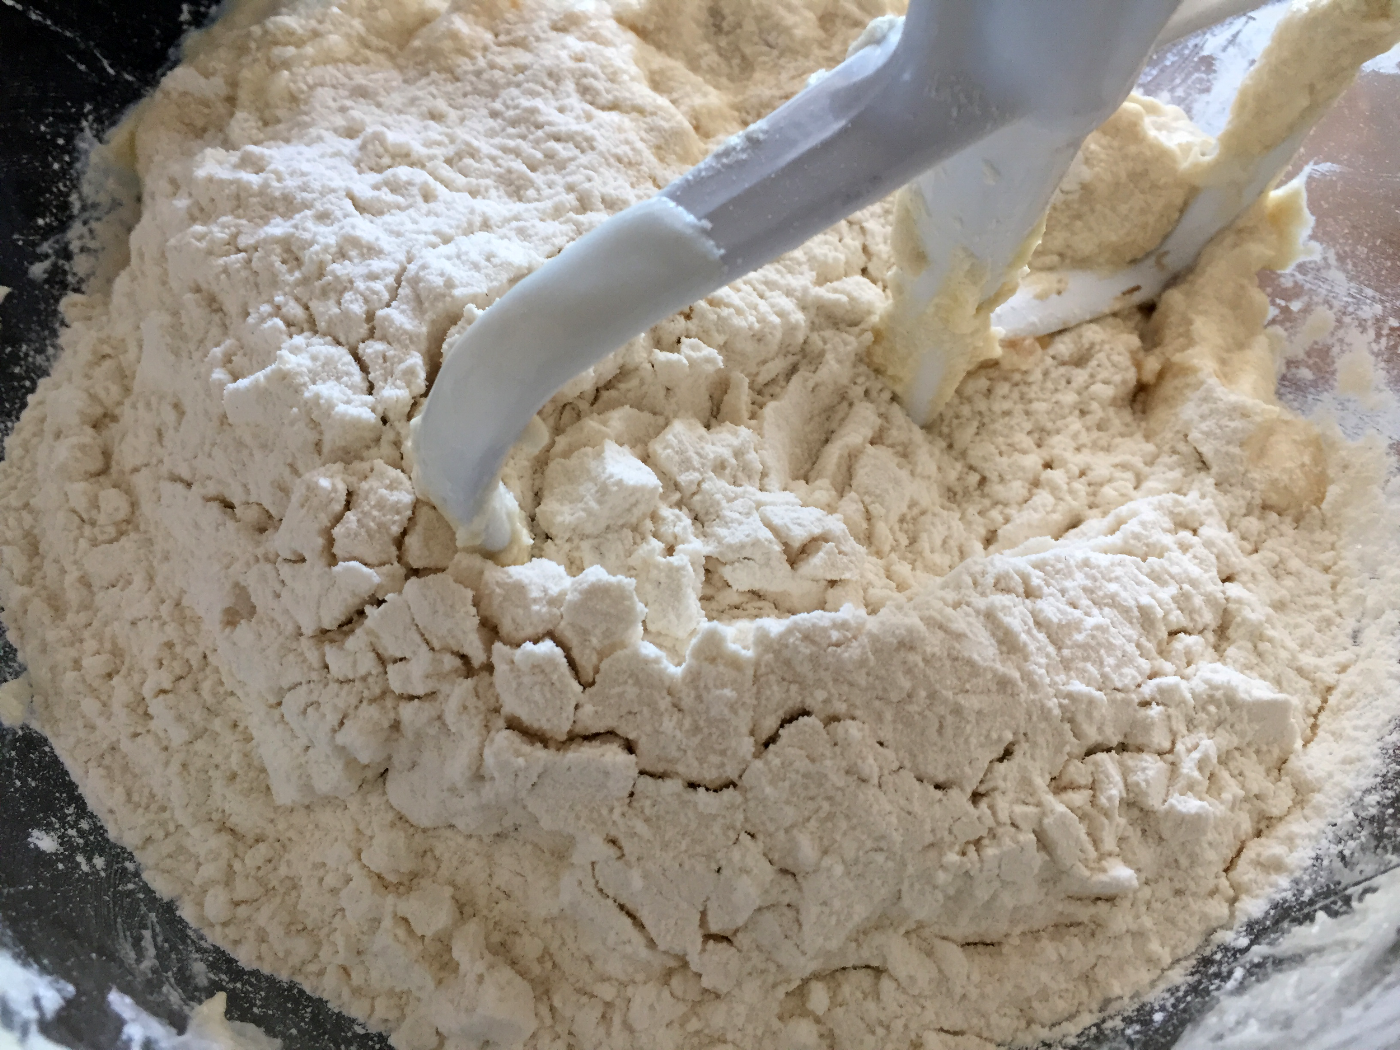
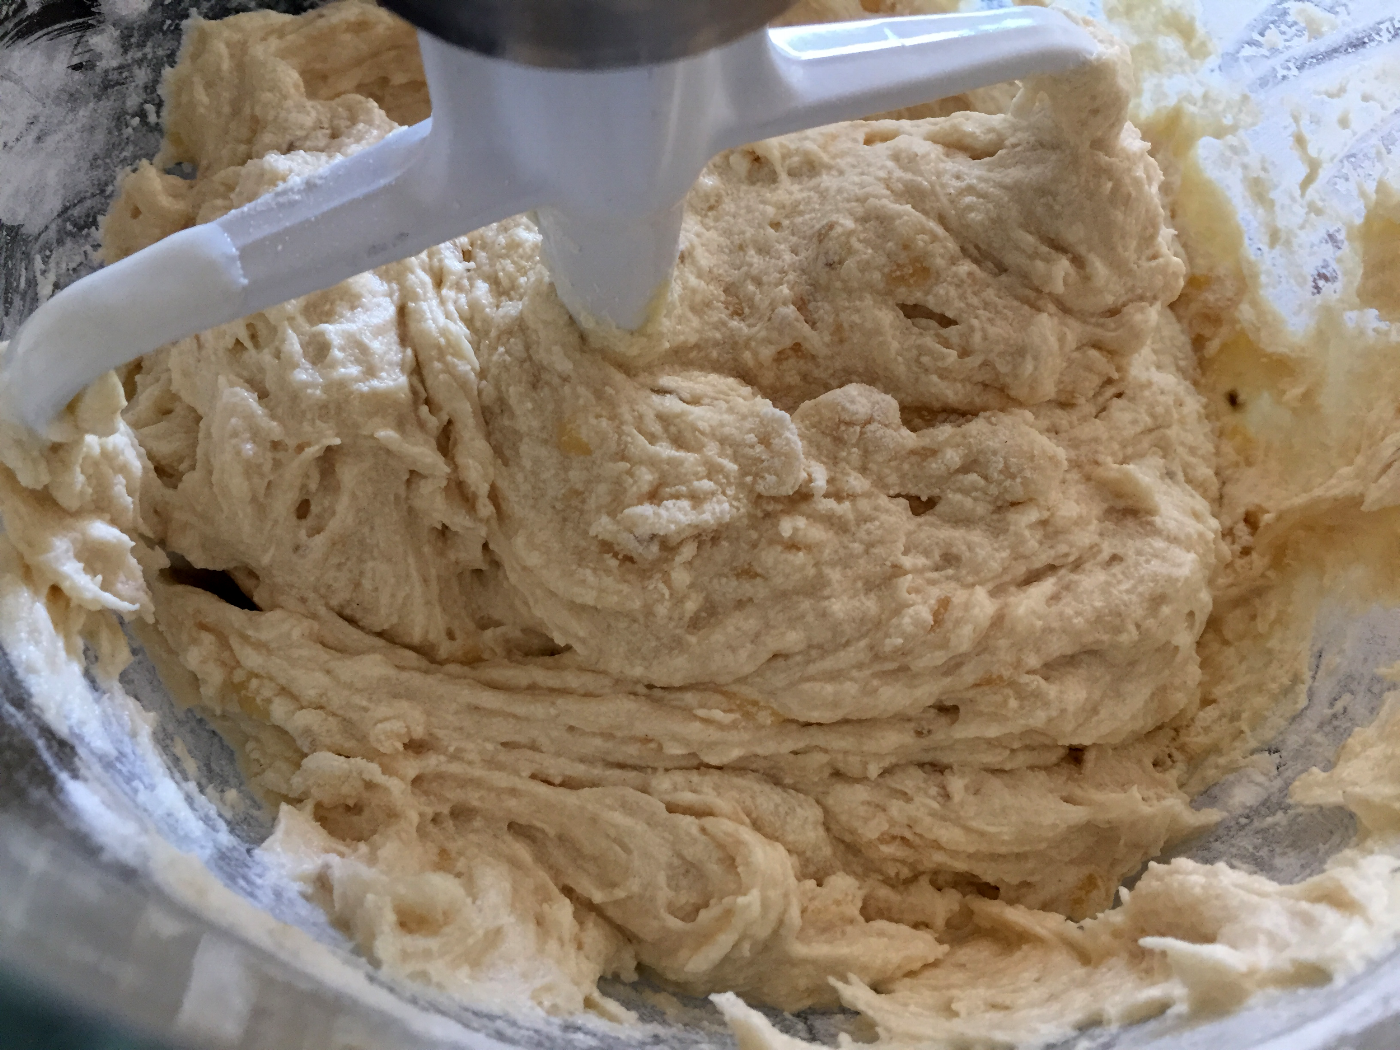
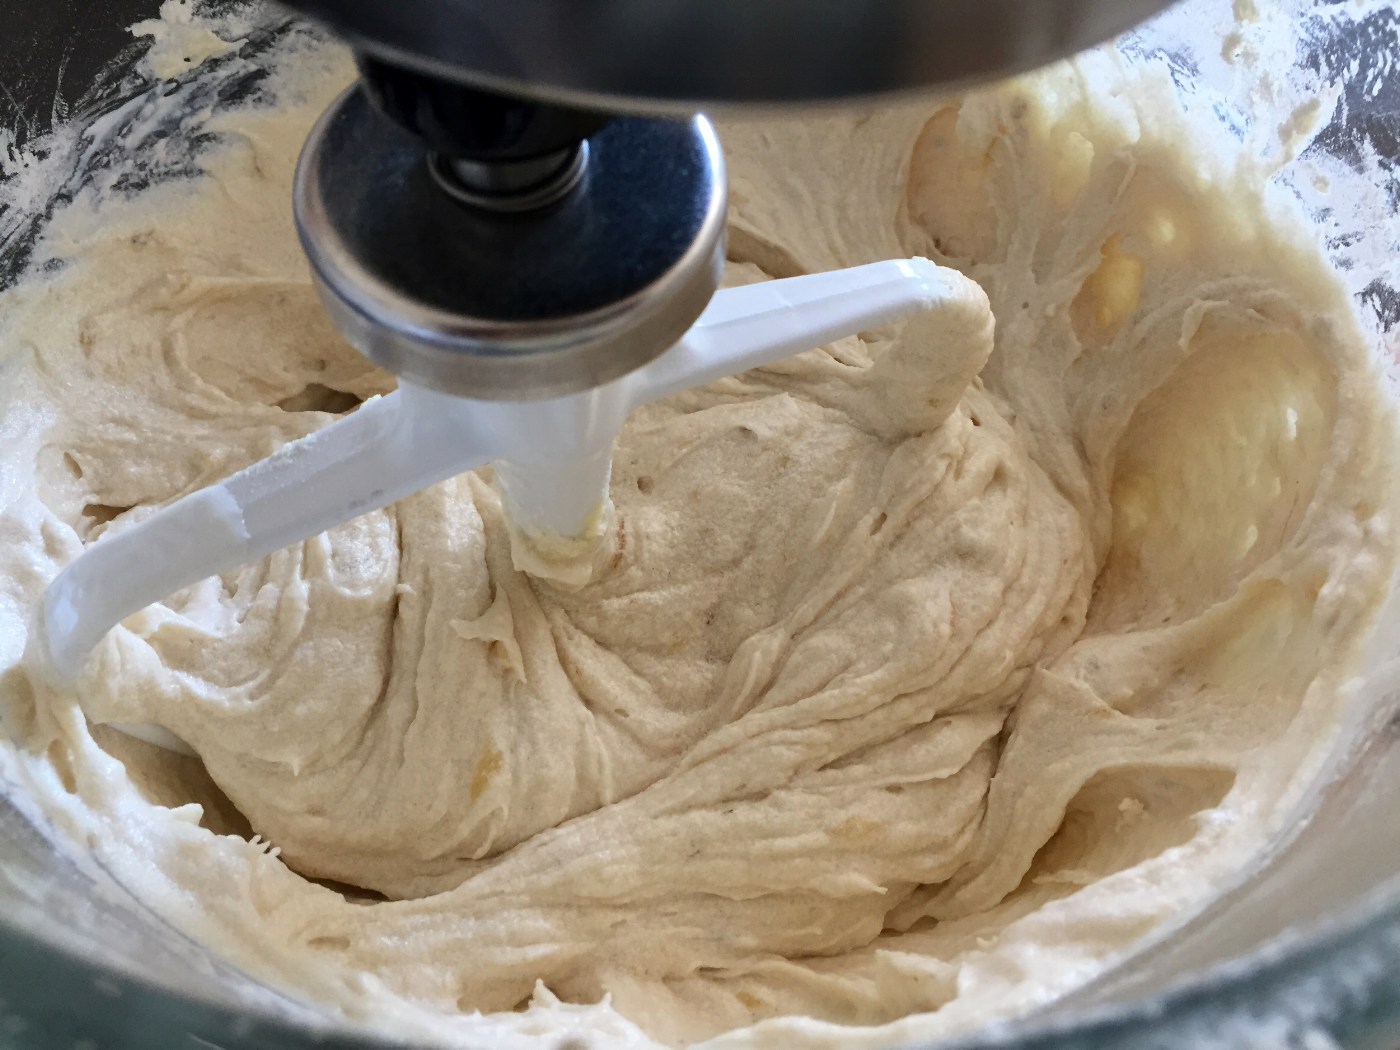
4. Combine the plain flour, bicarb soda and salt then hand whisk the ingredients (you can sieve them if you prefer). Then add half the dry ingredients to the mix then alternate with the buttermilk lightly beating in-between. You will need to scrape down the beater and sides of the bowl intermittently, ensuring you scrape to the bottom of the bowl to avoid sugar deposits.
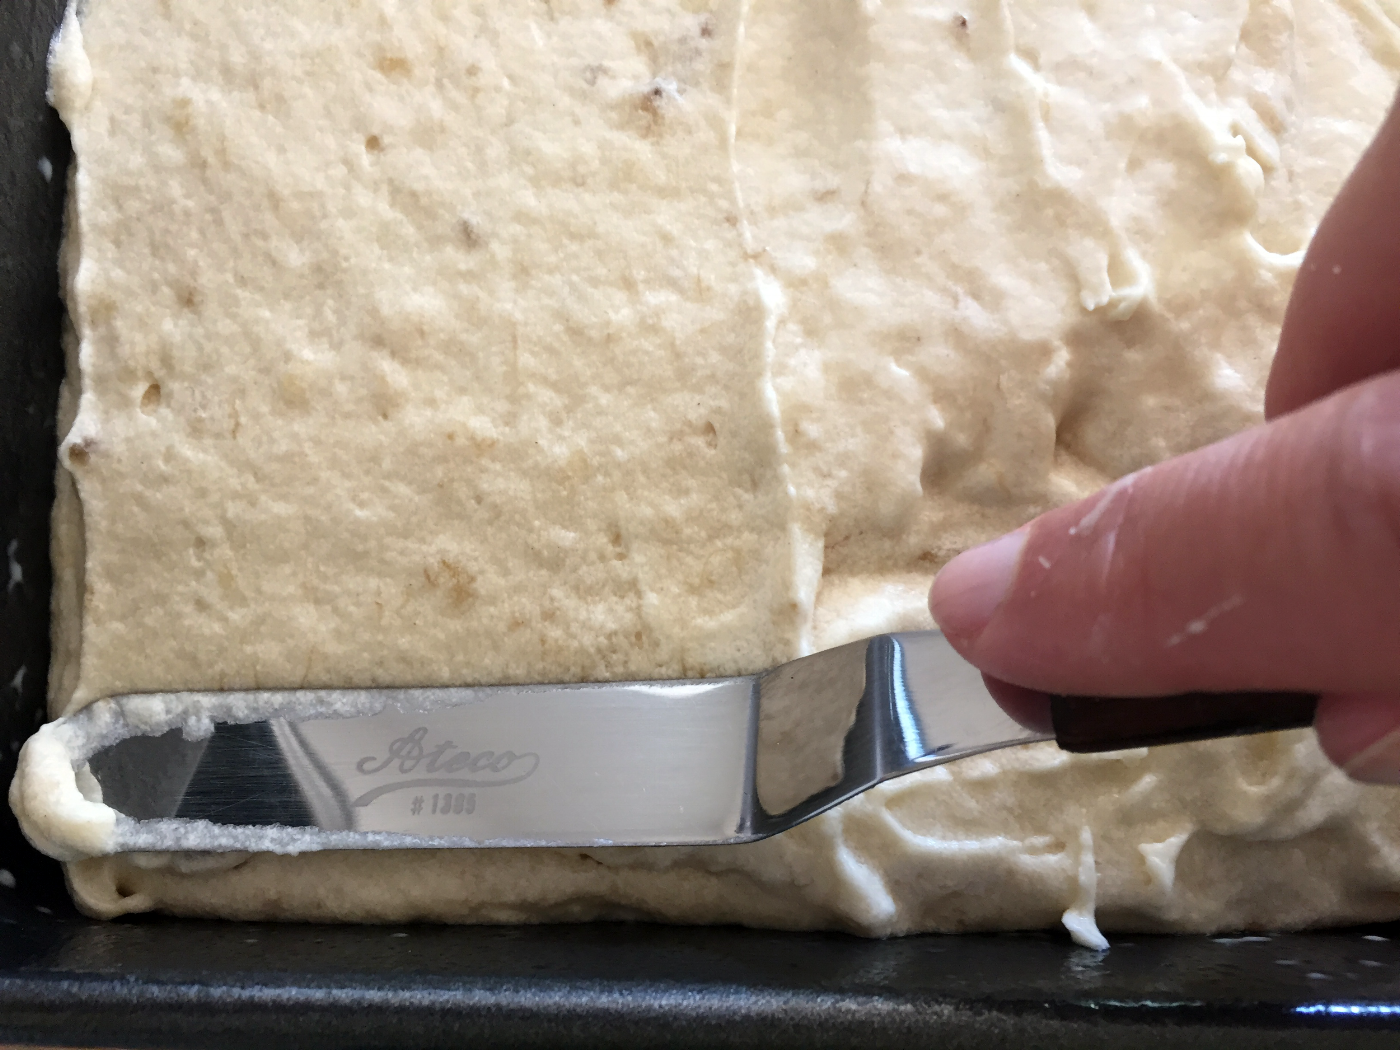
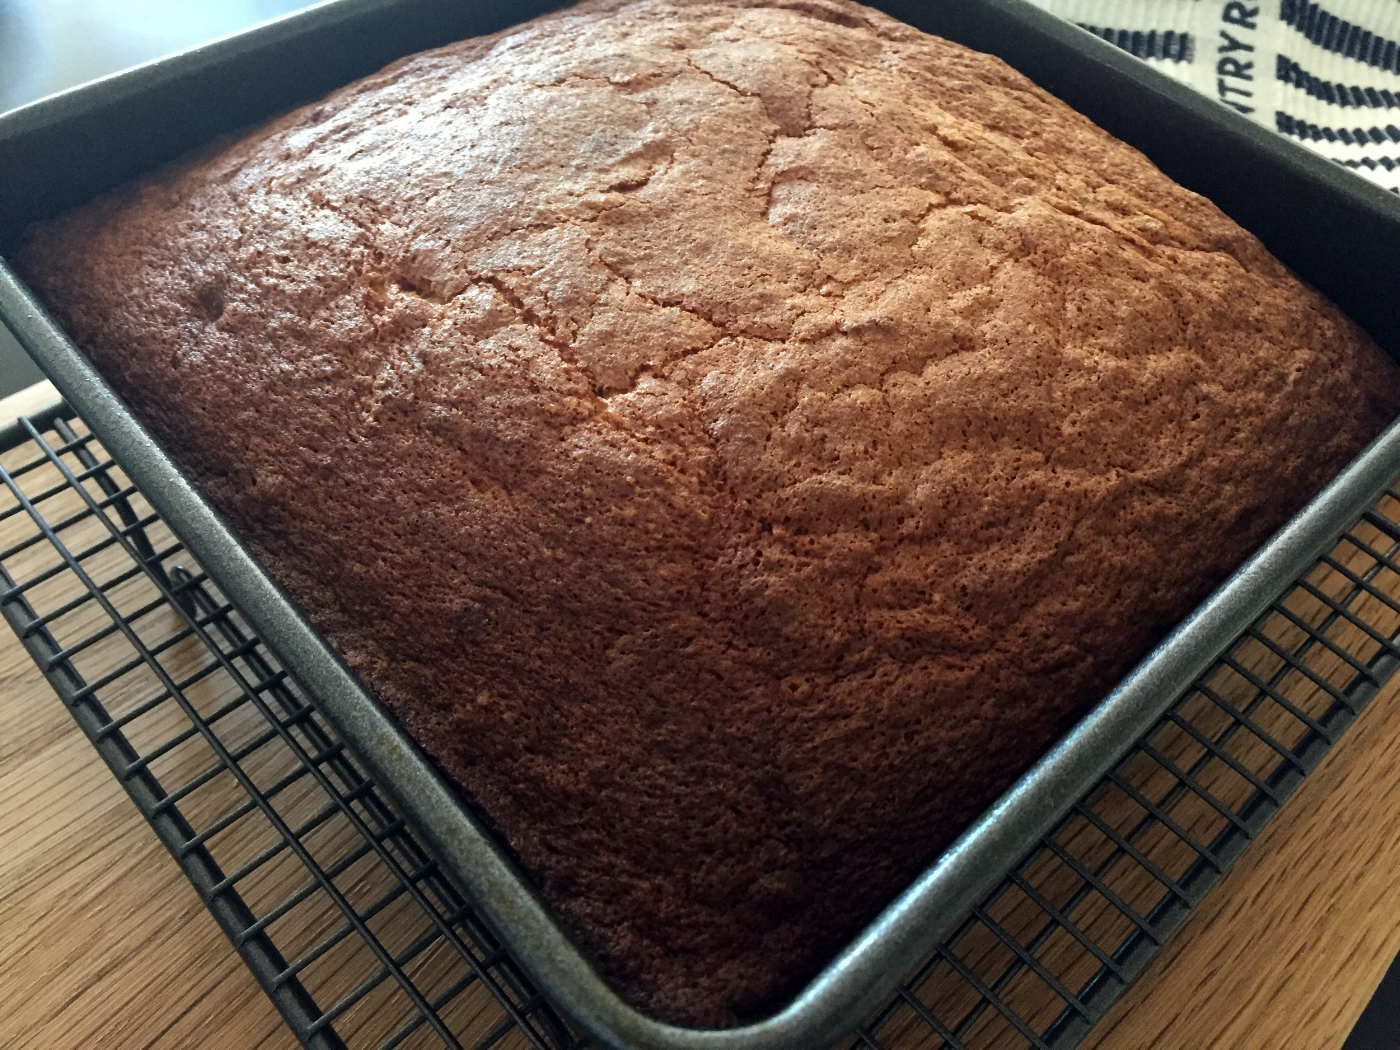
5. Using a spatula transfer the cake mix into your prepared cake tin and bake for 40-45 mins until the cake is golden brown in colour, springs back to the touch and the cake has retracted from the sides of the pan.
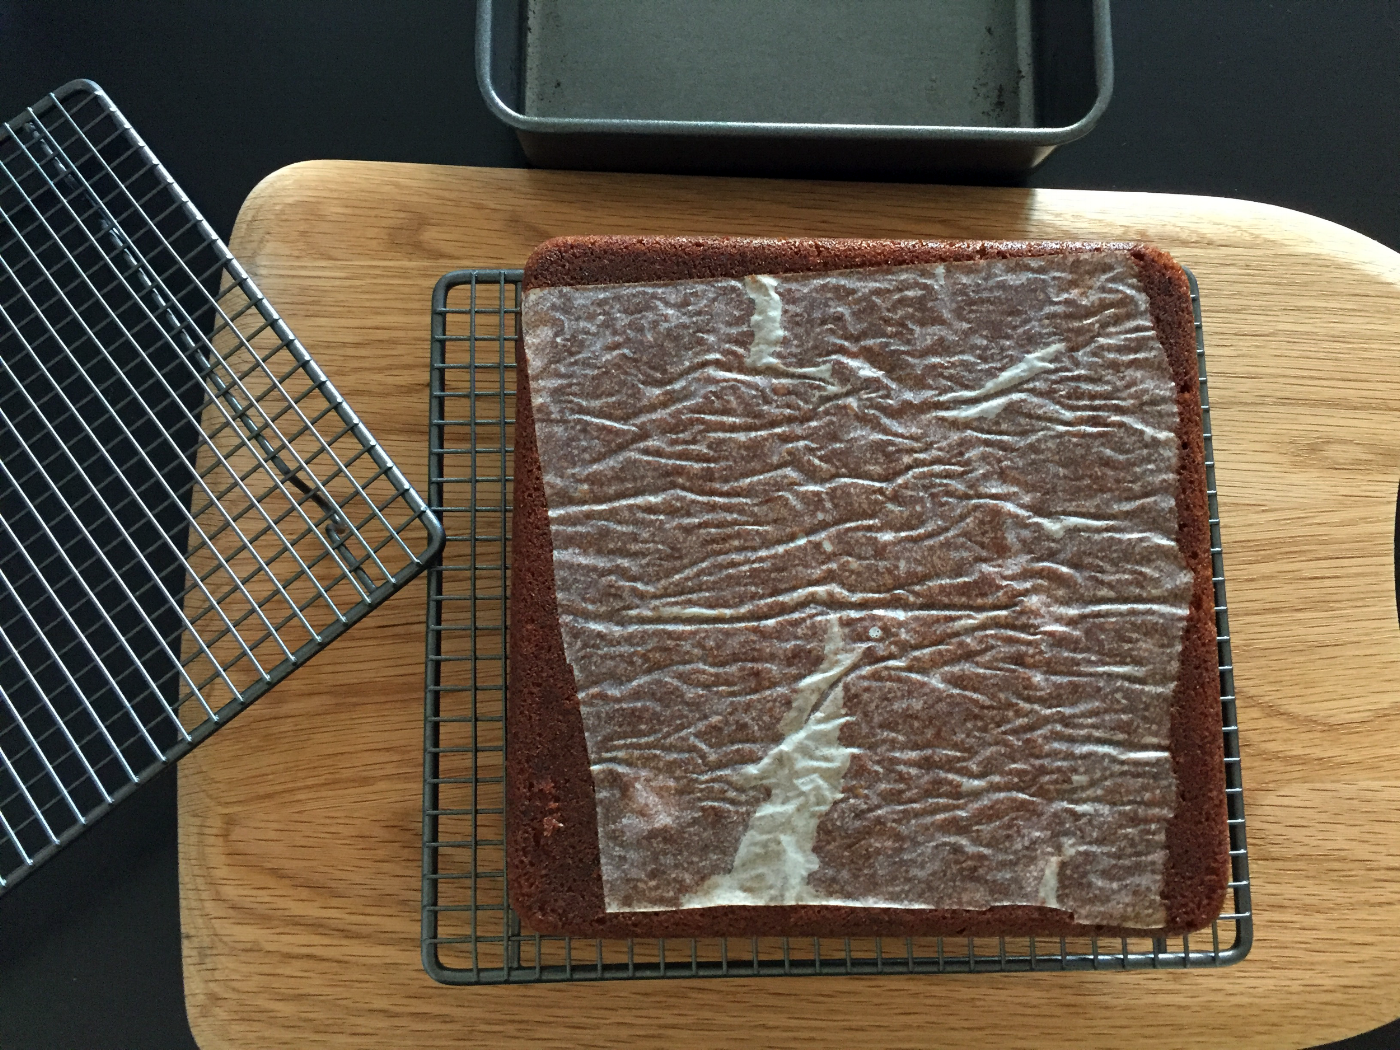
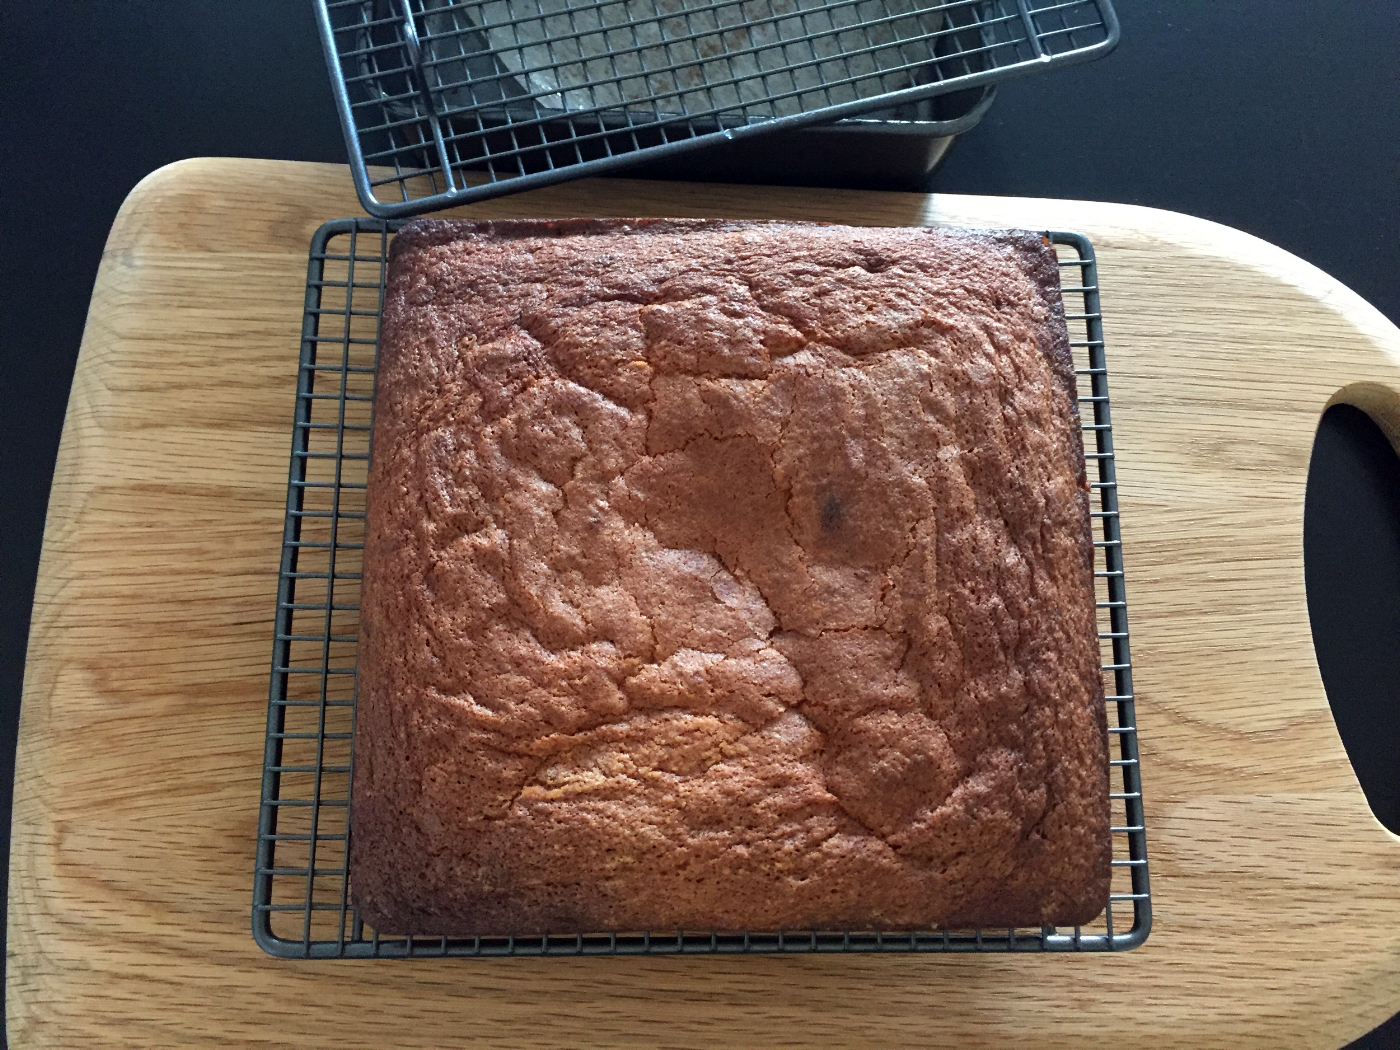
6. Place the cake pan on a wire rack to cool. Allow the cake to cool down for 10 mins. Then run a sharp thin bladed knife around the cakes edge. Whilst the cakes slightly warm, gently remove the cakes from the pan and rest on the wire rack. The Cream Cheese Frosting can be made and refrigerated whilst the cake is baking. Click here for a demonstration.
Top Tips
- You can make a faux buttermilk, click here for a demonstration.
- Milk on its own will not suffice, as it will not react with the bicarbonate soda. Select here for further reading in the glossary about Bicarbonate Soda (you will need to scroll down a little).
Icing Method
1. Weigh out all ingredients.
2. Sift icing sugar and soften unsalted butter. You should be able to make an indentation in the butter (DO NOT MELT the butter, you only want it softened).
3. Cream the icing sugar and butter together using the flat paddle attachment of your stand mixer (or your hand mixer) until the mixture is a pale in colour and mousse like in texture 4-5 mins. Occasionally scraping the sides of the bowl down and the base to ensure all of the icing sugar has been combined.
4. Remove the cream cheese from the fridge, remove any excess liquid and add directly to the creamed butter and icing sugar and mix immediately until just combined.
5. Scrape the sides of the bowl down again. If you are making numerous portions add the additional cream cheese briefly and continue until all of the cream cheese has been added. Ensuring you continue to scrape the base and sides of the mixing bowl.
6. Taste – ½ to 1 tsp of vanilla extract can be added to your liking and mix until just combined. Store covered in the fridge until needed.
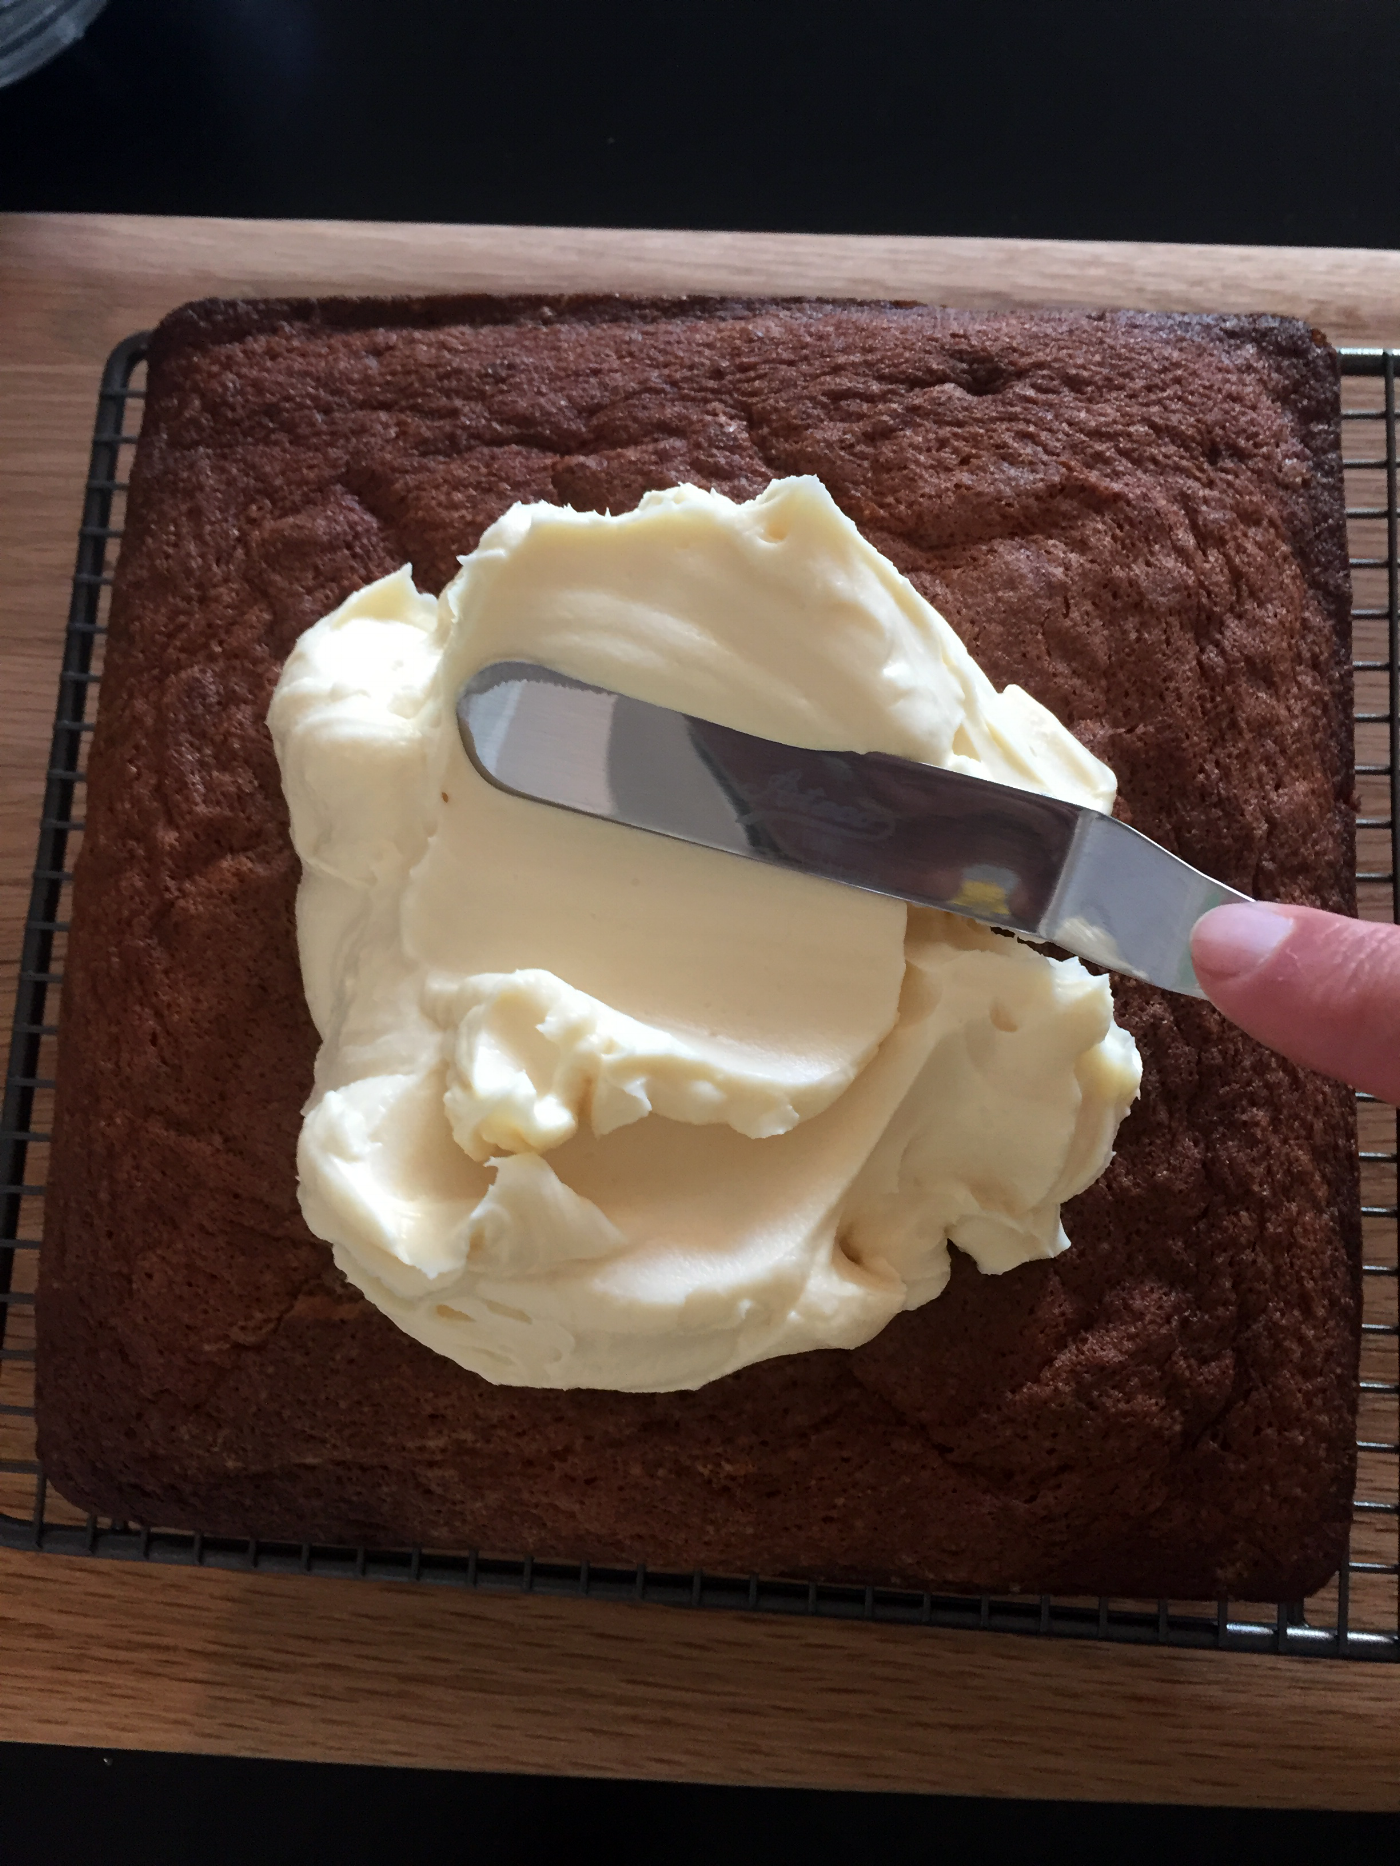
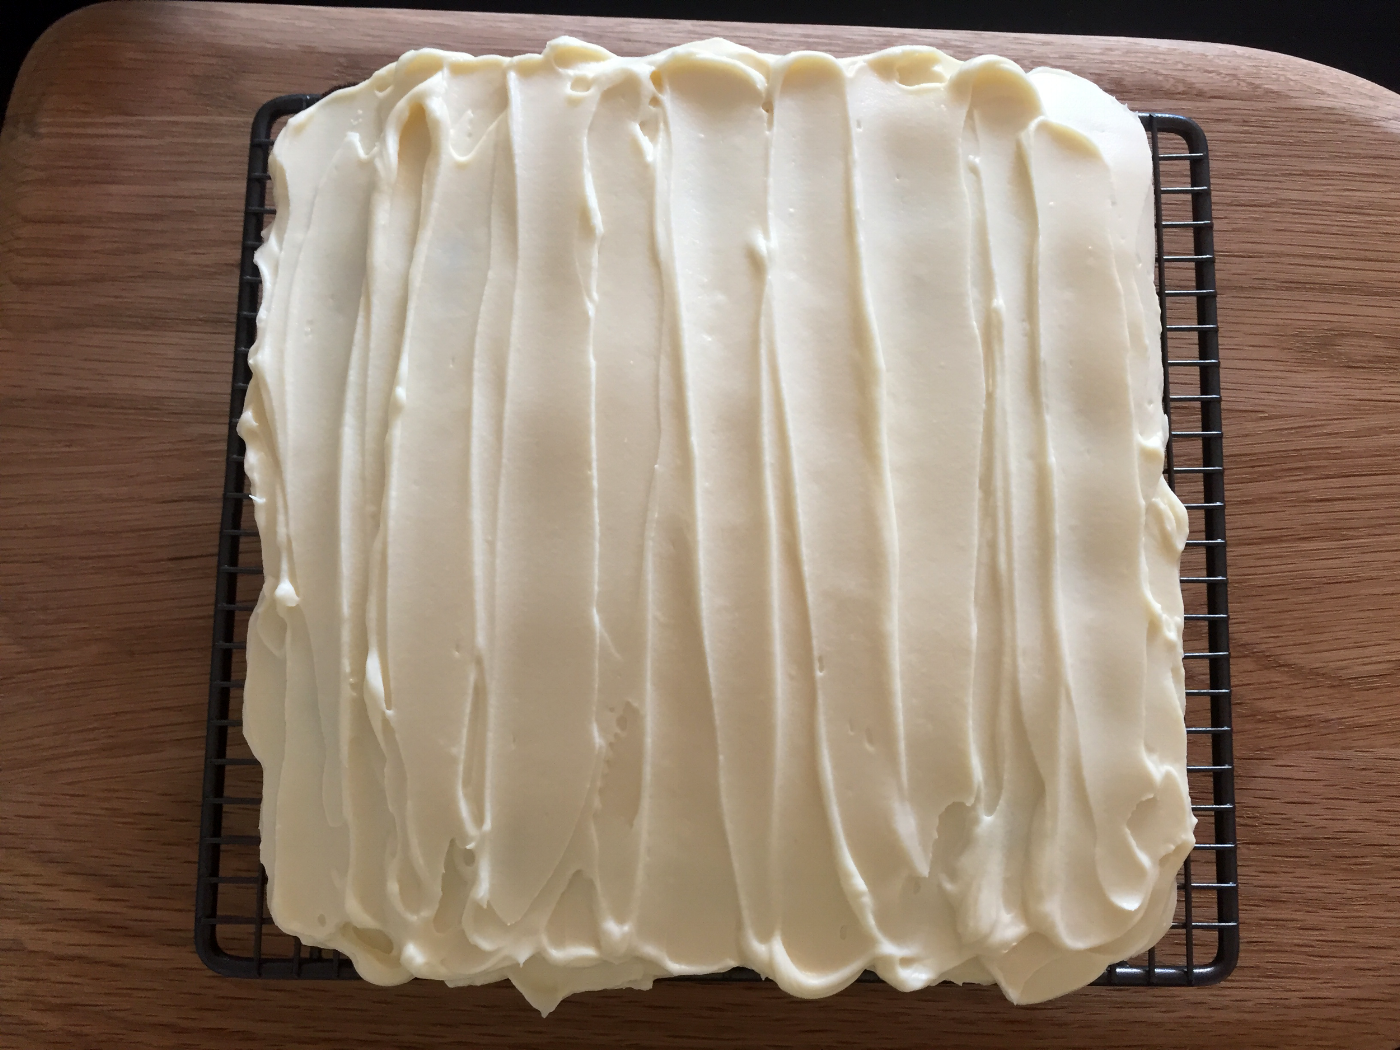
7. Once the cake has cooled completely, begin icing the cake (if the cake is still warm, the icing will become runny).
Please Note; There are many recipes for Cream Cheese frosting. This icing works on the principal 1 part unsalted butter, 1 part icing sugar to 2 parts cream cheese. Using this principle you can use the whole container of cream cheese and refrigerate or freeze any excess to avoid wastage.
Cream Cheese Frosting - Top Tips
- You MUST use full fat cream cheese. As the low fat and reduced fat cream cheese contains more liquid (and stabilisers).
- Use Unsalted butter as it contains less water, also I think it tastes better (personal preference, you can always add salt).
- You MUST use softened butter. If your butter is not softened, lumps will form and you will end up with lumps of yellow in the icing. You cannot beat these out once you have added the cream cheese as over mixing can result in the icing going runny. Check the butter just before use, if the ambient temperature in your kitchen is cold, the butter will begin to firm up immediately.
- Cream the butter and icing sugar first, this will help to avoid over beating the cream cheese frosting.
- Mix the icing once you have added the cream cheese. As the cream cheese is cold, it can start to firm up the butter if left unmixed – resulting in a lumpy icing.
- Sift icing sugar to avoid lumps.
- As a general rule, I mix 2 parts cream cheese with 1 part unsalted softened butter and 1 part sifted icing sugar, you can add vanilla extract to taste. The beauty of this recipe is that it can be adapted depending on the quantity of cream cheese you have to hand.
- Any excess cream cheese frosting can treble bagged, labeled and frozen for up to 3 months.